views
Cleaning a Squeaky Mouse Wheel
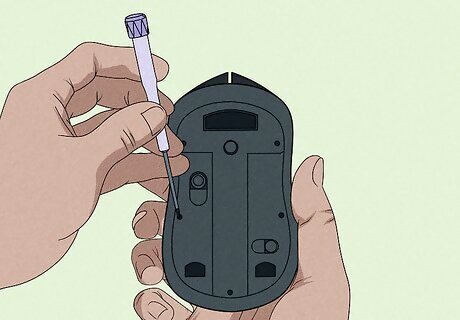
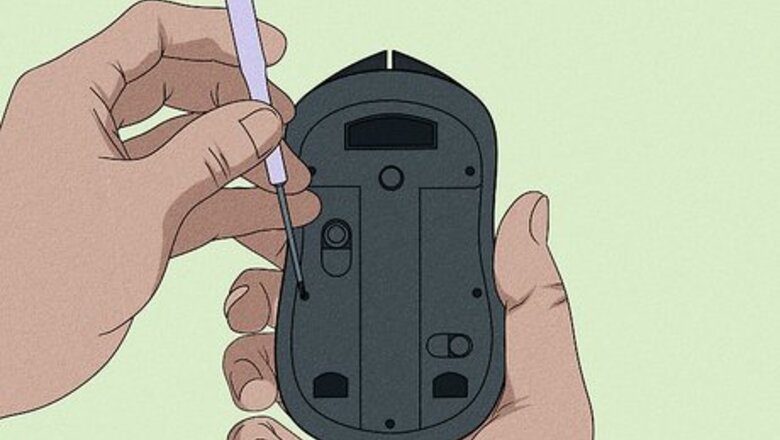
Open your mouse. You'll want to disconnect your mouse from your computer or take out the battery before disassembling it. If you turn it over, you should see screws that you'll need to unscrew to take the mouse apart. Since almost every mouse varies in ways to disassemble it, this article will focus on the general similarities of computer mice. A squeaky mouse most likely means that dust, dirt, or debris has clogged up the axel that the mouse wheel sits on. To stop the squeak, you'll need to clean your mouse. Once you have the mouse turned over and have located the screw(s) holding it together, you can unscrew them and continue. These screws, for example, might be under some padding that helps your mouse move over a mousepad.
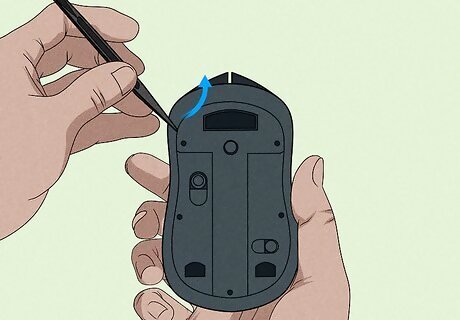
Separate the bottom of the mouse from the top gently. You can use a tool like a guitar pick to separate the case edges. Depending on the manufacturer and model of the mouse, you may need to move it forward to unlock it from the base first before you can separate them. Don't yank it apart because there may be wires or cables attached inside that you can break. Depending on your mouse configuration, you may be able to see the wheel axel and be able to clean it. Otherwise, if the axel is still inaccessible, remove the next screw that's holding down the plate as well as the screw right next to the scroll wheel. Once you have all the screws removed, the bottom case should be able to be separated from the mouse's innards. Lift the wheel axel and connected parts away from the case then add a little bit of lubricant to the bottom case where the wheel axel lays (they are indented pieces of plastic and consist of 3 sides that have contact with the wheel axel).
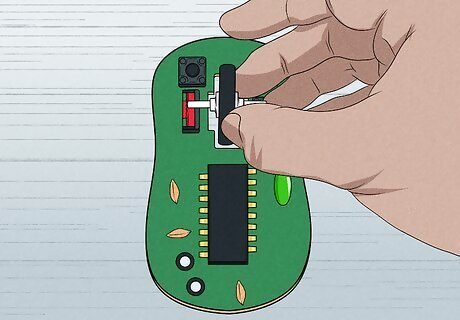
Remove the scroll wheel and its axel. It should slide out. If you can't get the scroll wheel out from the case, you can use a Q-tip or small syringe to get your lubricant to the connecting and rotating bits.
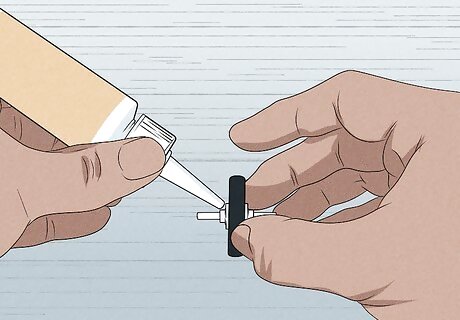
Apply lubricant. If you can, get some lubricant into the small hole that the axel sits inside. When you have the scroll wheel and the axel removed, you'll be able to apply lubricant to the axel as well. If you see debris, you can remove it before adding lubricant to the axel.
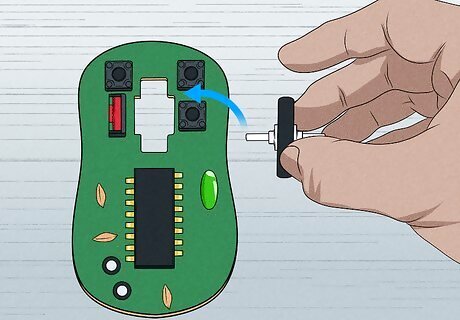
Put the mouse back together. Replace the wheel if you removed it, then place the mouse's innards on the bottom case and slide the top back on. Rescrew any screws that you removed by disassembling it. To apply lubricant to a squeaky mouse wheel without taking it apart, use something like a syringe to be able to direct the lubricant directly to the parts that come in contact with other moving parts or plastic.
Fixing Noisy Mouse Buttons
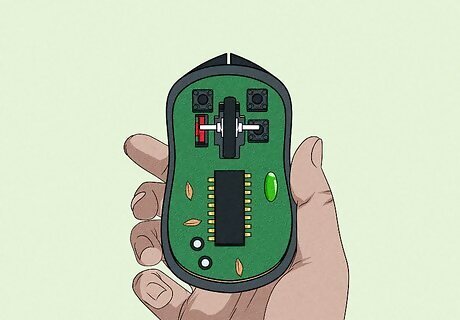
Open your mouse. You'll want to disconnect your mouse from your computer or take out the battery before disassembling it. If you turn it over, you should see screws that you'll need to unscrew to take the mouse apart. Since almost every mouse varies in ways to disassemble it, this article will focus on the general similarities of computer mice. Once you have the mouse turned over and have located the screw(s) holding it together, you can unscrew them and continue. These screws, for example, might be under some padding that helps your mouse move over a mousepad.
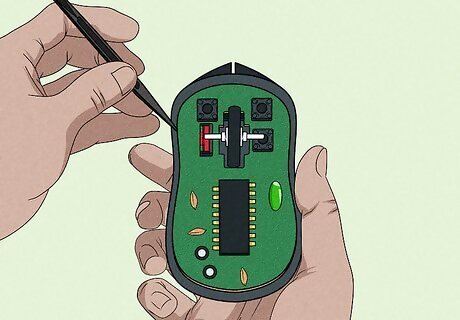
Separate the bottom of the mouse from the top gently. You can use a tool like a guitar pick to separate the case edges. Depending on the manufacturer and model of the mouse, you may need to slide it in a specific way to unlock it from the base first before you can separate them. Don't yank it apart because there may be wires or cables attached inside that you can break.
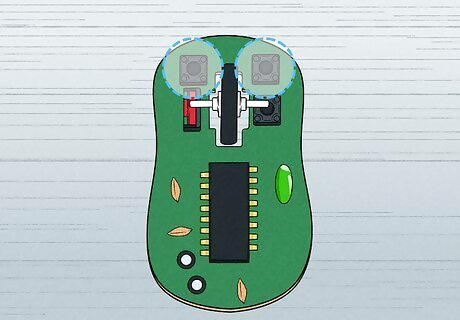
Find the pieces that click when you press the mouse buttons. These are usually colored differently so you can easily spot them.
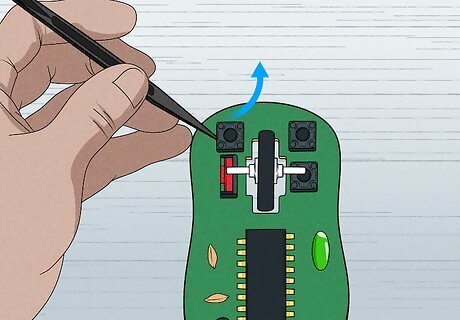
Separate the boxes around those pieces. Once you have found the pieces that click, you should see that there are boxes around them. Using something thin, like a guitar pick, you should be able to pry apart these boxes and find the flexible inner metal strip that makes the clicking noise. What makes the clicking noise is the metal strip hitting the contact on the other end.
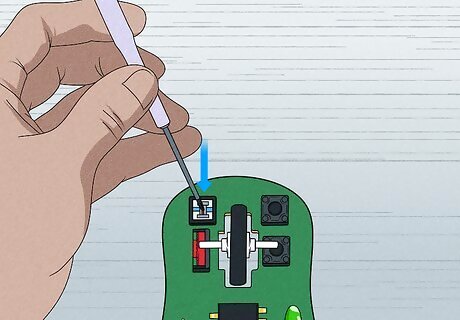
Shorten the distance between the metal strip and the contact. Put your screwdriver on the contact, and using something like a small hammer, hammer the screwdriver lightly so the contact dips lower and lower. The point here is that by shortening the distance between the flexible metal strip and the contact, the click will not be as loud. You can test out the clicking sound by pressing on the flexible metal strip. If it's still too loud, you can use the hammer to press the contact lower.
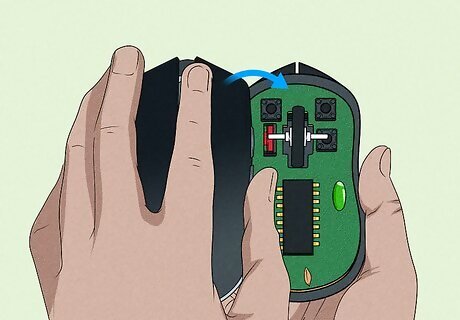
Reassemble the mouse. You'll need to replace the boxes around the metal strips and contacts, then reattach the bottom and top mouse cases. Finally, remember to re-screw any screws before you finish.




Comments
0 comment