
- Sign up for Discord.
- Subscribe to a plan from Midjourney.
- Use the "/imagine" prompt to create art.
Signing Up For Discord
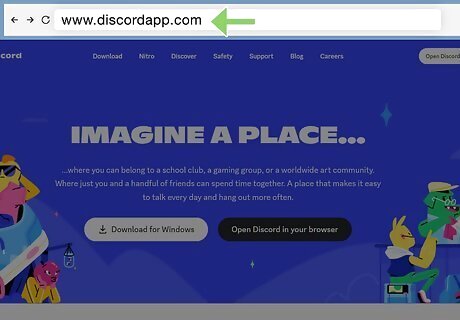
Go to https://www.discordapp.com. You can use any web browser, such as Chrome or Safari, to create a Discord account. You'll need an email to be able to verify your account so you can use Discord. You must also be older than 13 to sign up and use Discord.
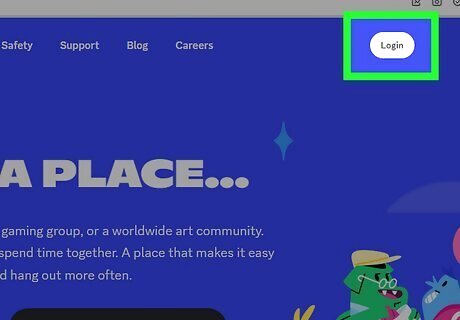
Click Login. It’s at the top-right corner of the screen.
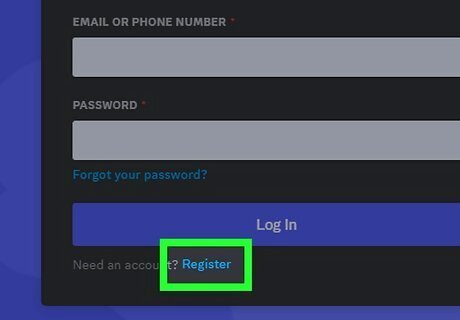
Click Register. It’s below the large blue “Login” button in blue text.
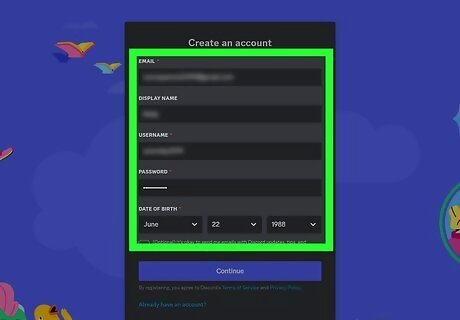
Fill out the form. You’ll have to provide your email address, a username, and a password to create your account. You'll see more information about each field as you type in it. For example, when you're typing in your username, you'll see that you can only use numbers, letters, underscores, and periods.
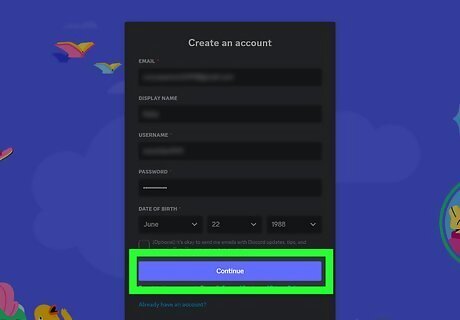
Click Continue and confirm you're not a robot. Click the square next to “I am not a robot” to verify that you're human. You will now be taken to the Discord home screen. Additionally, Discord will send you an email to verify your account. If you see a pop-up ad for Discord, click the “X” at its top-right corner.
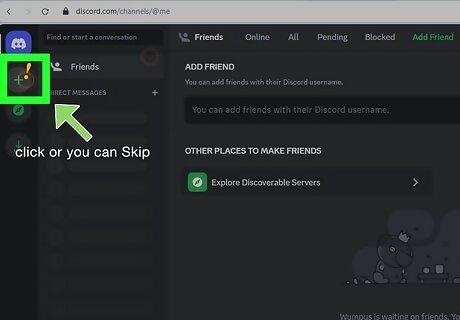
Click Get Started or Skip. If you want to start adding friends and servers now, click Get Started to run through the setup process. If you want to wait until later, click Skip.
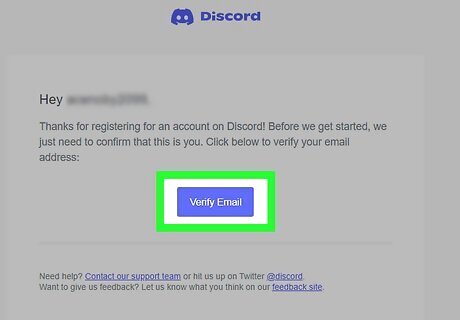
Open the email from Discord and click Verify Email. You'll see the verify button under a wall of text that welcomes you to the platform. Once you click the link, Discord will be able to verify your account. If you are prompted to prove you’re not a robot again, click the check box to continue. Download the desktop app if you don't want to use your web browser. Download the computer client by going to https://discord.com/download and clicking Download. You can also download the mobile app for iPhone, iPad, and Android. Once you have the apps or are ready to use the web browser version, you can read Get Started with Discord to learn how to use the platform.
Signing Up For Midjourney
Go to https://www.midjourney.com/auth/signin/ and verify you're a human. Click the box next to the prompt to prove you're not a bot, then the page will load.

Click Join the Beta. It's in the top right corner of your browser window and will prompt Discord to open. If you have the desktop client installed, you might be prompted to open it or to continue in the web browser. It's up to you what to pick! You can use Midjourney in either the Discord desktop app or the web browser.
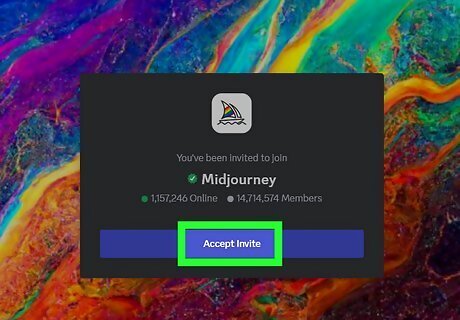
Click Join Midjourney. You'll see this button in the middle of your screen in your web browser or in the Discord app.
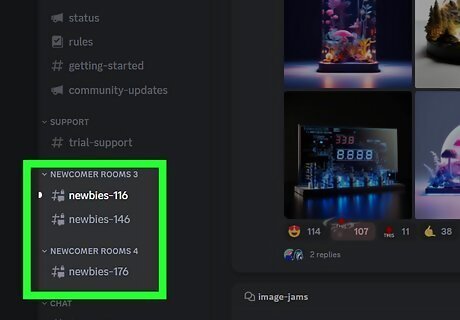
Join a newcomer channel. They are all called "newbies" and are labeled with a hashtag, speech bubble, and lock icon. If you don't see any, click "Newcomer Rooms" to expand those menus. Double-click a newbie channel to join it.
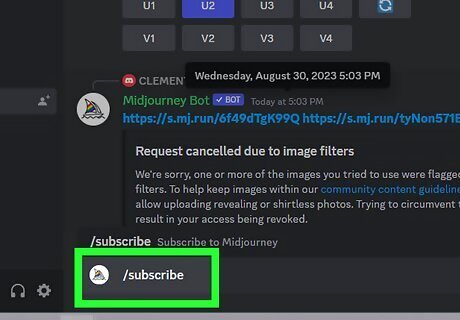
Type /subscribe. Don't worry, typing this will not ruin whatever discussion is happening in that channel! This is a bot channel specifically designed for this, so your message will give the bot a command. You will immediately get a DM from the Midjourney bot containing a link that's uniquely yours.
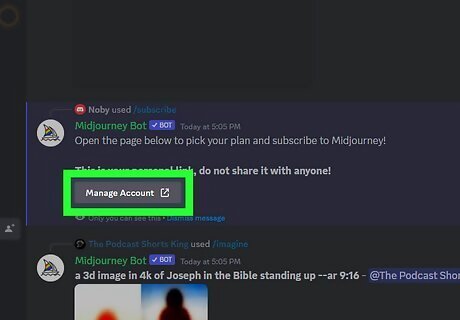
Click the link in the DM. Click Visit Site if you're asked if you really want to go to the link. Since March 2023, people have been abusing the free trials, so Midjourney stopped offering them. Instead, the AI generator releases shorter free trials around new version releases.
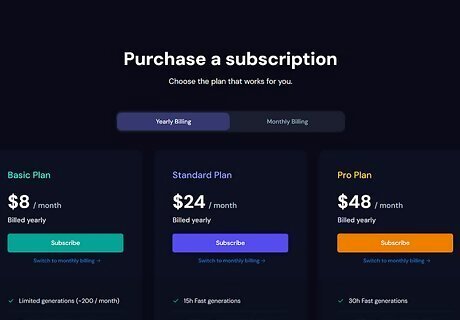
Select a plan and click Subscribe. You can switch between annual billing and monthly billing by clicking the blue text under the Subscribe button. Once you've signed up, go back to Discord to create your first image!
Generating Your First Image
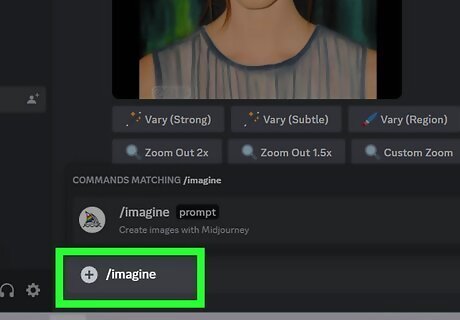
Type /imagine. The slash makes it a command, so that's an important key in getting your art generated! Don't press Enter/Return yet.
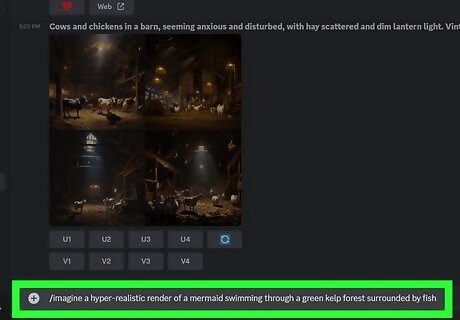
Enter your prompt. You need to tell Midjourney in words what you're looking for. Be detailed, so the generator can give you the results that you want. For example, enter /imagine a hyper-realistic render of a mermaid swimming through a green kelp forest surrounded by fish.
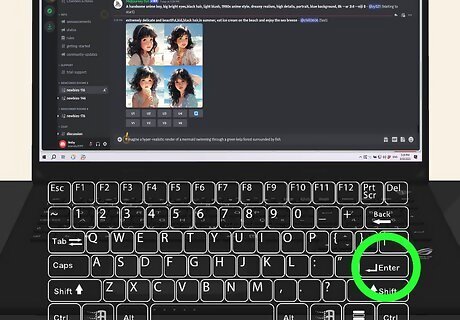
Press ↵ Enter or Return on your keyboard. Now that you have the full string typed out, you can press Enter/Return to send the command. It'll take a minute or longer, but you'll get a response of 4 variations of your prompt.
Editing Options
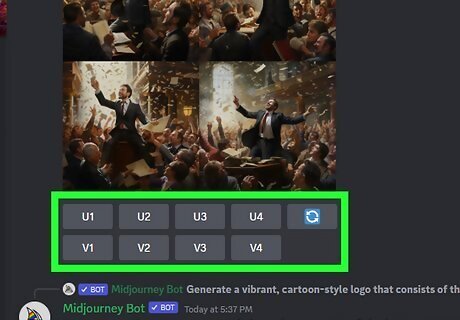
Click a "U" or "V" option. If you like one of the tiles, click the corresponding number for it. The top two tiles are "1" and "2" and the bottom tiles are "3" and "4." The "U" button upscaled your images in the past, but they are now generated at max size and upscaling is no longer necessary. If you click the "U" buttons now, you can easily single out an image you like from the tiles. It's easier to further edit and download it that way. Use "V1-4" to create more variations of an image. If you do this, you'll get another 4 tiles with images with similar art styles and compositions. You can also click the refresh icon to re-roll for different images using the same prompt.
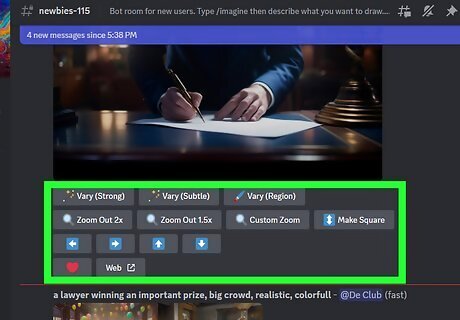
More variations and zoom tools are available after you single out an image. After selecting an image from the 4 tiles with the "U" button, you can further edit your image as you like. Click Vary(Strong) or Vary(Subtle) to get more variations of your selected image. Use the zoom buttons to zoom in or out on your image. Use the arrow buttons to pan and expand your image. You can do this to make your image larger. Press the heart icon to add it to your favorites. Easily find your favorite images on the Midjourney website. Open the image on the Midjourney website.
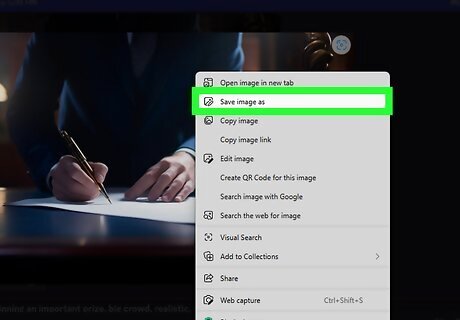
Save your image. Once you have a single image selected, click it to open it in the middle of your Discord app or as a pop-up on the web browser, then right-click it, and select Save Image.
Tips for Generating with Midjourney
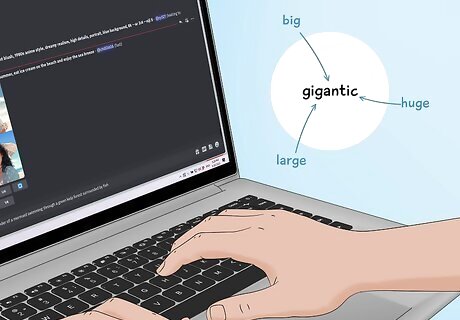
Don't be wordy. Instead of over-using words like "big, large, huge" use "gigantic" to get your point across.
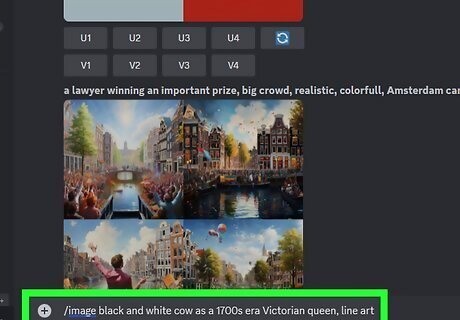
Use styles and mediums. Just using "cow" might get you awesome results, but entering "black and white cow as a 1700s era Victorian queen, line art" will get you more results that you might be looking for. You can also use art styles like sketch, oil painting, vector art. Or you can aim for specific artist styles, like "in the style of Leonardo da Vinci" or "in the style of Andy Warhol." You can also specify colors and themes.
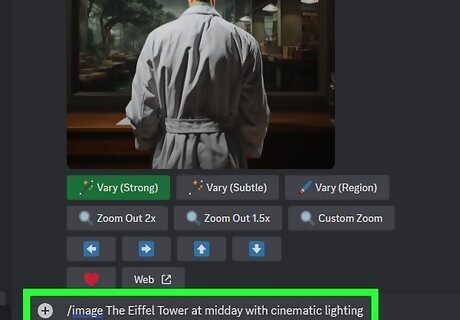
Think about lighting. By default, Midjourney might add a lighting choice to some AI-generated art, but if you specify it, you might get great results. For example, "The Eiffel Tower at midday with cinematic lighting" will get different results than "The Eiffel Tower"
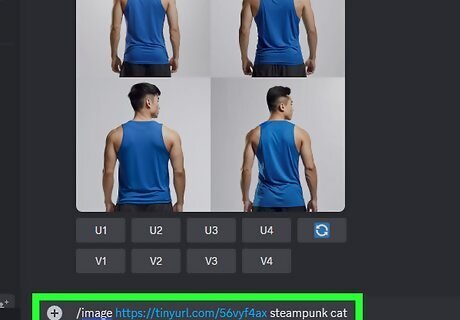
Use images. Sometimes you want to create an AI-generated image based on your cat. In that case, paste your image's URL into the chat (or drag and drop the image to Discord to create a URL). For example, for a steampunk look of your cat, enter /imagine, enter the URL, and add steampunk cat. Press Enter/Return for the results! If, for example, you have 2 to 5 cats, upload all your images and use the /blend command to mix them together with AI!
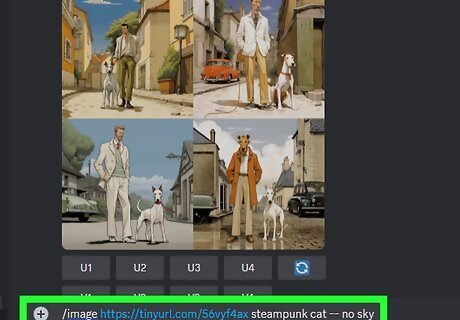
Have fun. Use parameters at the end of your prompts to make sure you're getting what you want. For example, add -- no sky at the end of your prompt if you don't want the AI to generate sky. Also use parameters like "weird" and "Chaos" to get unexpected and quirky results. Use "--ar" to change the aspect ratio of a generation. Use "--iw<0-2>" to change the image weight relative to text weight. The default is 1. If you want a higher image quality, use "--q". Higher-quality images will take longer to generate and use more GPU minutes. Use the /blend command as well as URLs to 2-5 images to create a mixture of the images in one.


Comments
0 comment