
Setting Up the Connection
Remove your router from the box. Check if all the accessories are present in the package. The 2Wire router usually comes along with a power adapter, an Internet cable, a telephone cable, and a pamphlet or CD manual.

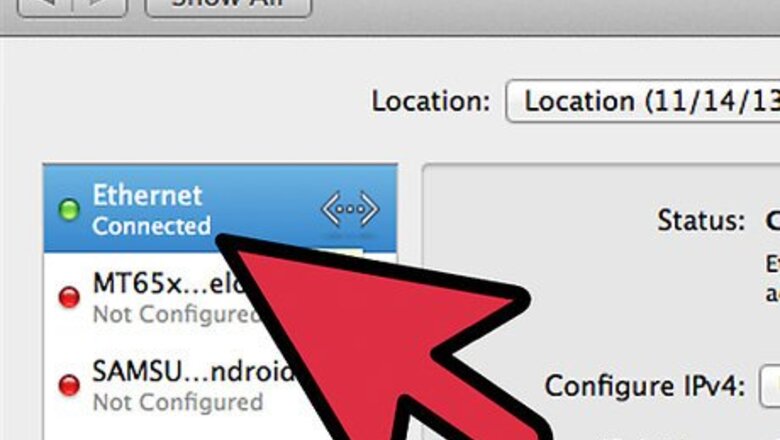
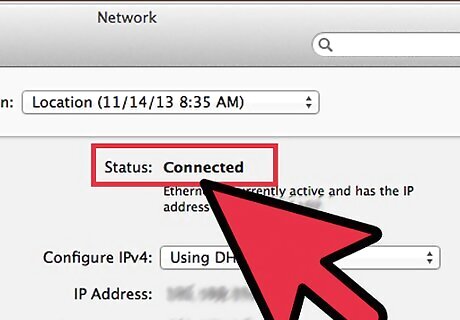
Connect your router to your computer. Take the Internet cable (the thicker one) from the package and connect it to one of the ports labeled “Ethernet” at the back of the 2Wire router. Take the other end of the cable and plug it to the Internet/LAN port at the back your computer or laptop. There’s only port at the back of your computer where the Internet cable can fit so it won’t be hard finding it.
Switch on the 2Wire router. Take the power adapter and plug your router to an electric outlet. Press the Power button on the device itself to switch it on. After pressing the Power button, allow the device to load for a few moments. Once all the lights on the router have steadied out, you can now access its settings.
Accessing the 2Wire Router

Open a web browser. Launch any web browsing application your have on your computer like Google Chrome, Mozilla Firefox, or Safari.
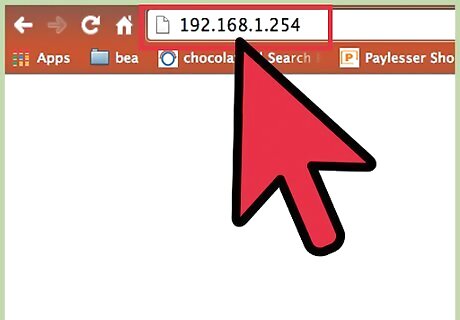
Access the router. On the address bar of your web browser, type in “192.168.1.254.” This is the local IP address of the 2Wire router’s configuration settings. Press the “Enter” key on your keyboard to access the address.
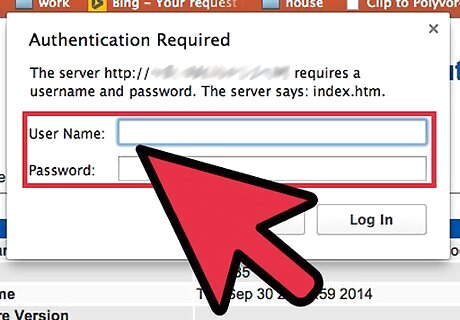
Log into your router. Upon accessing the router’s configuration settings, you’ll be prompted to enter a username and a password. For most models like 1000s, 1000sw etc., the default login details of 2Wire routers are as follows: Username: NOLOGIN Password: NOLOGIN If the credentials above don’t work, you can try these: Username: Leave it blank Password: NOLOGIN
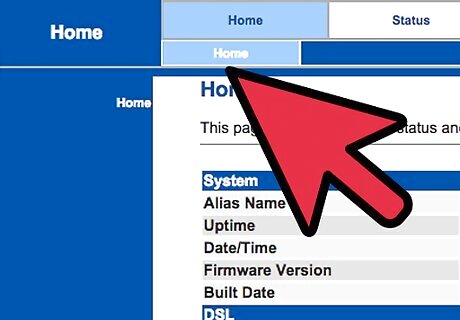
View or modify the router settings. After entering the right login credentials, you’ll immediately be taken to your 2Wire’s configuration settings.


Comments
0 comment