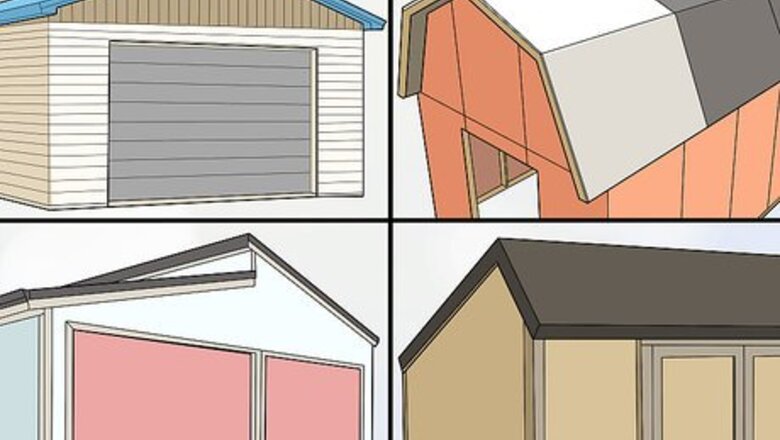
views
Planning Your Roof
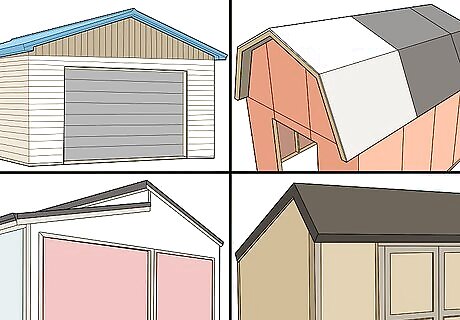
Choose a style for your roof. There are many different roof styles used for building sheds. The most common styles include gable, gambrel, skillion, and saltbox roofs. Each of these roof types is sloped to provide runoff for precipitation, which means the design you go with will largely be a matter of aesthetic preference. Gable roofs feature a single central peak, with two symmetrical sloped sides. They are most often spotted on houses. Gambrel roofs are the style traditionally used for barns. Each side of a gambrel roof has two sloped faces, the lower of which is either perpendicular or at a slight angle to the ground. Skillion roofs are one of the simplest roof styles used in shed-building. A skillion roof is made up of a single flat plane which slopes gradually from top to bottom. Saltbox roofs look like skillion roofs, but with an extra short slope opposite the long angled plane, like an upside-down check mark. They aren't seen on sheds as frequently as other styles, but are still a popular choice.
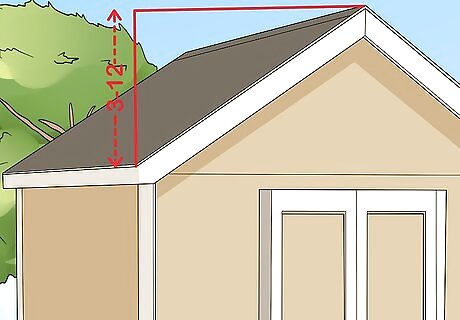
Determine your desired roof pitch. The term “pitch” refers to the slope of the roof. In order to adhere to standardized building codes and ensure adequate runoff, your shed’s roof must have a pitch of at least 3-12 (read as “three-in-twelve”). Beyond that, you’re free to choose whatever slope best fits your plans for your shed. A slope of 6-12, for example, means that for every 12 inches (30 cm) of length, the angle of your roof rises 6 inches (15 cm). The steeper the slope of your roof, the better it will deflect rain, sleet, snow, falling leaves, and other materials that find their way on top.Tip: Pull up a pitch calculator online to translate a given pitch into useful specifications like angle, grade, and rafter length.
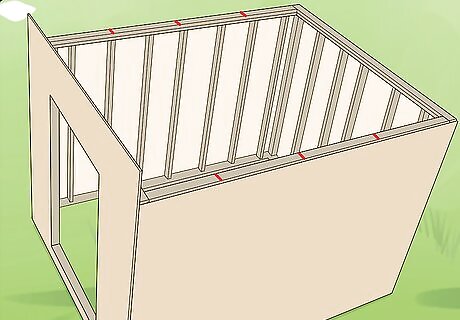
Mark the location of your rafters along the top of the shed. When installing rafters, it’s generally best to follow the same spacing as your wall studs. Use a carpenter’s pencil or felt-tipped marker to draw a line on your wall plate timbers where each set of rafters will go. In the majority of cases, they'll be about 20–24 inches (51–61 cm) apart on center. Proper placement of your rafters will maximize support while minimizing the overall amount of materials used. If your shed already has rafters in place and you just need to put in or replace the roof itself, you can skip straight to installing your new roofing materials.
Fashioning and Setting the Rafters
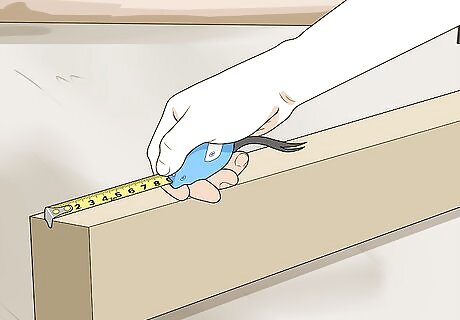
Measure your rafter boards for your preferred roof style and pitch. The exact length and angle of your rafters will depend on the overall size of your shed, as well as the style and slope you’ve chosen. The rafters on a steeply-sloped roof, for instance, will be much longer and have more end cuts than those on a flat roof. Once you’ve determined the measurements you need, mark them directly onto a series of 2 in (5.1 cm) x 4 in (10 cm) or 2 in (5.1 cm) x 6 in (15 cm) boards using a carpenter’s pencil. If you’re planning on building a gable roof with a pitch of 4-12 for a shed that’s 200 inches (510 cm) wide, your rafter boards would need to be 105.3 inches (267 cm) long on each side. Don’t forget to cut the ends of each board to the appropriate angle to allow them to fit together at the peak.Tip: To make the process as efficient as possible, either mark all of your boards at once or measure and cut one to use as a template for the others.
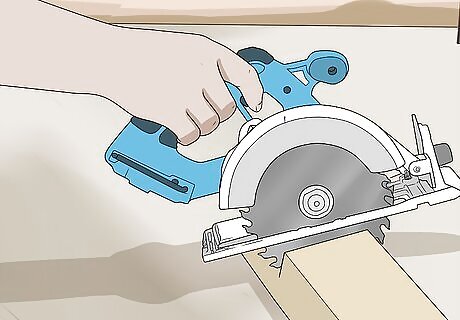
Cut your rafter boards to size using a circular saw. Guide the blade over the end of the board slowly, aiming to make each cut as straight and precise as possible. Be sure to adjust your saw’s settings according to the necessary length and angle of your rafters. Take care of all of your sawing at one time. You can then move on to assembling the rafters into trusses and attaching them to your shed frame.
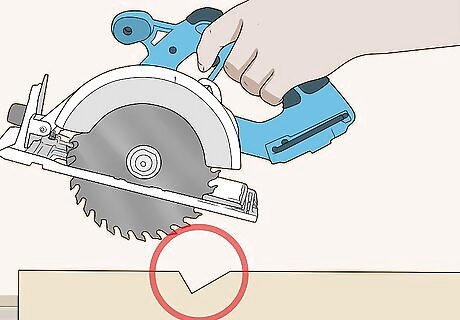
Make a birdsmouth notch at the end of each rafter to help it fit into place. A birdsmouth notch is an angled cut that allows a rafter to sit level on top of a wall plate rather than balancing on top. Position your rafter boards at the same angle as your roof’s pitch, then draw a 90-degree angle up from the bottom edge of each board, with the lines corresponding to the height and width of the wall plate, respectively. Cut along these lines to make the notch. You can also figure out the angle for your birdsmouth notch by placing a piece of scrap wood the same width as the distance between the rafter and the wall plate beside your rafter beam and tracing it onto one side of the beam. Note that your notches will need to be higher up on your rafter beams if you’re planning on including an overhang.
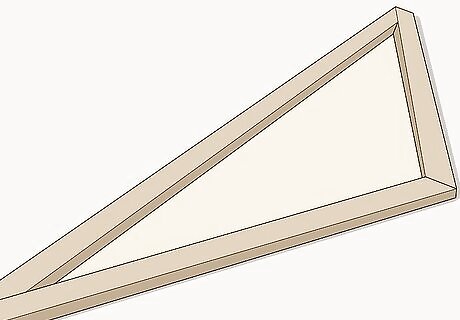
Assemble your rafter halves into trusses using plywood gusset plates. Trace the upper 8–10 inches (20–25 cm) of your rafter peak onto a sheet of ⁄2 in (1.3 cm) plywood and cut out the triangular plate with a skill saw. Apply a thin layer of construction adhesive to the backside of each plate, then align it with the joint where two rafter boards and press it firmly into place. Secure the plates by driving 2-3 nails or wood screws through the plate on either side. Gussets serve to reinforce connection sites between individual wood members, lending added strength and durability.
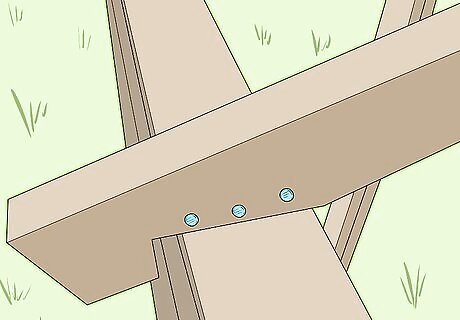
Attach the end rafters to the wall plates of your shed frame. Lower the first rafter truss into place at either the front or back of the shed. Fasten the truss by driving 8D finishing nails at an angle down through the board just above the birdsmouth notch and into the underlying wall plate. Use 3 nails for each side. When you’re done, install the opposing truss in the same fashion. Make sure the birdsmouth notches seat securely over the wall plates, and that the outer edge of the truss is flush with the outer edge of the wall. If you’re working alone, nail an unused 2 in (5.1 cm) x 4 in (10 cm) vertically to both ends of your shed. This will help hold your end trusses upright while you focus on positioning on the wall plates.
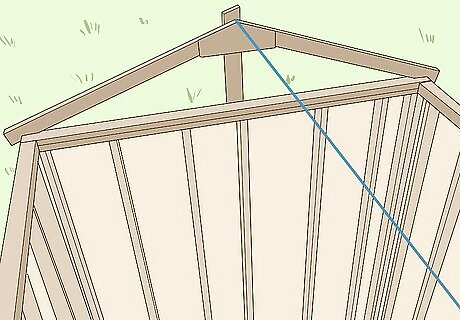
Run a string between your end trusses to help you set the other rafters. Drive a nail straight down into one of your rafter peaks and wrap the string around it a few times. Pull the string taut and anchor it around a second nail on the opposite end of the shed. The string will serve as a visual guide to help you make sure the rest of your rafters are set and centered correctly. If you don’t want to leave nail holes in your rafters, you can also tie a knot at both ends of the string and tuck the knots into the joints where the boards of the rafter peaks meet. Pull your centering string tight enough to be perfectly straight, but not so tight that it places strain on your end rafters.
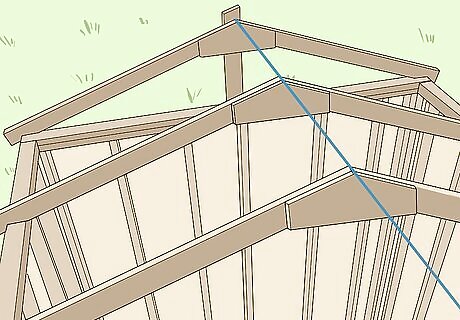
Set your remaining rafters using your centering string for reference. Work your way from one end of the shed to the other putting your rafter trusses in place and checking their alignment against the string. When you’re satisfied with the positioning of a truss, toe-nail it using 8D finishing nails the way you did your end rafters, then move on to the next truss. Ideally, you should have a helper around to hand you up every next truss whenever you’re ready for it. Don’t forget to remove your centering string once you have all of your rafters installed successfully.
Assembling Your Roof's Substrate
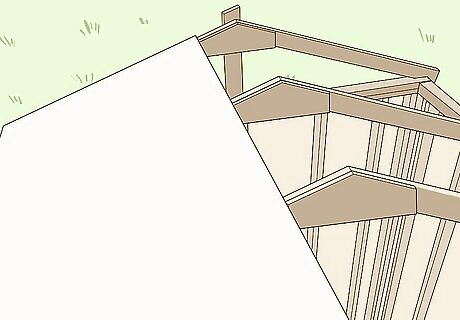
Cover your rafter trusses with plywood sheathing. Put down your first sheet of plywood at the corner of one end of the roof. Make sure it’s lying horizontally across the exposed rafters, and that the edges are flush with the edges of the end rafters. Drive a nail into each corner of the plywood to hold it in place temporarily. Most constructions experts recommend using ⁄16 in (1.1 cm) oriented strand board (OSB) for small-scale roofing projects. Plywood sheathing will provide structural support for your new roof, as well as give you a flat, stable surface to attach your other roofing materials too.
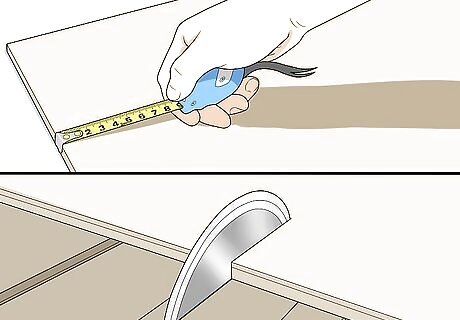
Measure and cut additional plywood to fill in any gaps in the sheathing. Plywood is sold in large sheets, which means that you’ll most likely need to use multiple sheets and cut them to fit. Try to cover the remaining space using as few pieces as possible, starting from the lower portion of the roof. It’s important to cut your plywood so that the end of each section covers half the width of the rafter it’s resting on. That way, the neighboring section will fit in easily beside it, and you’ll have a nice solid surface to nail into. Make all your cuts with your plywood oriented the same way to ensure that the strand grain is running in a single direction. A consistent grain pattern will increase the strength of your roof sheathing.
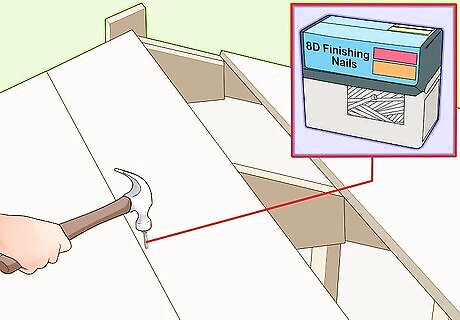
Fasten your plywood sheathing to the rafters using 8D finishing nails. Drive nails every 6 inches (15 cm) through the face of the plywood and down into the rafter below. Work your way up the length of each rafter from the bottom edge. When you’re done, look for any loose sections of plywood that may require additional nails. For the sake of caution, do your fastening from your ladder, reaching as far as you can safely with your hammer or roofing nailer. The combined strength of the OSB and supporting rafters will be capable of withstanding weights of up to several hundred pounds.Warning: Avoid climbing onto the roof until the plywood has been completely secured from the bottom.
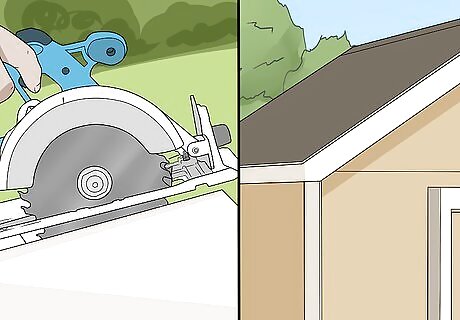
Cut fascia boards to finish the edges of your roof. Once you have the sheathing in place, your final task will be to mount fascia boards to cover the exposed ends of your rafters. Cut your 2 in (5.1 cm) x 4 in (10 cm) or 2 in (5.1 cm) x 6 in (15 cm) to match the length of the shed. Fasten the fascia boards by nailing them to the end face of every other rafter using 8D finishing nails. You’ll need to put up 2 fascia boards for gable, gambrel, skillion, and saltbox and other slanted roof styles—1 for each sloped edge. For flat roofs, it will look best to install a fascia board on every side. When cutting your fascia boards, be sure to use the same size lumber as you did for your rafters to guarantee an exact fit.
Choosing and Installing Your Roofing Materials
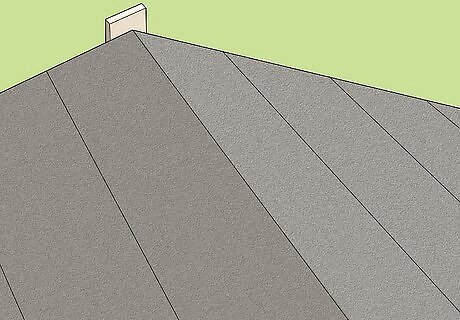
Attach strips of felt roofing paper for baseline protection. Line up the loose edge of the roll with one of the bottom corners of your roof and fasten it using 10-12 staples grouped closely together near the center of the strip’s edge. Gradually unroll the paper across the rooftop, stopping to add more staples every 1–2 feet (0.30–0.61 m). Depending on the size of your roof, you may need to cut excess paper from the end of each strip using a straightedge and utility knife. To ensure complete coverage, make sure the bottom edge of each strip overlaps the top of the strip below it by at least 2 inches (5.1 cm), and that all strip ends overlap by at least 4 inches (10 cm). Double-check that your roofing felt is straight, flush, and wrinkle-free before stapling it down. Roofing felt can be used on its own as a cheap and easy surfacing solution or as a preliminary substrate for attaching asphalt shingles.
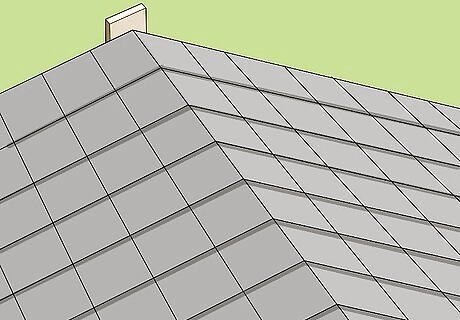
Install asphalt shingles on your roof for an attractive traditional look. Cut several full-sized shingles in half widthwise with the aid of a straightedge and utility knife and nail them along the bottom edge of your roof. These will serve as a starter strip. Proceed to install the remaining shingles from bottom to top in rows offset by 1 tile's width. Secure each shingle at the top using three 1 in (2.5 cm) roofing nails. Use a chalk line or straightedge and framing square to ensure that your rows remain neat and orderly all the way across your roof. Make sure the top and bottom of each row overlap by 2 inches (5.1 cm).
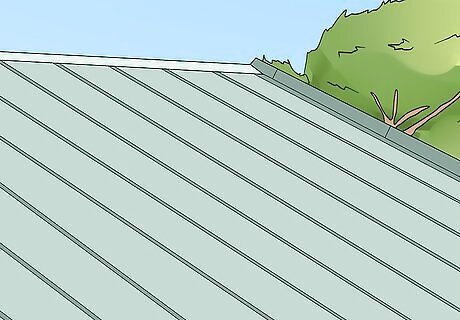
Put in a corrugated metal roof for a more durable, customizable option. Cut your sheet metal to size using tin snips, power shears, or an electric nibbler tool. Lay out each section vertically, so that the ridges slope toward the ground—this will create runoff. Fasten each sheet by driving sharp metal roofing screws into both sides of the ridges down the length of the underlying rafter. You can find a wide selection of metal roofing options in various materials, styles, and colors at your local home improvement center. One of the biggest downsides of metal roofing is that the surface is vulnerable to rust and corrosion, which means it will need to be painted over every 2-3 years in order to maintain its appearance.
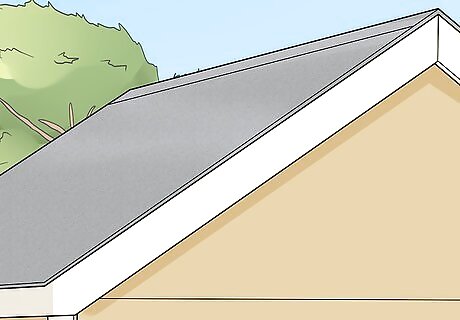
Try out EPDM rubber roofing for a simple and inexpensive covering. Load a paint roller with high-strength construction adhesive and brush the glue onto your plywood substrate in 3–5 ft (0.91–1.52 m) strips. Then, pause and unroll enough rubber sheeting to fit over the glued area. Continue until you’ve covered the entire roof, then trim the excess material from the edges using a straightedge and utility knife. Apply your rubber sheeting carefully and take a few moments to smooth the surface afterwards to make sure it’s free of wrinkles, creases, or bubbles. EPDM is sold in large rolls that are designed to be draped over a roof in a single sheet and cut to fit. You can usually pick up a 10 ft (3.0 m) x 10 ft (3.0 m) roll for around $100.


Comments
0 comment