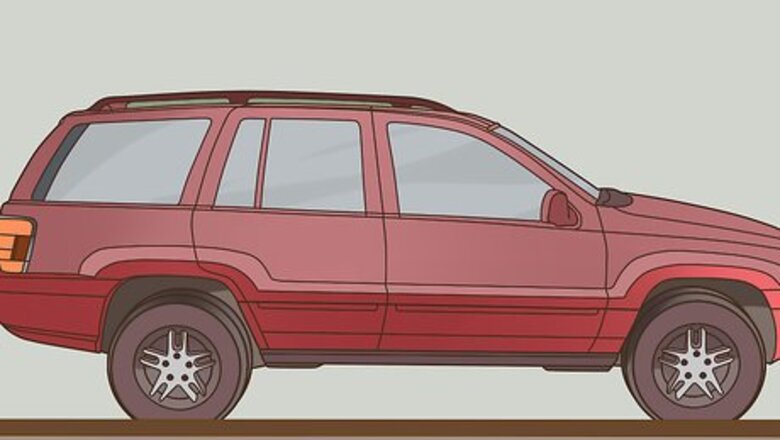
views
Preparing and Jacking Up the Car
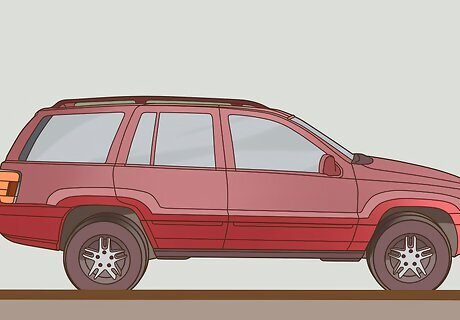
Pull safely to the side of the road. Make sure that you're parked away from ice, snow, and traffic.
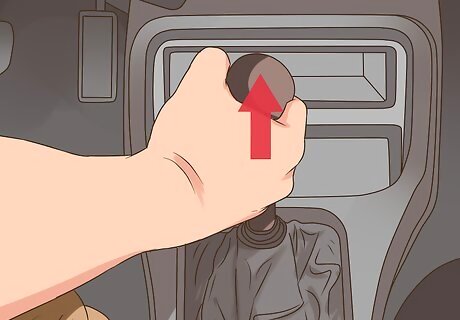
Place your transmission into the 'Park' position, and engage the parking brake by pulling up on the parking brake lever until the word 'BRAKE' appears in red in the instrument panel.
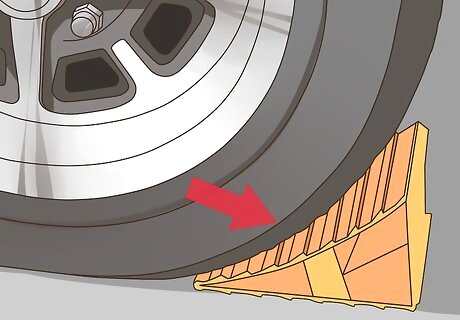
Block off the tire and wheel diagonal to the tire you'll be changing. For example, if you're changing the right rear tire, then you'll want to block off the left front tire and wheel by using a wheel chock.

Do not allow yourself or any of your passengers to remain inside of your vehicle while you're changing the tire.
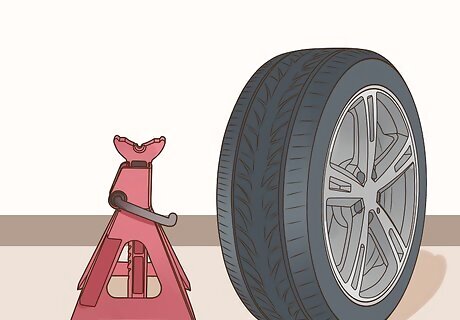
Get the supplies you need. Your Jeep's spare tire and wheel, as well as the jack, are located underneath of the rear cargo floor. To access these items, open the rear cargo hatch, and open the carpeted rear cargo cover. To remove the spare tire and wheel, fully loosen the wing nut holding them into place, and set aside the wing nut. Remove the "J" hook that secures the spare tire and wheel to the vehicle, and set it aside as well. Remove the spare tire and wheel from their location, and lay the spare tire and wheel flat on the ground with the outside of the wheel and the tire valve stem facing outwards towards you. Remove the jack from the spare tire storage location.
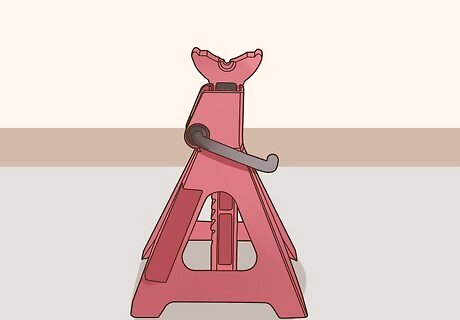
Get your tools out. The tools that you'll need to jack up your Jeep are located under the right rear passenger's bench seat. To access the jack tools, pull up on the vinyl loop to fold the passenger's side rear bench seat cushion up. Remove the jack tools from the floor underneath of the rear passenger's bench seat. You do not need to fully fold the rear passenger's bench seat backrest down, so keep the backrest in the fully locked and upright position.
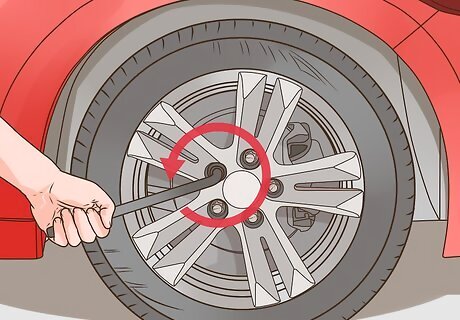
Before jacking up your Jeep, insert the lug nut wrench tool onto the jack rod tool, and loosen each lug nut on the tire to be changed by one turn. Do not loosen the lug nuts any more than one turn until the Jeep is up off the ground.
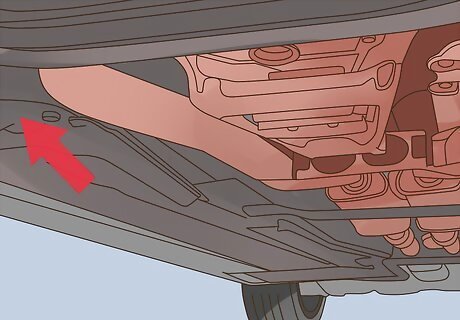
Find the jacking location underneath of your Jeep, closest to the tire you'll be changing. Insert the jack into the notch of the jacking location you'll be using (usually indicated by a notch on the underside of the Jeep), and make sure it is fully engaged. Do not begin to raise the Jeep up off the ground until you're sure the jack is fully engaged in the jacking location notch.
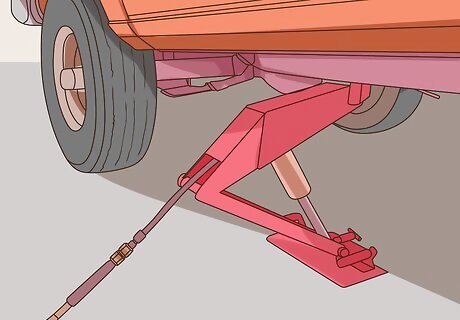
Make sure the jack is fully engaged. Then insert the jack rod into the jack, and use the lug nut wrench tool to turn the jack rod clockwise (towards you) to begin to raise the Jeep up off the ground. Lift the Jeep slowly, watching for any unexpected movement. Stop if any movement occurs. Lower the vehicle, and reset chocks or reposition the vehicle if needed. Only raise the Jeep up off the ground until you gain enough clearance that's required in order to remove the tire off of the wheel hub. Minimum tire lift provides maximum stability.
Changing the Tire
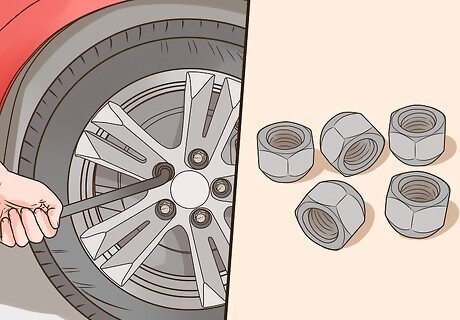
With the Jeep raised up off the ground, remove the lug nuts by using the lug nut wrench tool. Make sure they're all removed. Put them together in the wheel cover or another safe place.
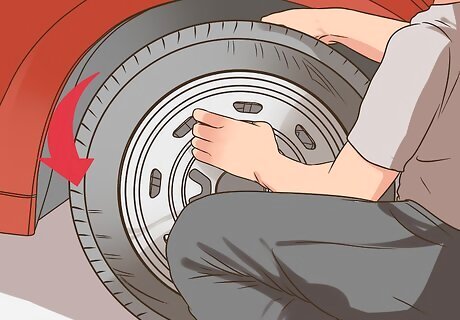
Remove the tire and wheel off of the wheel hub. Set the tire flat on the ground, with the face of the wheel and the tire valve step facing towards you.
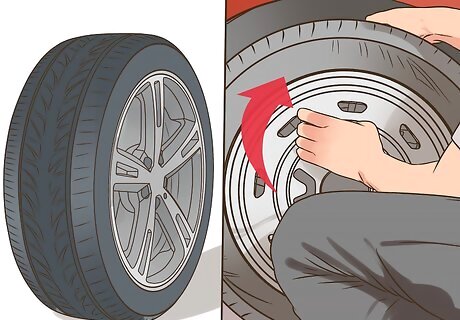
Place the spare tire and wheel onto the wheel hub. Make sure the spare tire and wheel is straight on the wheel hub.
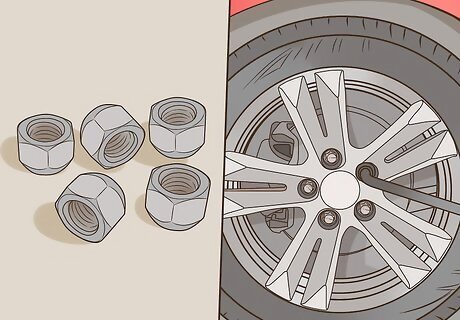
Insert each lug nut onto the spare wheel and start to turn by hand. Follow a cross pattern to create consistent contact across the wheel. Do not tighten the lug nuts by hand.
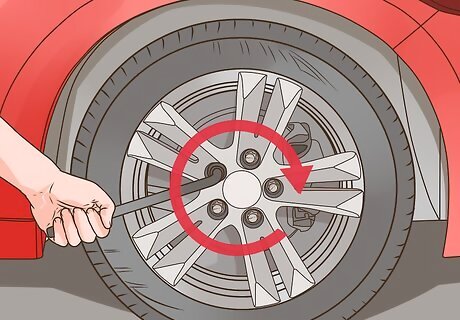
Tighten the lug nuts in the same cross pattern by using the lug nut wrench tool. You should use as much effort as possible in order to ensure that the lug nuts are tightened properly. You'll finish securing the lug nuts once your Jeep is back on the ground.
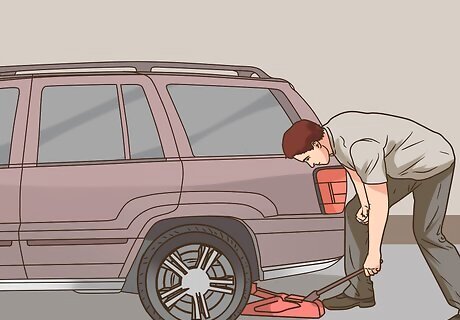
Insert the jack tool into the jack, and begin to turn the jack tool counter-clockwise (away from you) to lower the Jeep back onto the ground. Do not remove the jack tool or the jack until you're sure your Jeep is fully back on the ground.
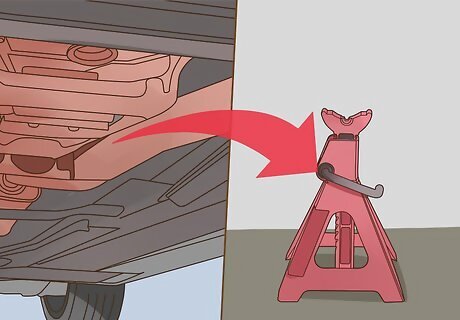
Remove the jack tool and jack from underneath of the Jeep and the jacking location.
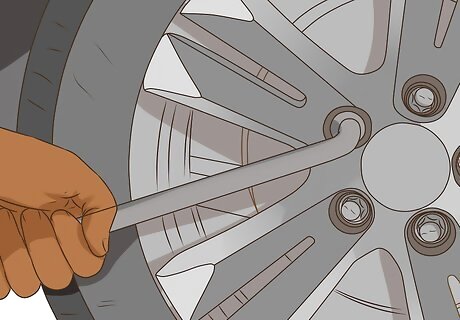
Use the lug nut wrench tool in order to finish fully tightening the lug nuts on the spare wheel. Again, maximum effort should be used in order to ensure that the lug nuts are fully tightened onto the spare wheel.
Finishing Up
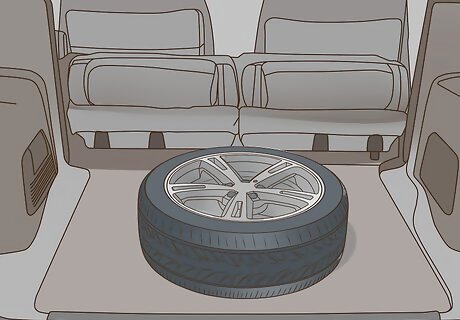
Put your tools back. You're almost done now! With the Jeep lowered back onto the ground, unblock the wheel you blocked in the first few steps, and open the rear cargo hatch. Place the jack back into the spare wheel and tire location underneath of the rear cargo floor, and store the wheel and tire you removed back into the spare wheel and tire location. Secure the wheel and tire by using the "J" hook and wing nut you removed in the first few steps. Replace the carpeted rear cargo cover.
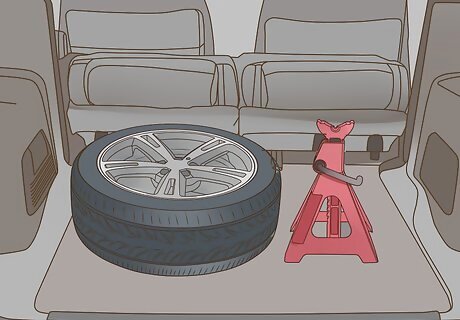
Disassemble the lug nut wrench tool from the jack tool. Store both spare tire tools in their original locations underneath of the rear passenger bench seat cushion, and fold the rear passenger bench seat cushion back into its original, flat position.
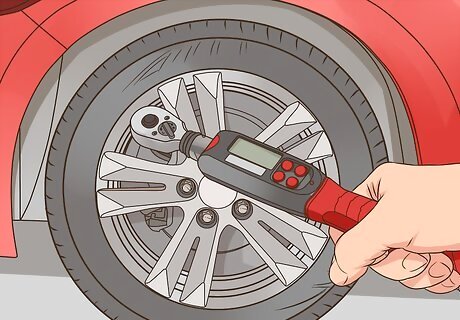
Get some professional input as soon as possible. You should have the lug nut tightness checked by your Jeep dealership's service department, or by an authorized service station by a torque wrench in order to ensure that you've tightened the lug nuts on the spare wheel and tire securely. It's also a good idea to replace the tire that you removed as soon as possible. That's it, you're done!


Comments
0 comment