views
Disassembling the Beer Keg
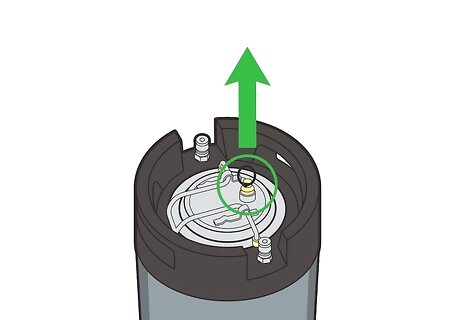
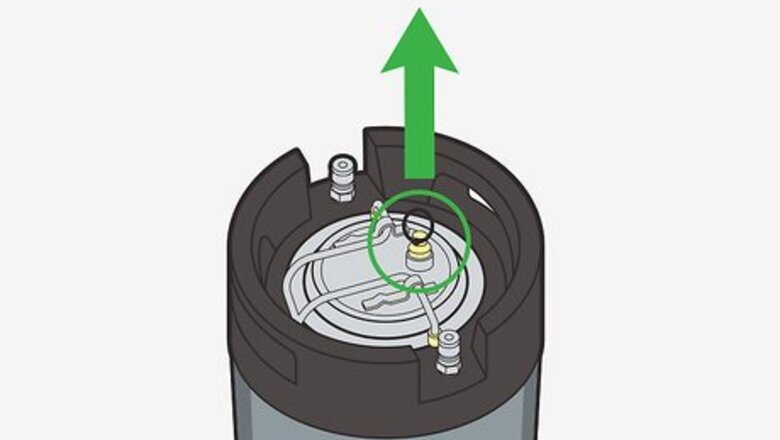
Depressurize the keg before cleaning. A keg will have to be completely depressurized before it is disassembled, otherwise you risk damaging the keg and hurting yourself. Leave the tap open and let any remaining liquid and pressurized air escape before trying to remove the lid. Once the hissing sound caused by escaping pressurized air has stopped, the keg will be completely depressurized.
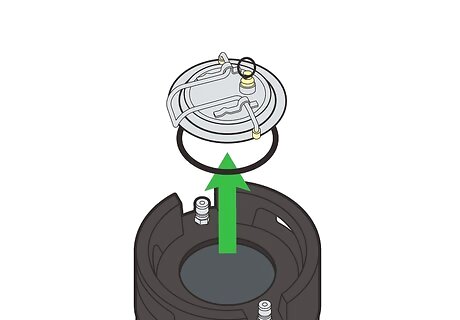
Remove the keg’s lid and the sealing O ring. Before you begin cleaning the interior of your keg, you’ll need to remove the top. The lid can usually be lifted off easily by squeezing and lifting the retaining bail, and the rubber gasket underneath can be pried off with your fingers. The lid and O ring can both be cleaned using warm, soapy water and a sponge before they’re placed in the alkali wash.
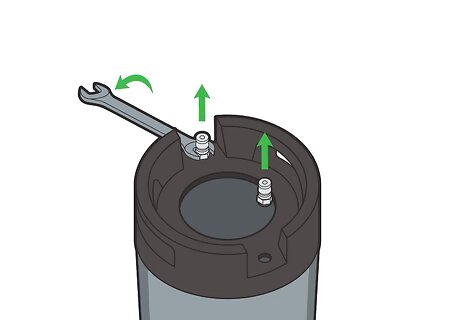
Remove the two valve assemblies. Your keg should have two valve assemblies on top: one for connecting the air line and one for connecting the beer supply line. Use a wrench to unscrew these two valves. You will need to use a standard hex wrench to unscrew the valve assemblies. The size of the fittings can vary, so try different wrench sizes until you find one that fits. The valves will likely be connected to the body of the keg either by ball-lock or pin-lock connectors. Although the two types of connectors are slightly different, they both serve the same function and can be removed with the same type of wrench.
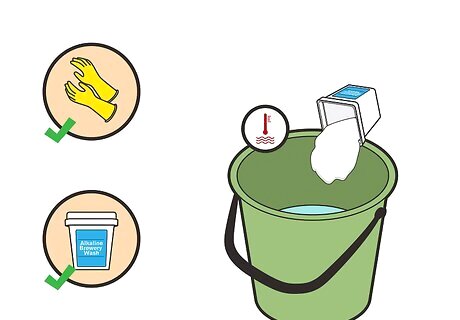
Prepare or purchase an alkali wash for cleaning the keg. Kegs and their components are best cleaned using an alkali wash designed specifically for cleaning brewing equipment. Mix the cleaner with hot water in a separate bucket according to the proportions specified by the manufacturer. Powdered Brewery Wash (PBW) is a popular example of a commercially available alkali-wash cleaner. Other commercial keg cleaners are available for purchase at a homebrew supply store or your local hardware or home supply shop. The abrasive alkali mixture will harm unprotected skin, so wear protective plastic gloves to keep your hands safe.
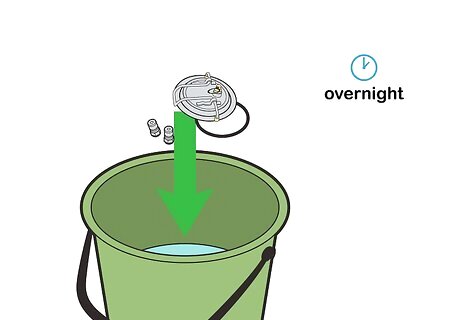
Place the smaller parts into a bucket with alkali wash. The lid, gasket, and valves should be placed into a clean plastic bucket for soaking (your fermenter bucket should suffice). Make sure that the bucket is large enough to allow each piece to be fully submerged in liquid. Agitate the bucket to shake the components in the solution, and let the bucket sit overnight. If you’re worried about children, animals, or insects falling into the bucket, cover it with a plastic lid or a small sheet of plywood.
Washing the Keg
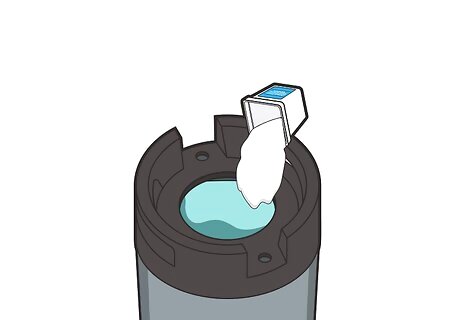
Fill the keg with the alkali wash. Pour the wash into both the plastic bucket and the keg itself. Fill the keg as high as possible to ensure that the entire interior is cleaned, and make sure that the lid, gasket, and valves are completely submerged. Then seal the keg lid, and shake vigorously. If the keg is too large or heavy for you to pick up and shake, you can tip the keg up on its edge and roll it back and forth. This will slosh the cleaning fluid around inside.
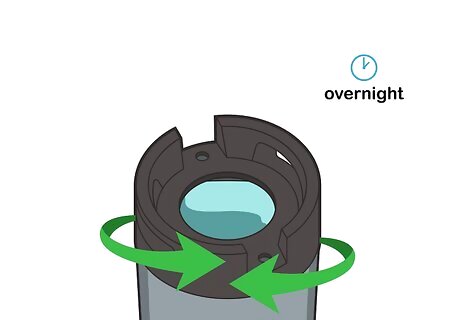
Soak the beer keg in the alkali wash. Once you’ve shaken or agitated the keg with the alkali mixture inside, leave the keg and its components to soak for at least an hour. If you have time, let the keg soak overnight. The alkali mix will continue to clean the inside of the keg while it sits undisturbed.
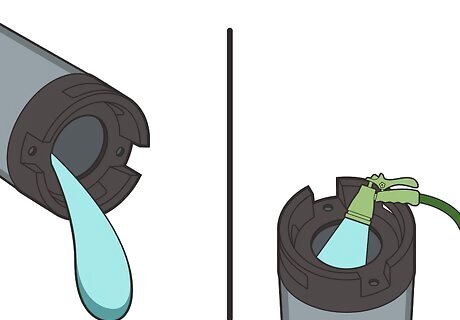
Drain and rinse the alkali wash. After ideally about 24 hours of soaking, dump the alkali wash out of the bucket and the keg. Rinse the keg and its parts once with hot water. If you are at a bar or brewery and can heat your rinse water to a specific temperature, aim to make it about 161°F (71.5°C). Once you’ve rinsed the interior of the keg, any remaining residue can be scrubbed away using a regular carboy brush and then rinsed with warm water. However, most alkali wash formulations are designed to work without scrubbing.
Sanitizing and Reassembling the Keg
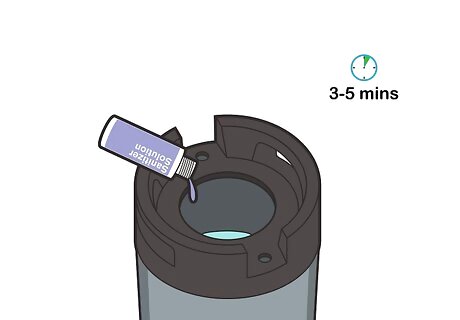
Soak the keg and its parts in a sanitizer solution. Cleaning a keg is pointless without the extra step of sanitizing, which gets rid of all microbial life that could ruin your beer. Pour a gallon of water into your keg, and follow this with a no-rinse sanitizer. Then let the solution sit for 3-5 minutes. Finally, pour the sanitizer solution out of the keg. Popular acid washes that are sold at homebrew supply stores include Saniclean and Star San. Both of these products are designed to be used without rinsing afterwards.
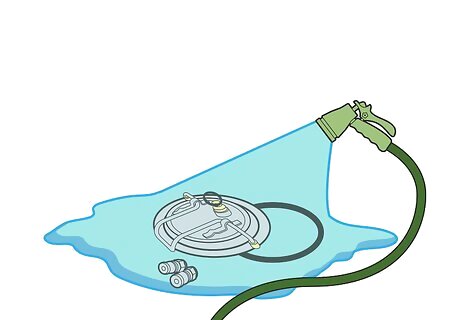
Rinse the keg components in the alkali wash bucket. Now that you’re ready to put the components of the beer keg back together, it’s time to clean off the lid, O-ring gasket, and valves. Wearing a pair of protective plastic gloves, reach into your alkali-wash bucket and pull out the keg components, then rinse them clean under warm water. Once you’ve rinsed the O-ring, gaskets, and valves, dry them off using a clean towel or cotton cloth.
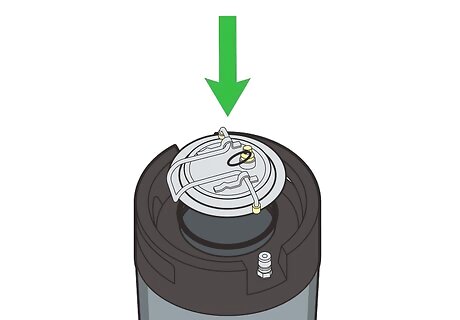
Reassemble the beer keg. First, re-attach the two cleaned valves to their respective housings in the keg body. Then place the cleaned O ring back on top of the keg opening, and replace the lid on top. Press down firmly on the lid until it snaps back in place under the plastic bail. Once you’ve reassembled the components of the keg, store the entire assembly in a clean, dry area until use.


Comments
0 comment