views
Printing Handouts the Quick Way
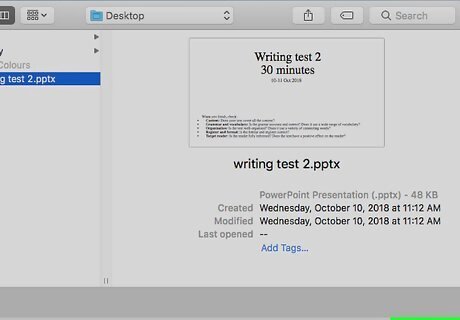
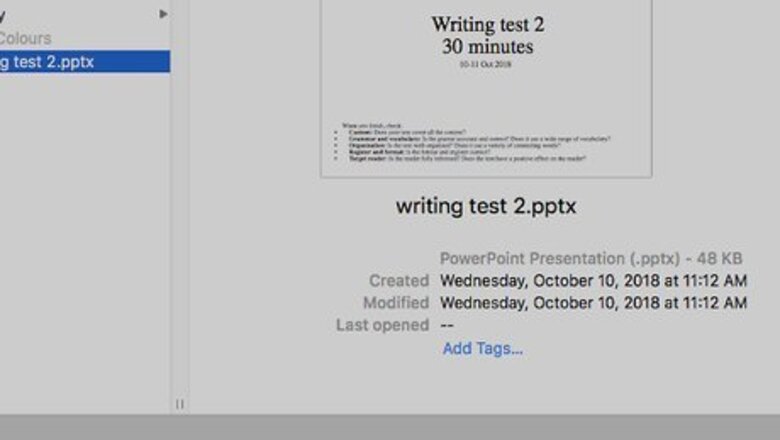
Open your presentation in PowerPoint. You can do this by double-clicking your .PPTX, .PPTM, or .PPT file. You can also open PowerPoint first (you'll find it in the Start menu on Windows and in the Applications folder in macOS), go to File > Open > Browse, select the file, and then click Open.
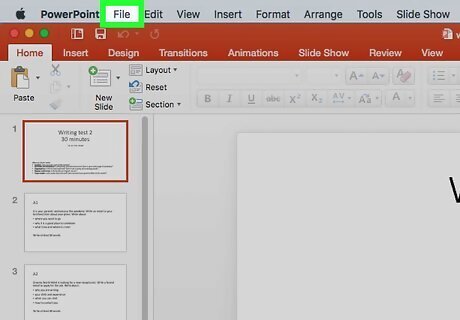
Click the File menu. It's in the upper-left corner.
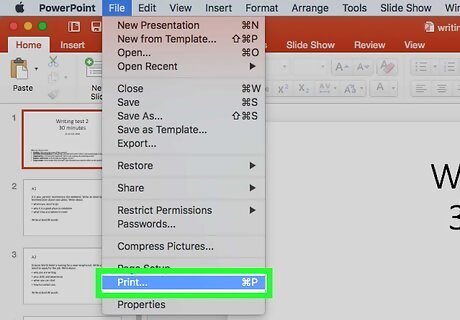
Click Print on the menu. It's in the left panel.
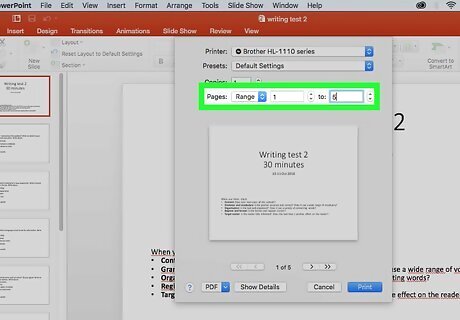
Choose which slides to include in your handout. In the first drop-down menu under "Settings," the Print All Slides option is selected by default—this means all slides in the presentation will be on your handout. If you'd rather select certain slides, choose Custom range and then enter the slide numbers, such as 2-10, or 1, 2, 4.
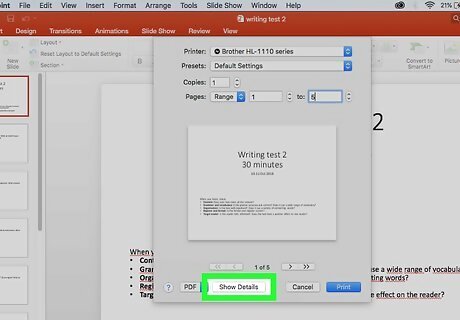
Click the Full Page Slides menu. It's the second drop-down menu under "Settings." A variety of print layouts will expand.
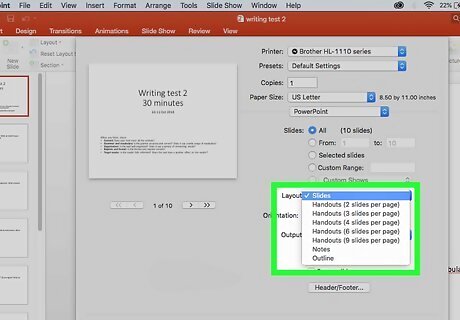
Click a handout layout. The options in the "Handouts" section each display how many slides will appear on each sheet, as well as their alignment. Click the layout that represents how you'd like the slides to look on each page. Keep in mind that the more slides you print on one page, the smaller the text will be on each slide—if your slides are text-heavy, 6 slides per page should be your limit. If you want to encourage viewers to take notes as they watch your presentation, try the "3 slide" option—this prints three slides per page with ruled areas for note-taking next to each slide.
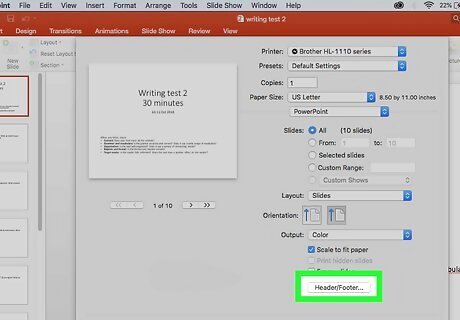
Click the Edit header and footer link to edit your header and footer (optional). It's the link below the print option menus." This is where you can include (or remove) page numbering, date formatting, and custom text to the top and/or bottom of each slide. To add the date and time, check the box next to "Date and time" and choose whether to update the time automatically (based on time of printing) or leave it fixed (date of your choosing). To add custom text to the top of each printed page, check the box next to "Header" and enter your text in the corresponding box. To add text to the bottom of each page, check "Footer" and add text to the corresponding box. If you make any changes in this window, click Apply to All to save your changes and return to the Print screen.
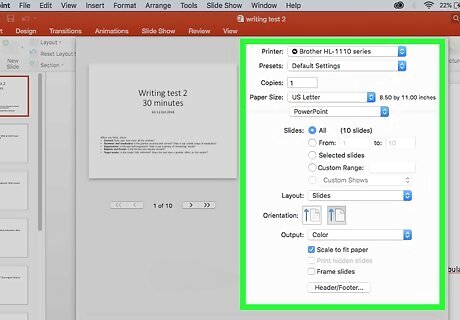
Choose the rest of your printing options. Now that you've set up your handout, you'll just need to select the printer you want to use, the number of handout sets to print, page orientation, and color preferences. If you're printing multiple sets of handouts, make sure to select Collated from the menu if it isn't already selected. F
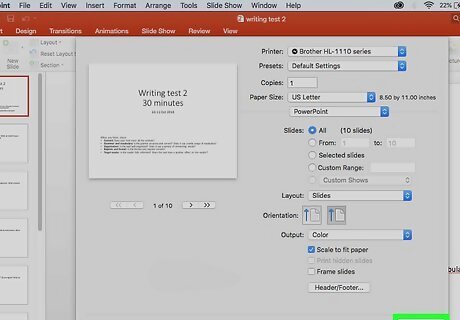
Click Print to print your handouts. If you want to learn how to further customize and save your handouts for future printing, check out the Creating a Custom Handout Master.
Creating a Custom Handout Master
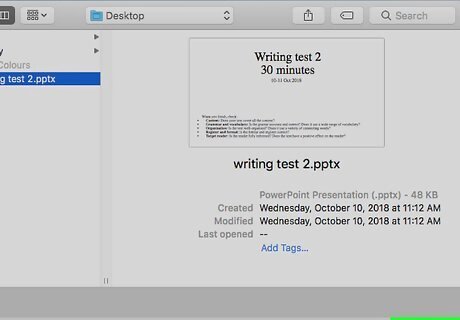
Open your presentation in PowerPoint. If you want to create a handout that has more custom options than the quick printout in Printing Handouts the Quick Way, start by double-clicking your .PPTX, .PPTM, or .PPT file. You can also open PowerPoint first (you'll find it in the Start menu on Windows and in the Applications folder in macOS), go to File > Open > Browse, select the file, and then click Open.
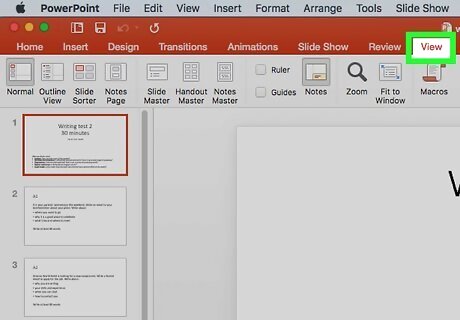
Click the View tab. It's at the top of PowerPoint.
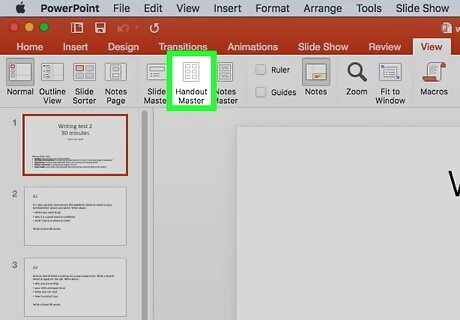
Click the Handout Master icon. It's in the toolbar at the top of the screen in the "Master Views" section. A preview of your handout will appear.
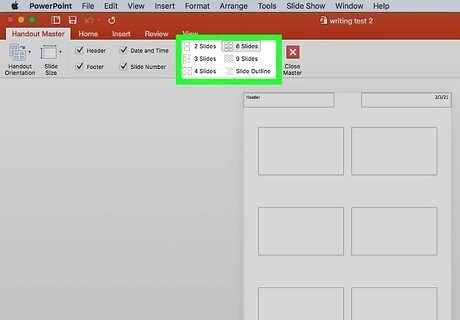
Choose how many slides to display on each handout. To do this, click the Slides Per Page menu in the upper-left area of the toolbar and select anywhere from 1 to 9 slides. The more slides you include on a page, the smaller the text will be on each slide.
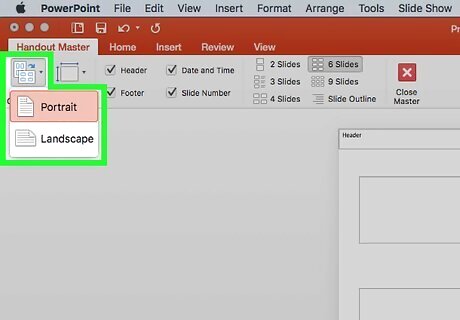
Click Handout Orientation to choose an orientation. You can choose Portrait (vertical) or Landscape (horizontal).
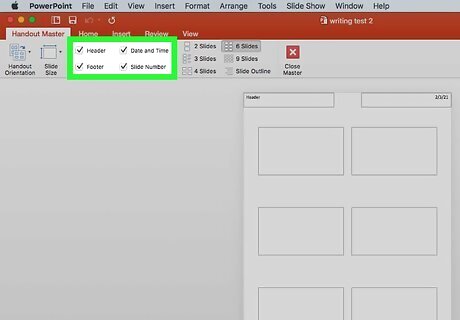
Choose which placeholders to keep on the handout. The placeholders are the header, footer, date and page number info at the top and bottom corners of the page. Each of these elements has a corresponding checkbox in the "Placeholders" panel on the toolbar, and you can check or uncheck whatever you'd like.
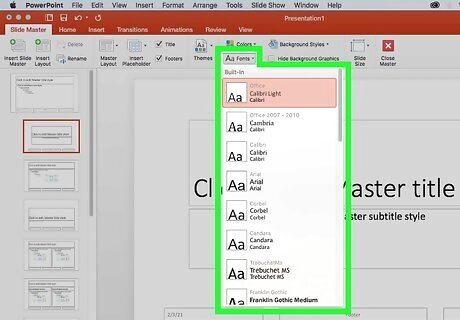
Click Fonts to choose fonts for the handouts. It's in the toolbar on the "Background" panel. Your header, footer, date, and page numbers will all appear in the selected font when you print the handouts. You should only use royalty free fonts if you don't have a license to use a font.
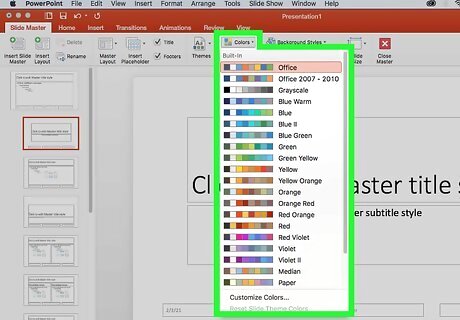
Click the Colors menu to choose a color scheme. Since you're just creating handouts, this option will only give you a list of background colors to choose from. This menu is on the "Background" panel of the toolbar. Select a theme that includes a color you'd like to use for the background. In the next step, you'll be able to choose your new background color from these scheme. It's not usually advised to print a background color on handouts—it uses a lot of ink. Try to keep the fancy colors to your actual presentation!
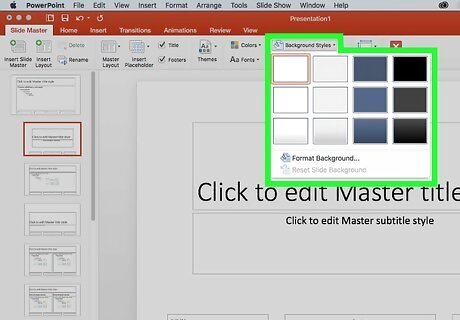
Click Background Styles to choose a background color. The available colors and styles are based on the color scheme you selected. If you don't just want a basic background color, click the Background Styles menu again and select Format Background to expand the Format Background panel on the right. Here you can choose different background fills, such as images, textures, and gradients.
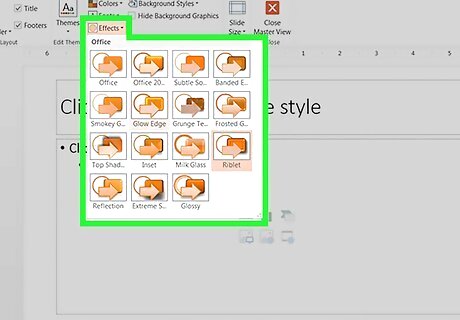
Click Effects to choose an Effects theme. It's on the toolbar at the top of the screen. These effect themes include 3-D objects, gradients and background styles.
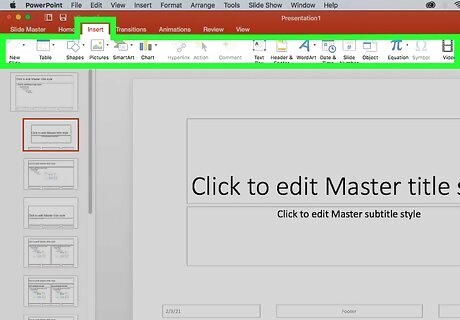
Insert other objects into your handouts. If you want to include other objects, such as images, shapes, or a custom header or footer, click the Insert tab, and then insert whatever you'd like. For example, if you want to include an image on each printed handout page, click the Insert tab, select Pictures, choose your image and place it at the desired location. If you want to include custom text at the top or bottom of your handouts, click Header & Footer on the Insert tab, check the box next to "Header" or "Footer" (or both!) and type your desired text. When you click Apply to All, the handout master's header and footer will update to your new preferences.
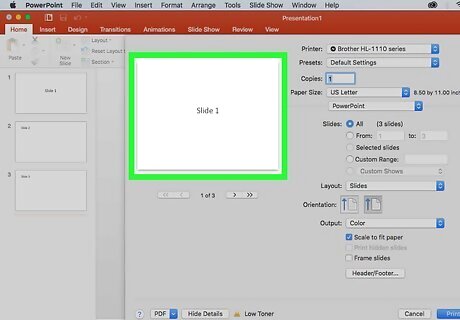
View a preview of your handouts. To do this, click the File menu and select Print–the preview will appear in the right panel. After you view the preview, click the arrow at the top-left corner to return to the previous screen.
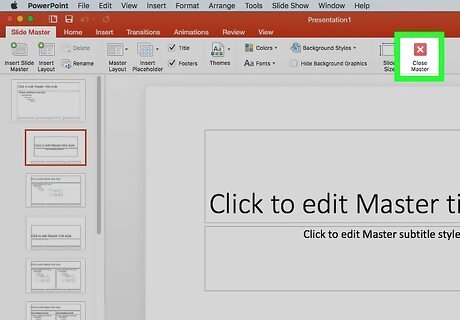
Click Close Master View. It's the icon with a red-and-white X in the toolbar. This closes the handout master editor. Now that you've customized your handout master, these settings will be in place when you're ready to print. To print, just go to File > Print, choose your printer and color options, and click Print.




Comments
0 comment