
Estimated time of completion: 5-10 minutes to create the rose centers plus 24 hours to dry, 15-30 minutes for the remaining rose.
Making the Rose Center
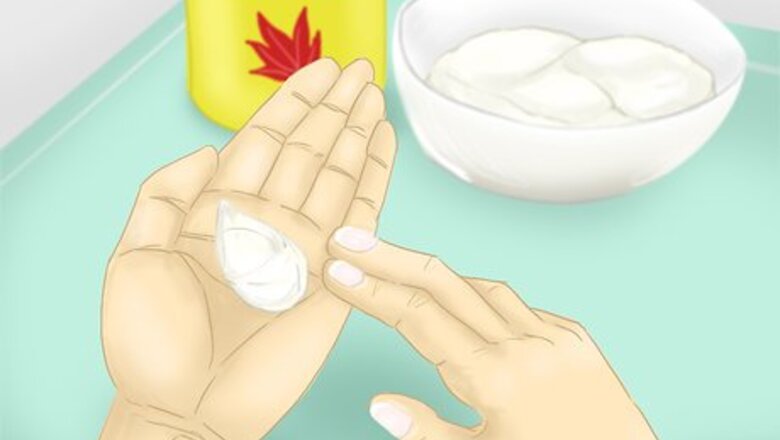
Make the rose core. Roll a small ball of gumpaste into a tear shaped center. Make the rose cores a few days in advance to allow them to dry. The size will vary according to your desired flower size In general, it will be about the size of a small gumball. In general, it will be about the size of a small gumball.
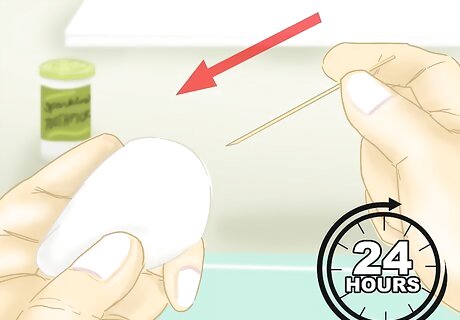
Create a base. Place a toothpick in the bottom of the thicker side and let dry for about 24 hours. These can be held up to dry by sticking the other side of the toothpick into a Styrofoam block or plastic cup.
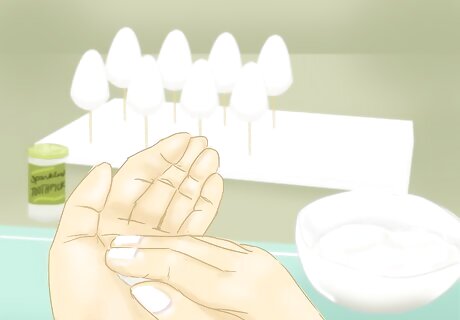
Make as many centers as roses needed.
Creating the Rose
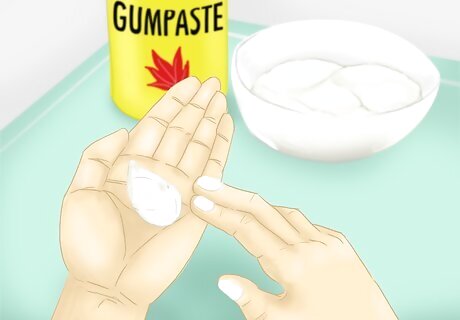
Color the gumpaste. After wearing gloves, use a toothpick and dip the edge into the desired gel paste color and mix it into the gumpaste. Knead until thoroughly mixed. Choose colors that match your theme. Make a small amount of green for the calyx of the rose.
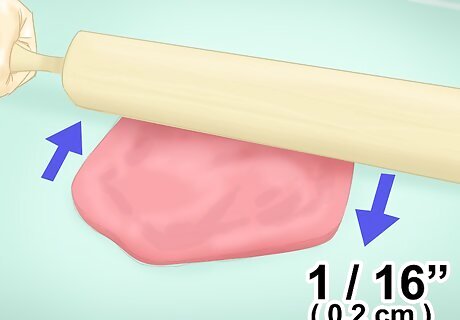
Roll out the gumpaste. Use the rolling pin to roll out the colored gumpaste for the rose petals on the rolling mat. This should be rolled out to about ⁄16 inch (0.2 cm) thickness. Cover any remaining gumpaste that is not in use so that it doesn’t dry out.
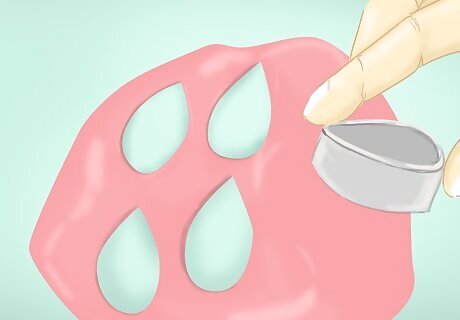
Cut the petals. Use the tear-shaped cutter to cut out the rose petals. Around an average of 15 petals will be used for each rose. This will vary and mainly depend on the desired rose size.
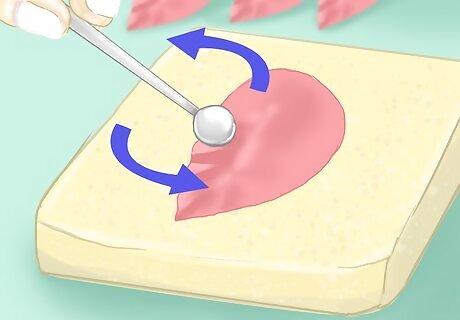
Shape the petals. Take each petal and place it on the foam pad one at a time. Use the ball tool to gently rub and outline the edge of the tear shaped petal. You may have to go over it once or twice to get the desired effect. Be careful not to rub too hard or you may rip the petal. This will give the rose a natural look. You may want to put a very small amount of cornstarch on the pad to prevent the gumpaste from sticking.
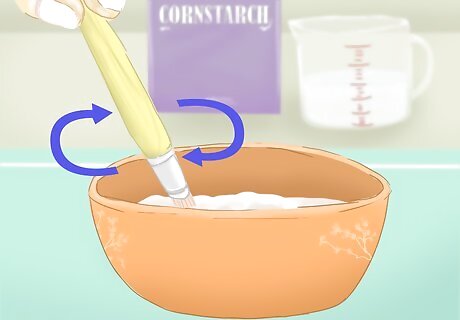
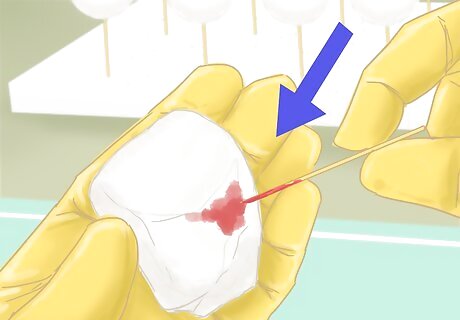
Make the "glue". Using a small bowl, mix some water and a teaspoon of cornstarch. Mix with the brush.
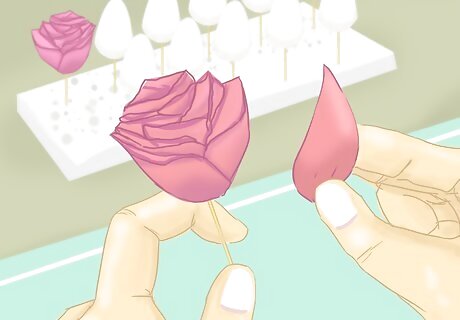
Stick the petals onto the rose. Use the brush to dab a small amount of this “glue” to the petal, then place the petal onto the core of the rose. The first few petals should be close to the core, but as the layers add, begin to open up and spread apart the petals more. You may curl out the petals to add a nice touch to the rose.
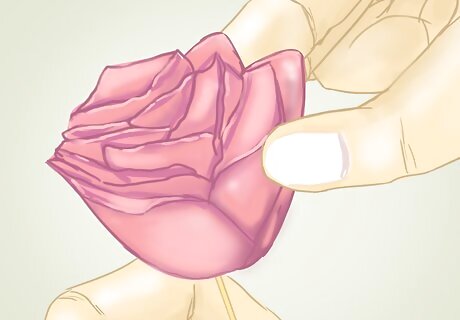
Continue to build your rose. Continue this technique until the rose seems full and you have reached your desired size.
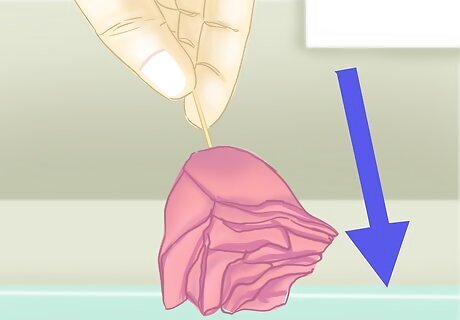
Add the finishing touches. Flip the rose upside down gently, and let the flower petals fall naturally. This will give it another natural feel. Be sure the rose doesn’t slip off the toothpick.
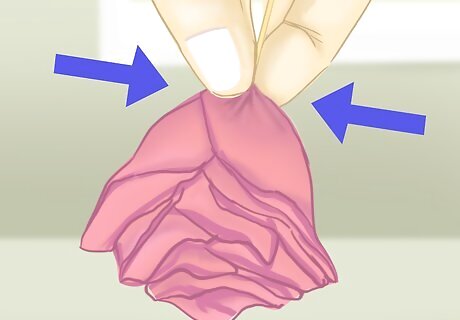
Secure the petals. While the rose is still upside down, gently press the petals to the base of the rose to assure good attachment
Creating the Calyx
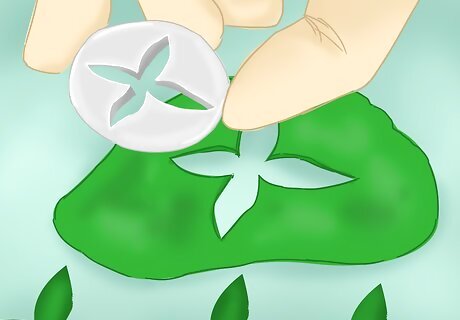
Create the calyx. To create the calyx, use the green gumpaste created and roll it out to about a ⁄16 inch (0.2 cm) thickness as well. Use the calyx cutter to cut the shape.
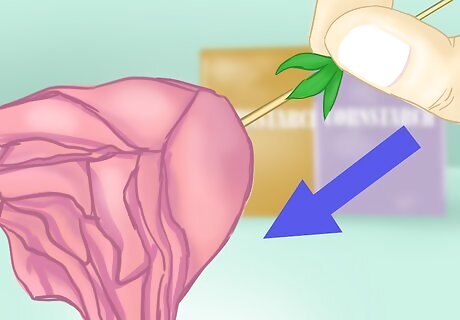
Attach the calyx. Dab some of the “glue” onto the calyx, and thread it through the toothpick to the bottom of the rose. Doing this upside down may be easier. Gently and slightly roll out the ends of the calyx to create a natural feel.
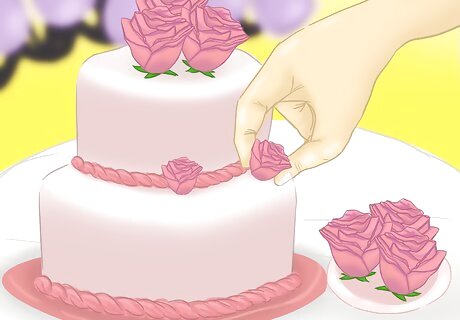
Add the final touches. After attaching the calyx, you may remove the toothpick and let the flower dry. You may attach to a cake after it dries.


Comments
0 comment