views
Performing a Muscle-Up on the Bar
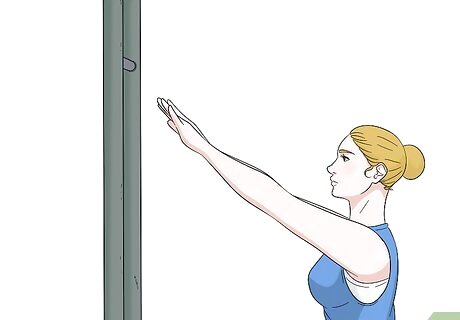
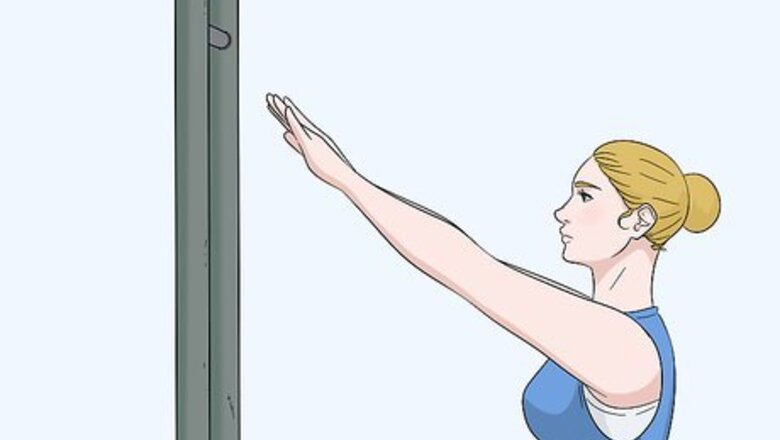
Stand away from the bar. Stand roughly 1 foot (30.5 cm) away from the bar. Raise your arms toward the bar at an approximate 45-degree angle. Always warm up with light cardio or resistance exercises before trying muscle ups. Warming up will prevent injury. You could do jumping jacks, push-ups, or arm circles. Do not stand directly beneath the bar as you would do when performing standard pull-ups. You'll need to generate momentum before lifting into the muscle-up. Performing the muscle-up will be much easier to accomplish if you start at an angle.
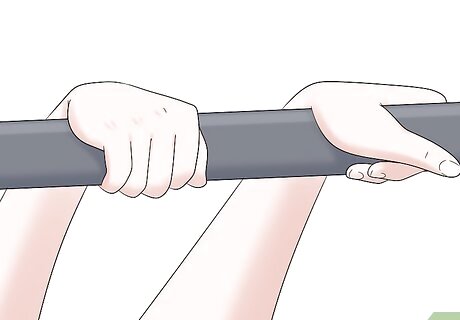
Grab the bar with a false grip. Jump up toward the bar and grab it with both hands. Use a false grip instead of a normal grip. If you're unfamiliar with the false grip, you should practice it several times before attempting to do an actual muscle-up. To form a false grip on the bar, keep your thumbs on the bar instead of circling around it. Think of the bar as the edge of a cliff. Don’t hold the bar like you would a bottle. Instead, grip it like you would if you were hanging from a ledge. Flex your wrists and point your hands slightly inward. The majority of your hand and wrist should sit directly on top of the bar. If you are unable to immediately grab the bar using a false grip, you can grab it with a normal grip as soon as you come into contact with it. Before progressing into the actual muscle-up, though, you should switch to a false grip. Using the false grip makes it easier for you to work the muscles in your upper body, rather than relying solely on your lower body's momentum to complete the exercise.
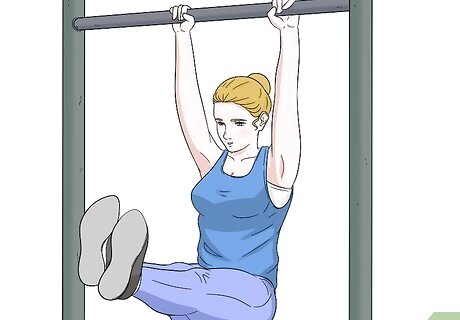
Swing on the bar. The forward leaping motion should automatically give your body some momentum. You should be able to feel yourself swing back and forth while hanging from the bar. You’ll need to begin the muscle-up when your body swings forward and peaks at the exact opposite position as your starting point. This movement is very similar to a kipping pull-up. Kipping pull-ups are performed by swinging your body and using your momentum to pop up, allowing you to pull your body up and get your chin over the bar. The kipping pull-up is essentially the first part of a muscle-up. Practice kipping pull-ups before attempting the muscle-up. If you're unaccustomed to this type of momentum, you may need to wait several swings before you can gauge the correct point. It's best to move into the actual muscle-up after only a few swings, however, since you'll gradually lose momentum with each one.
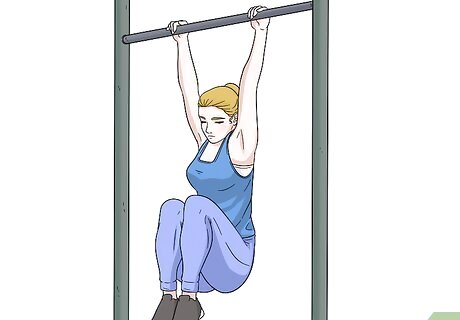
Kick your legs up. As soon as you feel the necessary shift in momentum, quickly bring your knees to your chest as though you were performing an ab crunch. Kicking your knees up will encourage your upper body to lean back, making it easier for you to lift it upward. It is possible to perform a muscle-up without kicking your legs up, but doing so would be more difficult and less beneficial overall. Lifting your knees to your chest works more muscle groups in your abdomen and lower body.
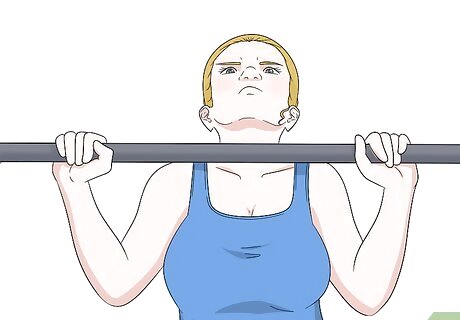
Pull your chin to the bar. While drawing your knees toward your chest, use your arms to lift your chin to the bar. Try to get as much height as possible during this lift. You should force your body at least as high as a normal pull-up, if not a little higher. When you get as much height as your arms alone can provide, do not release the tension and allow yourself to drop back down. Keep your arms bent over the bar and your elbows locked. If you are swinging correctly, your legs and back will be swinging backward. This positioning and momentum will allow you to roll your chest over the bar.
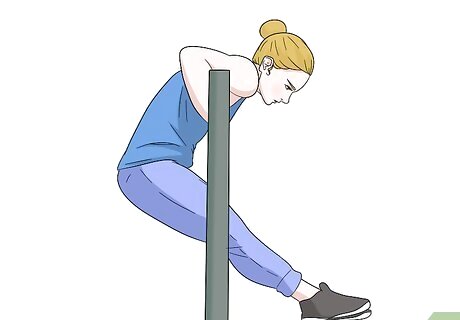
Roll your chest over the bar. Transition from the pull-up to a dip by leaning your shoulders over your hands as soon as possible. Doing so should cause your chest to rise above and over the bar. At this point, you can either keep your knees bent or begin kicking your legs out. Both forms are acceptable. But, kicking your legs out may further the momentum you’ve already built and make the motion easier to complete.
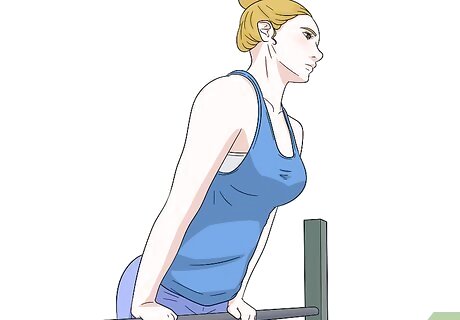
Press your hands down. Complete the dip and the muscle-up by pressing down on the bar with both hands. As you do this, you should naturally drive your body upwards and further above the bar. Continue until your arms are above the bar and fully extended. Work as slowly as needed to avoid injury. Focus on bringing your elbows above the bar, then gradually straighten your arms out as much as possible without causing strain or pain. Keep your core engaged. You may also need to adjust your grip at the height of the muscle-up. Switch your grip back from the false grip to the normal grip. Wrapping your thumbs around the bar at this point will help prevent you from slipping off as you adjust the position of your arms.
Performing a Muscle-Up on Rings
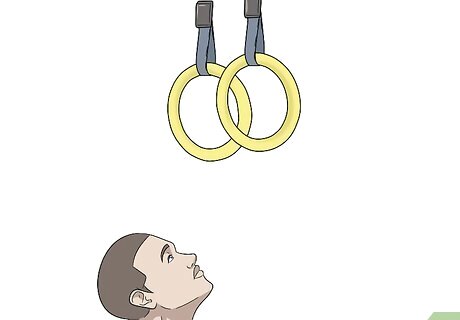
Stand beneath the rings. Position yourself directly between and beneath the rings. You should be able to lift your arms straight up with your elbows slightly bent when reaching for the rings. Unlike muscle-ups performed on the bar, you don't need to start with your body at an angle to build up starting momentum. Since the rings are flexible instead of rigid, it should naturally be easier to lift your upper body even without the extra swing. It should be noted that performing a muscle-up on rings is more difficult than on the bar. While it’s easier to gain momentum, the rings aren’t stable. Because the rings move it will require you to have more control over your body.
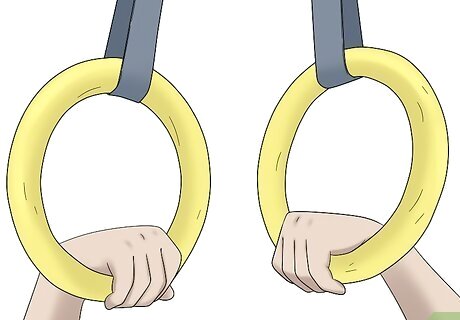
Grab the rings with a false grip. Raise your arms and grab both rings, using a false grip instead of a normal grip. If you're unfamiliar with the false grip, you may wish to practice it before attempting to perform a muscle-up. This grip is important because it removes your thumb and wrist joint from the equation and makes it easier to raise your body higher and transition between motions. To grab the rings with a false grip, rest your wrists on the rings and flex your hands down toward your elbows and pinky fingers.
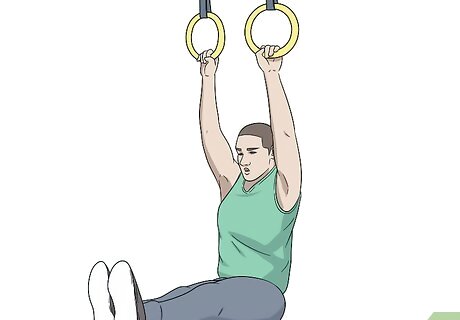
Hang from the rings. Gradually straighten out your arms and kick your feet out in front of you. You should hang from the rings, relying on your arms alone to support your weight. Note that your hands should be above your head and spread apart at approximately shoulder-width. When using the false grip, it may not be possible for you to completely straighten out your arms. Still, you should try to straighten out your arms as much as possible to make the next step easier.
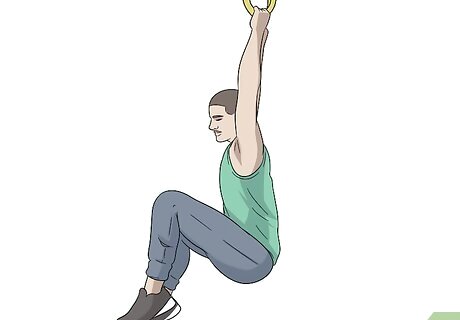
Pull your body upwards. Use your arms to pull your body up until your chin is at the same level or slightly above the bottom portion of the rings. As you lift your body up, you should try to draw the rings inward. Draw the rings in close together and close to your chest and body. You may have to point your elbows out to counter the balance of the rings. Lean back just enough so that your face moves behind the rings instead of between. Your head will need to be behind the rings so that you can create enough space and momentum to transition to your dip.
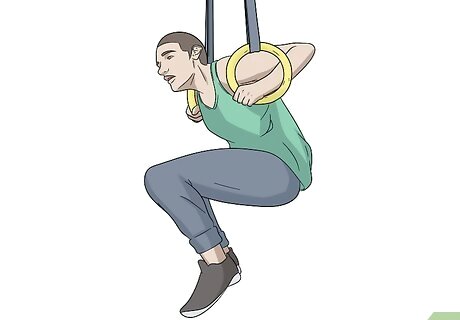
Roll your upper body forward. As soon as you feel steady enough, lean your shoulders and chest forward. Your shoulders should feel as though each one is rolling over the top of each ring. During this step, you need to get your shoulders completely over the rings. Doing so will allow you to position more of your weight above the rings, making it easier for you to transition into a full muscle-up. Theoretically, you could pull your shoulders straight above the rings by relying on arm strength alone. But, you need to lean forward so that your weight sits over your hands. Otherwise, you will probably sink back down before completing the muscle-up. As you pull your shoulders above the rings, you'll need to start turning the rings to the outside. Your hands will naturally spread apart to shoulder-width, but do not allow your hands to spread any further than that. Turn the rings so your fingers are facing outward. Turning the rings allows you to lift your body up.
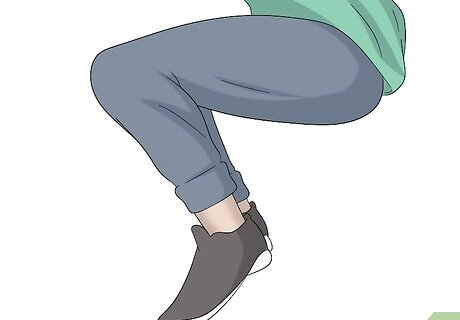
Position your legs to help you lift your body. While you lift your upper body, you must simultaneously begin pushing your legs down while keeping both fairly straight. You do not need to straighten out your legs completely, however. It’s best to keep your legs slightly bent at the hips so that your feet remain in front of you. Keeping your feet in front of you can help your balance and keep you stable. If you find it difficult to keep your legs straight, you could choose to lift your knees up to rest in front of your lower abdomen. Regardless of whether your legs remain straight or bent, you need to keep your legs slightly in front of you. This makes it easier for the body weight to shift in a way that will allow you to get behind and over the rings.
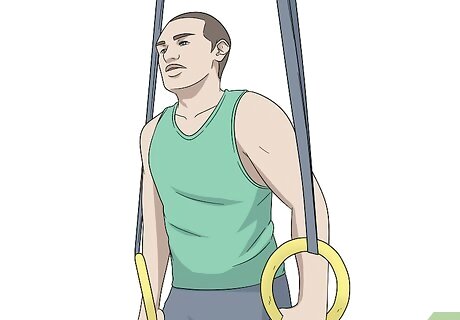
Press down on the rings. Use your hands to push down on the rings. Continue doing so until your entire chest and upper arms are above the height of the rings. Once you reach this peak, you've completed a full muscle-up. Your arms should start straightening out but will remain slightly bent at the elbow. Keep your hands apart at approximately shoulder-width. Note that your chest will also straighten out some, but your shoulders and upper chest should still lean slightly forward. Try to keep your spine straight. You don’t want to allow your spine to curve. Curving your spine prevents you from correctly engaging and building your muscles. Keep your core engaged as well. As you pull into this position, your legs will naturally drop straight down beneath the rest of your body.
Building Your Muscle-Up Skills
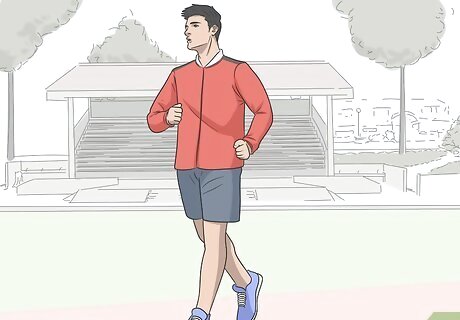
Warm up first with cardio and moderate resistance exercises. You can run, do jumping jacks, march in place, or work on the elliptical for 15 minutes. Moderate resistance exercises, like lateral pull downs or cable rows, can also help you warm up the muscle groups needed for this exercise.
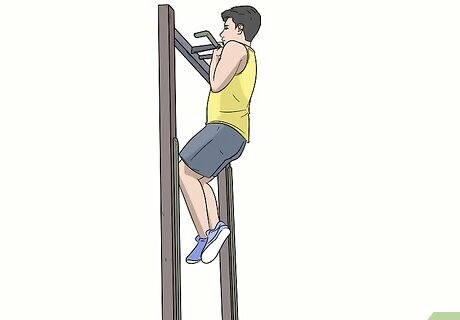
Start with basic pull-ups. A basic pull-up will help you build the muscles you need to master the muscle-up. Basic pull-ups can be performed in a few different ways with different grips and hand placement. Begin at a dead hang. Your arms should be extended and your feet should be off the ground. You may have to cross your feet at the ankle and pull your legs up so your shins are parallel to the ground. For a traditional pull-up you will grip the bar with an overhand grip. Your hands should be wider than your shoulders. Engaging your core, pull up until the bar reaches your chin level. Pause, and then repeat. For a chin-up, you will grip the bar with an underhand grip, so your fingers face you. Then pull up the same way you would for an overhand pull-up until the bar reaches your chin. Wide grip pull-ups will engage your upper lats while chin-ups engage more of your lower lat region, middle back, and biceps. Both styles will prepare you for perfect muscle-ups. Feel free to add extra weight with dumbbells or kettle bells locked between your feet. More weight will prepare you for a muscle-up.
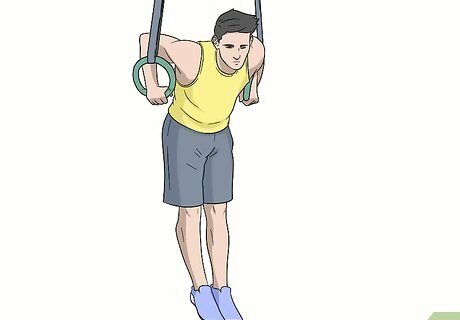
Practice the muscle-up movements on the ground. The hardest muscle-up to achieve is when the Olympic rings are hanging above you. To master this muscle-up, you may want to start with the rings lower to the ground. Lower the Olympic rings so that the rings allow your feet to touch the ground. Grip the rings and fully extend your arms. Then practice swinging and throwing your head and chest through the middle of the rings while keeping your elbows tight. By lowering the rings closer to the floor you are essentially performing the second part of the muscle-up. This kind of training allows you to easily get into the part of the muscle-up position after you’ve raised yourself up. This technique allows you to work and build the muscles needed for the muscle-up. It also trains your body to use correct form and movement, developing good muscle memory. This is also a great time to practice your dips, something you need to master to perform a well-executed muscle-up. Grip the rings with a false grip and extend your arms. Lift your feet off the ground and perform several dips.
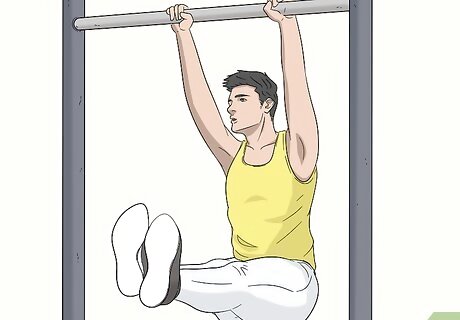
Practice kipping pull-ups. Kipping pull-ups are a more advanced form of the pull-up that involve you swinging your body back and forth. The swinging allows you to gain momentum to pull yourself up over the bar. Begin practicing your kipping pull-ups by taking the time to process through each move properly before doing the pull-up. When you swing forward you want your head to be forward in front of the bar. Your shoulders, hips, and legs should be curving back behind the bar. When swinging backward you want your hips to pop up and forward with your head behind the bar. When you’ve reached the apex of height on your hip pop, pull up and in to get your chin above the bar. Then push out slightly to engage your downward swing. Keep your grip slightly relaxed. You don’t need to squeeze the bar extremely hard. You want a relaxed grip to allow for fluid movement.
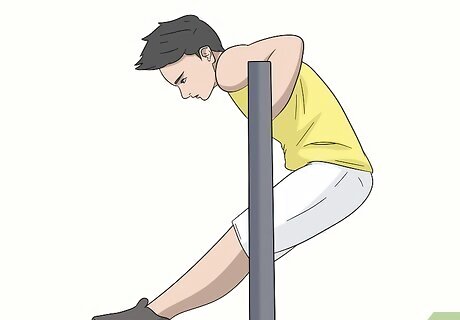
Get used to doing the muscle-up on the pull-up bar before you try it on the Olympic rings. Performing a muscle-up on the bar is easier than on the rings. So get used to doing muscle-ups on the bar first. You will want to practice your dips on the bar as well. Doing your exercises on the bar will help you build muscle and form. Since the bar is more stable than the rings it offers you a better platform to learn on. Once you feel confident on the bar, move onto the lowered Olympic rings. After you feel confident with the lowered rings, you can raise the rings. Then practice your muscle-up on the higher rings.





Comments
0 comment