views
Drawing the Eyes
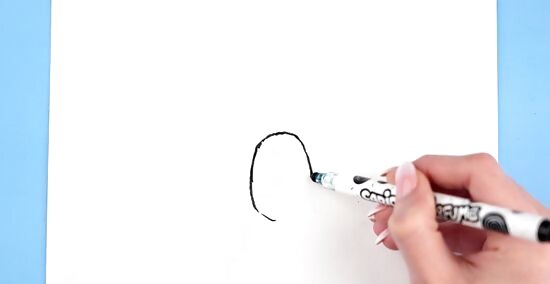
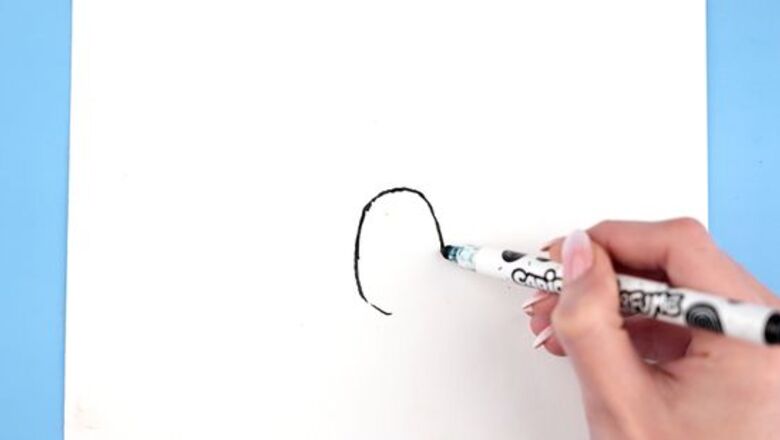
Draw an oval. Usually, this oval is a bit taller than it is wide. You can change this; just remember that a chibi eye is large and round!
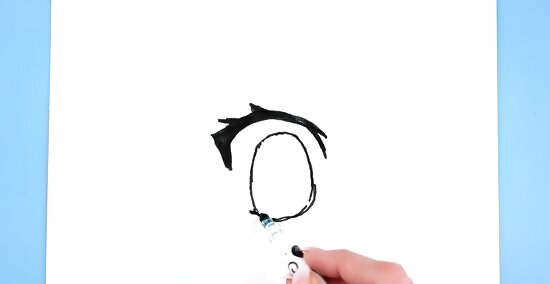
Draw the eyelids. Draw a thick curve on top of the oval that curves outwards to one side. The outside edge should hang out from the oval; this leaves room for the sclera. For the bottom eyelid, just add a thin curved line on the bottom of the oval. Chibi eyes are exaggerated, so make the top eyelid curve outwards significantly.
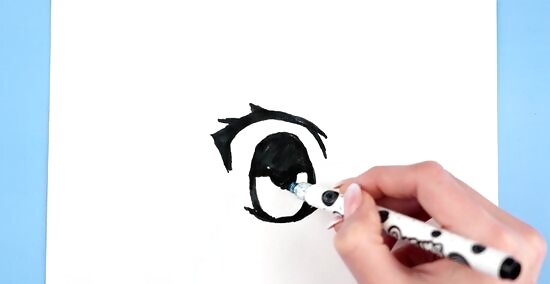
Fill the oval with black. Colour and highlights will be added later; it's easier to do the black now than try to colour in crevices later.
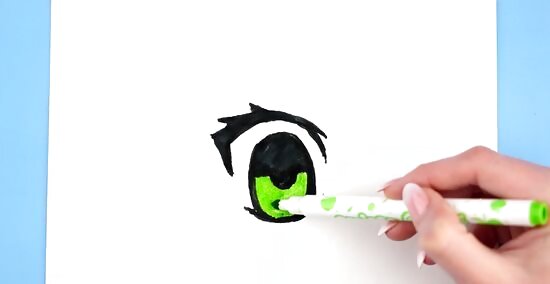
Add a colourful "C". Look at the photo; a thick coloured "C" seems to be on its side. This should be at the bottom of your oval and surrounded with black. A bright colour is best.
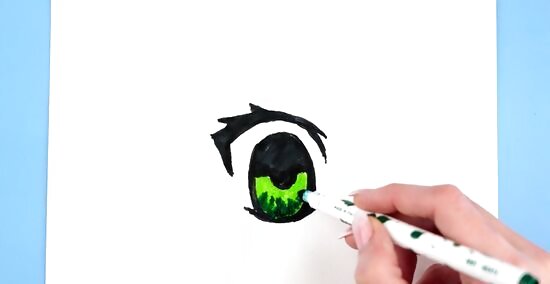
Shade the C. Pick a slightly darker shade, and colour the bottom of the C with this. This is an easy way to add depth and light perception.
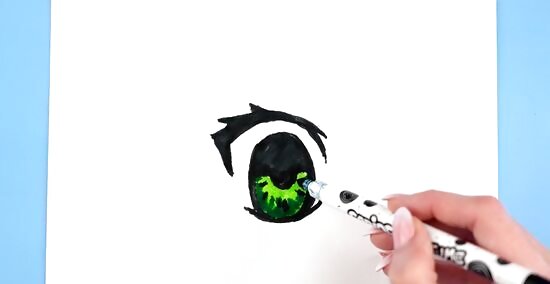
Add small line details in the C. Use black or a different, darker colour, add small lines inside the coloured C. Although this step is optional, it will add the pupil to the eyes which will make it look more human.
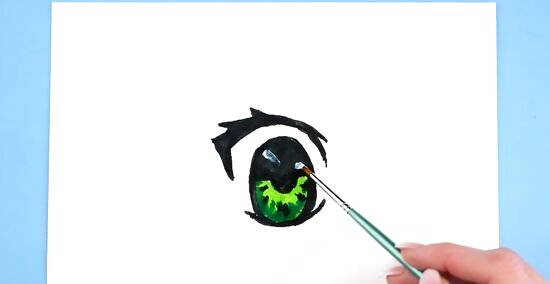
Add white highlights. Depending on where your light source is, use white to add lines and little specks of light to the whole eye. For added authenticity, the highlights should be in both the black and the coloured area.
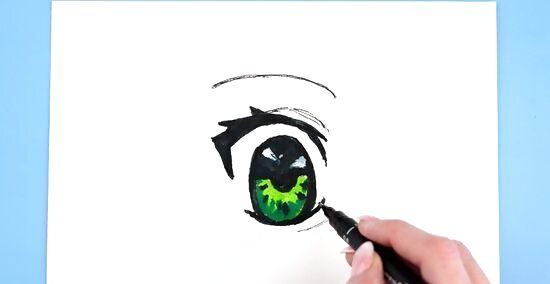
Add eyebrows and small details. Usually, chibi eyebrows are just thin curved lines. Small curved spikes on the upper eyelid can be eyelashes.
Placing the Eyes
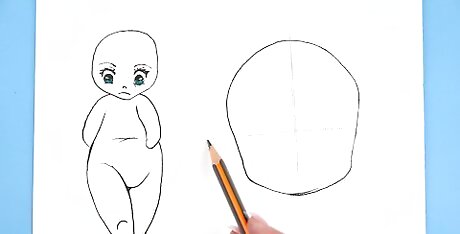
Draw two lines that looks like a cross on the face of the chibi. The cross will not only help you place the eyes, but it will also help you place other facial features in the correct spot as well.
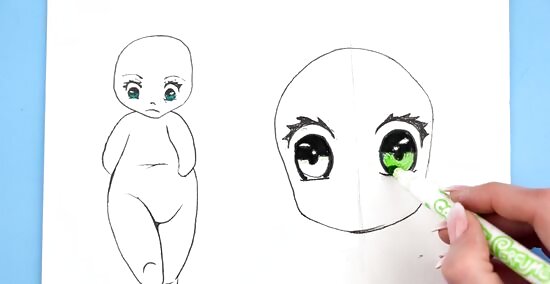
Place the eyes on the horizontal line on the spots that the circles were placed. Even though there are two lines below the cross in the image, you don't need to draw them. To place the eyes, all you need to do is to draw your eyes above the horizontal line.
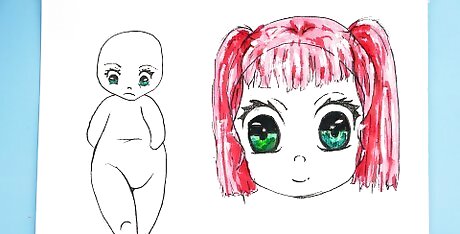
Enjoy drawing your chibis!




Comments
0 comment