views
X
Research source
Running the CHKDSK Utility
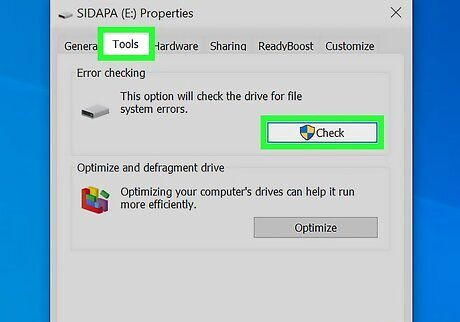
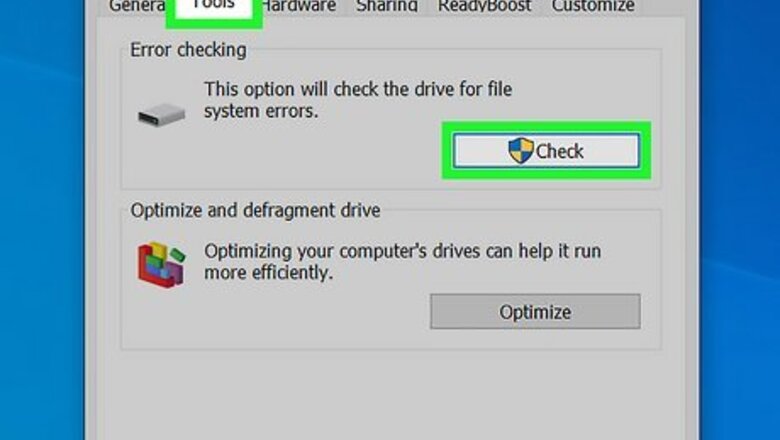
Access the CHKDSK utility. CHKDSK (or "check disk") is a built-in Windows utility that will scan and repair your drive's errors. It has the ability to find and repair a number of small errors or file corruptions that may be causing the cyclic redundancy error. Right click the drive you want to check, then click Properties->Tools. Under “Error Checking” click “Check Now”. If a CD or DVD is giving you this error it may be the result of a scratch or some dust. Try cleaning the disk with a soft cloth before anything else. Optical disk errors are often not repairable. If you get this error on a Mac (less common), first try the built-in Disk Utility and “Repair” the disk.
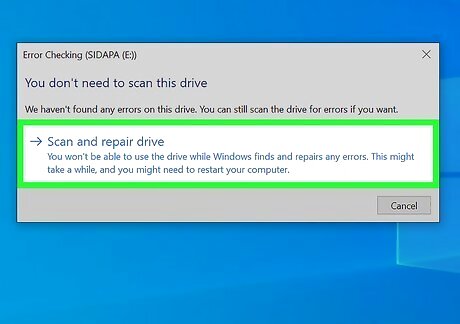
Decide on a basic versus an advanced scan. Check boxes to indicate if you’d like to do a basic check and repair or an advanced one - the default is the basic scan. The basic scan should take around 15-20 minutes while the advanced scan may take hours. Make sure you’ve got the time set aside and don't disturb the computer once it begins.
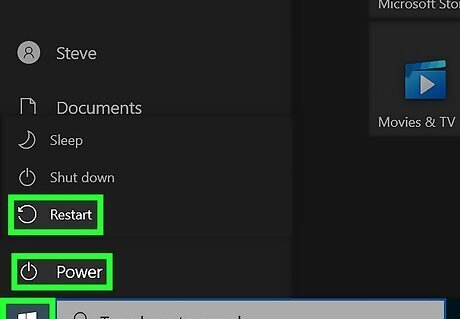
Reboot the computer to begin the scan. If scanning the main drive on your computer (the one you’re booted up on), CHKDSK will not be able to run immediately and will instead schedule the scan for the next time you reboot the computer. You can continue use the computer as normal at this point - restart when you know you have time for the full scan. If you suspect your hard disk is nearing the end of its life, get your data backed up before running the scan. Even if some data is already inaccessible, backup everything you can just in case.
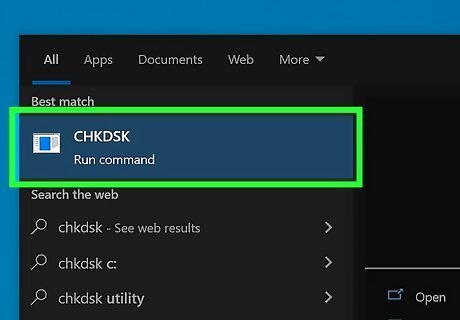
Use the alternate CHKDSK utility access. Sometimes running CHKDSK via right click makes it unable to run the scan and repair properly. If the first scan doesn't fix the issue, try the alternate method of running CHKDSK.
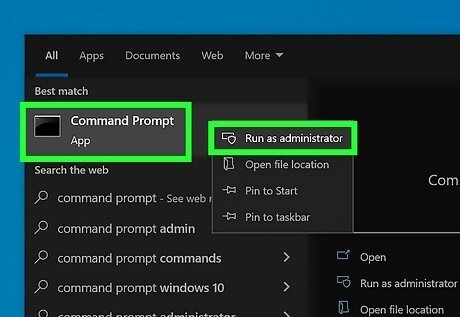
Open the command prompt. Find the program "command prompt" under Accessories. Note that you must run CHKDSK commands as an administrator to have the necessary privileges to execute the scan.
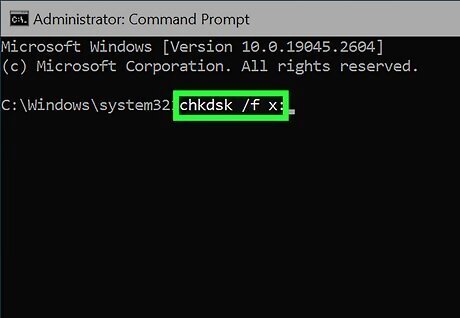
Type “chkdsk /f x:” into the command prompt. The letter “x” should be replaced with the letter name of the drive you’d like to run the scan on. Press enter. The previous step gives the command for the basic scan. For the advanced scan type "chkdsk /r x:” instead, where "x" is the letter name of the drive.
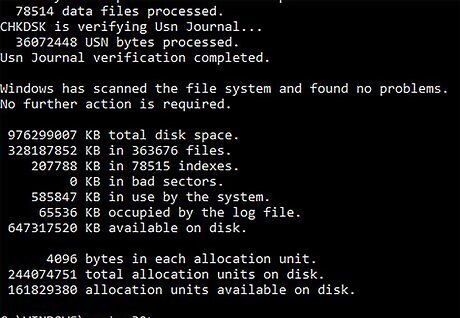
Wait for the scan to complete. Once finished CHKDSK will give you a report and restart your computer. If CHKDSK is able to fix the issue this is all you need to do. If the /r repair seems to get stuck and never finish it (even if left overnight) is likely because you have many damaged files and CHKDSK will not be able to repair them. If this is the case, try the next method. Over time your hard disk may develop minor file corruptions and other small errors through a number of different means. CHKDSK can fix many small issues but cannot address more serious problems.
Using a 3rd Party Disk Utility
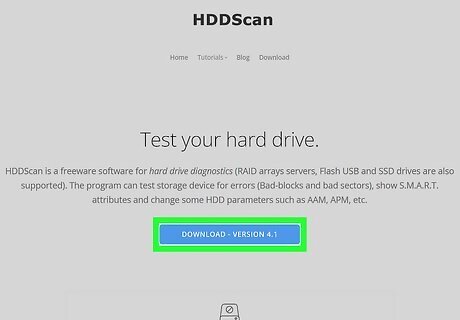
Install a free disk utility. When CHKDSK isn't able to repair the issues with your hard disk, a 3rd party disk scan utility may be able to help. Popular options like HDDScan and SeaTools will provide an alternative to CHKDSK and may help solve the issue when CHKDSK fails. Many utilities offer different software versions for different operating systems (e.g. Mac OS vs PC/Windows) Be wary of "System cleaners" from disreputable sources. Look for established brands offering "disk utilities".
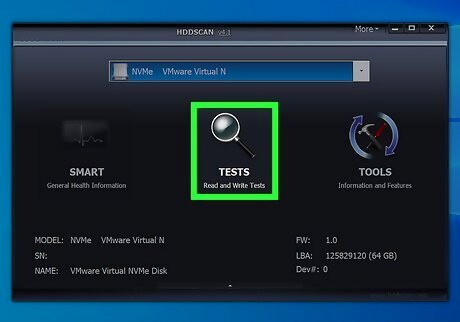
Open the utility and run the scan. Follow the instructions to run a scan on the drive that gave you the cyclic redundancy check error. The software should list all issues it finds in a short report.
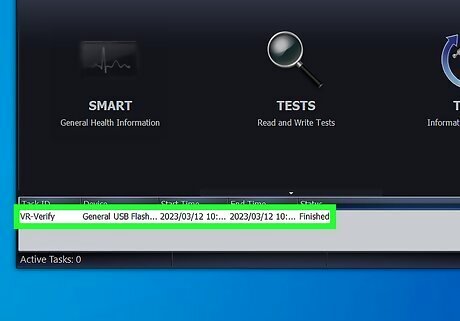
Repair all the issues. This process can run unattended, overnight. It's important to let the repairs run to completion, and depending on the state of your hard disk this repair could take more than 2 hours. If the repairs still aren't completed after the scan has run for more than 4 hours, this is a sign of a failing hard drive. Cancel the scan and backup whatever data you can.
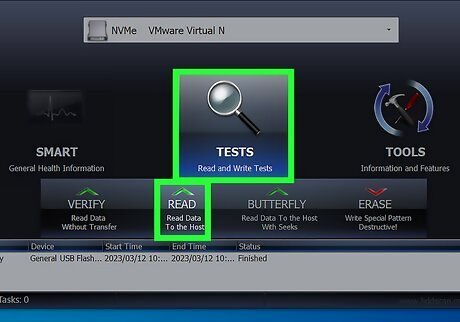
Rescan your computer. This should only take a few minutes and will ensure that there are now no errors.








Comments
0 comment