views
Cleaning and Maintaining Your Ceiling Fan
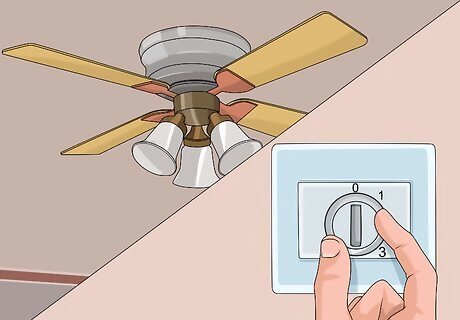
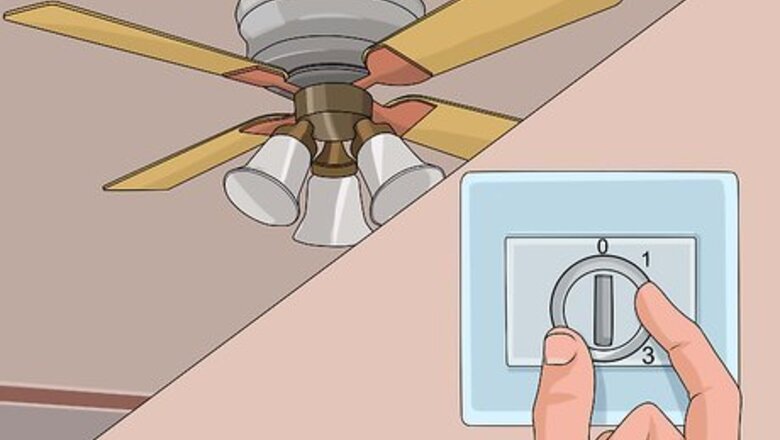
Turn off the fan and let it come to a complete stop before you work on it. Never try to work on a fan while it is still moving—you could really hurt yourself! Let the fan stop naturally rather than grabbing a blade to slow it down. Grabbing at or jerking the fan blades could knock them out of alignment and cause more problems..Tip: For general cleaning and maintenance, you don’t need to shut off the power.
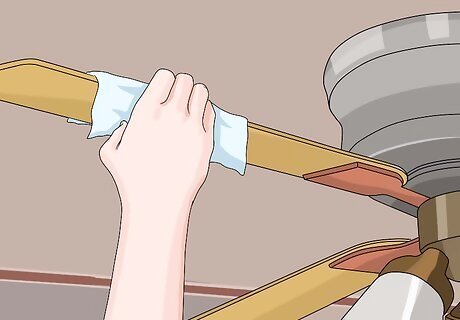
Clean the fan blades with a dry microfiber towel. Use a ladder or step ladder to safely reach the ceiling fan. Wipe down the top and bottom of the blades with a microfiber cloth. Then lightly spray the blades with an all-purpose cleaner and gently wipe them down with either a new microfiber cloth or with paper towels. The weight of excess dust can actually make your fan squeak! That’s why cleaning it is one of the first steps to maintaining your ceiling fan. Use gentle pressure when cleaning the fan blades and avoid putting too much weight on them.
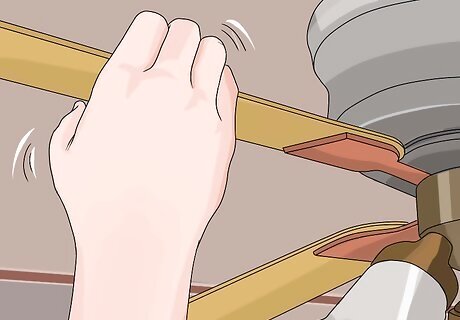
Try to wiggle each blade and tighten any that are loose. While standing securely on your ladder, try to wiggle each fan blade to see if any of them need to be tightened. If the blade is securely fastened, it shouldn’t move at all. If it wiggles from side-to-side or up-and-down, use your Phillips screwdriver to tighten the screws until it no longer moves.Tip: Loose blades can cause strange sounds, so check them every 6 months to see if any screws need to be tightened.
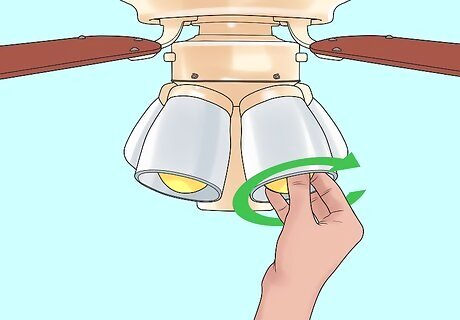
Check the bulbs to make sure they are screwed in tight. If your ceiling fan has lights, check each bulb to ensure they are fully screwed in. If your fan had been on for a while before you turned it off, lightly touch the bulbs first to make sure they’re not too hot. Loose light bulbs can cause squeaking sounds when the screw thread contact wobbles inside the base. This is also a great time to change lightbulbs that have burnt out.
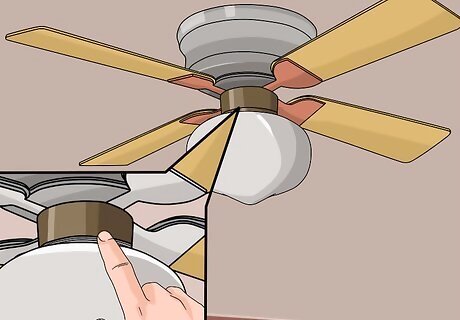
Inspect the globe on the light kit if there is one. Some ceiling fans have a globe or dome that encases the lightbulbs, or light kit. Check that it is tightly fastened in place. If needed, use your Phillips screwdriver to tighten those bolts, which will be the ones you have to remove when you need to change a lightbulb.Tip: Cracks in the globe could also be the cause of the squeaking. If yours is cracked, you may want to consider replacing it.
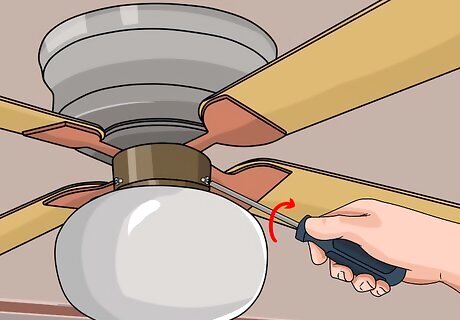
Examine the screws connecting the fan to the ceiling mount. The ceiling mount is the part of the fan that attaches to the ceiling and connects the wiring to the body of the fan. Visually examine the ceiling mount to see if there are any loose screws. If so, use your Phillips screwdriver to tighten them. The screws connecting the fan to the ceiling mount can start to wiggle loose over time, which can make the fan squeak. Occasionally screws can break. If there is a missing or damaged screw in your ceiling fan, replace it.
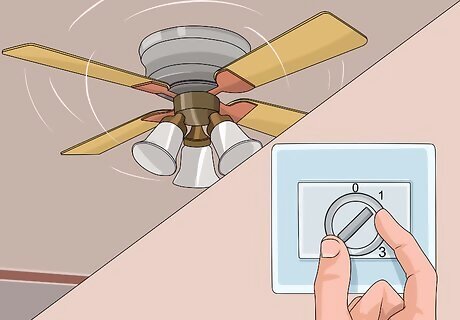
Test the fan to see if the squeaking sound is gone. If your fan has multiple speed settings, test the fan on each setting for several minutes. If the squeaking is gone, that’s great! Now you know how to maintain your fan. If the squeaking still persists, there may be a more complex issue. You can attempt to troubleshoot the complex problem yourself, or you could call in a certified electrician.
Troubleshooting a Persistent Squeak
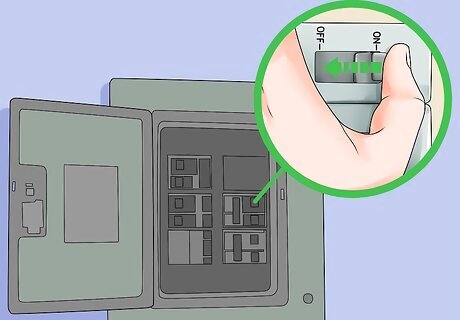
Turn off the power at the breaker box if you’re working near the wires. Before doing any work that takes place near the wiring of the fan, go to your breaker box and turn off the switch that sends power to the room you’re working in. When you go back to the room, test the fan to make sure the power is really off.Tip: If you aren’t going to be working underneath the ceiling mount of the fan (for example, if you’re just rebalancing the blades), you don’t need to turn off the power.
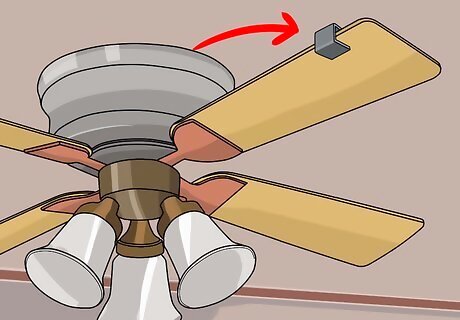
Use a balancing kit to rebalance your fan blades. Place the balancing clip in-between the base and tip of a fan blade. Run the fan to see if it is still squeaking. Repeat this on each blade. Once you find the spot that needs to be balanced, peel the adhesive off of one of the balancing weights and place it on top of the blade, directly across from the balancing clip. You can then remove the clip. You can purchase an inexpensive balancing kit from your local hardware store for about $20. Rebalancing the fan blades can eliminate squeaking if the cause was from wobbling and uneven blades. Look up tutorials online to see a balancing kit test in action.
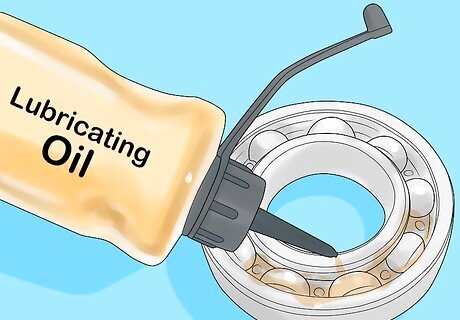
Oil the bearings to lubricate the motor. Disassemble the entire fan (make sure the power is off!), and remove the motor from the interior. Locate the bearings and apply 2-3 drops of lubricating oil on each one. Spin the motor back and forth to disperse the oil. Repeat this process on the opposite side of the motor. Reassemble the fan, turn the power back on, and check to see if the squeaking is gone.Note: The bearings are what help the fan rotate. If they get dry or rusty, they can cause strange noises.

Contact a licensed electrician if you can’t fix the squeaking sound. If general cleaning and maintenance and checking a few more advanced issues don’t resolve the problem, it’s possible that the issue lies deeper in the structural component of the fan. Check online for reviews of different companies, and always look for the words “licensed, bonded, and insured.” Call several electricians to get an estimate for how much it’ll cost for them to come do an inspection, and compare that with the cost to replace the fan to help make a decision about how you want to proceed. When hiring an electrician, ask about what kind of warranties or guarantees they offer. If the squeaking sounds come back several weeks after you paid to have it fixed, will they come back for free to address the problem?




Comments
0 comment