views
X
Trustworthy Source
Missouri Botanical Garden
Oldest botanical garden in the U.S. and center for botanical research and science education
Go to source
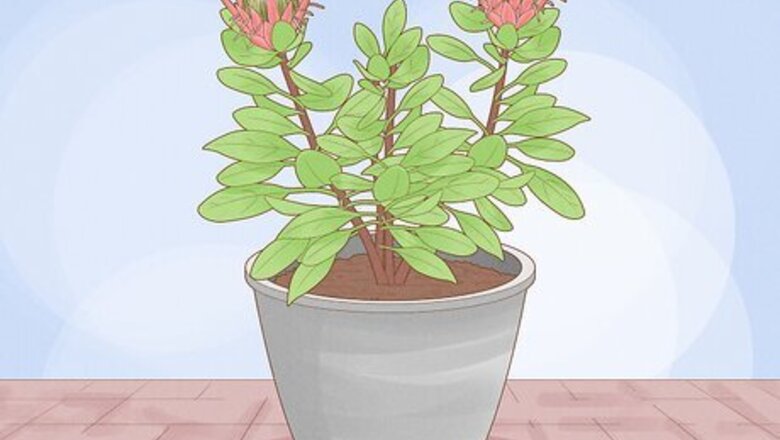
You can plant them in autumn or spring, using a potted plant from a nursery or taking a cutting to grow 1 yourself. The most important factors in growing healthy proteas are having an appropriate climate, providing them with soil that drains easily, putting them in a spot with lots of sunlight, and watering them when necessary.
Transferring Potted Plants
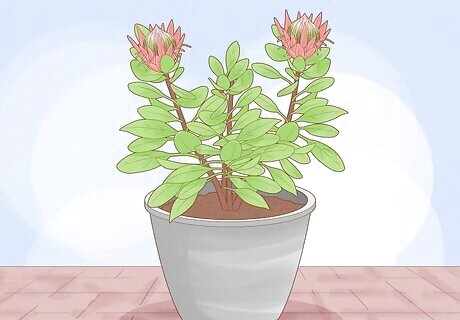
Select healthy-looking proteas to plant. If you’re purchasing your plant when it’s already grown, you can choose from many different sizes. Look for healthy green leaves and new growth when picking your proteas out. Container sizes that are anywhere from 4 inches (10 cm) to 1 gallon (3.8 L) tend to be the best when it comes to survival rates. Plant the Proteas in autumn to avoid harsh weather. Avoid planting proteas in damp or super humid conditions.
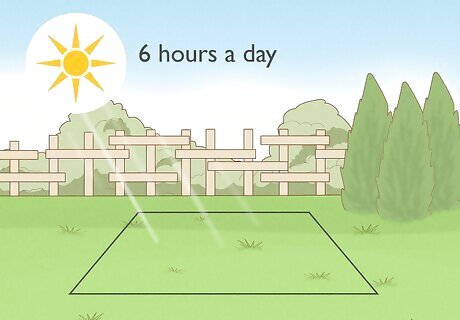
Choose a spot that receives sunlight for at least 6 hours a day. The spot can have dappled sunlight or shade for part of the day, but most of it should be in full sun. Before planting your proteas, check the spot at different times of the day to make sure that it gets enough sunlight.
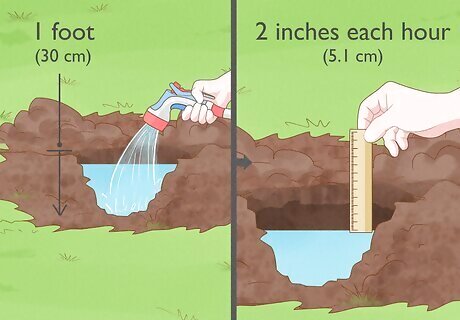
Check to see if the soil is well-draining. Proteas need soil that drains water easily. Open loam, gravelly, or sandy soil is good, just as long as the soil isn’t made up of mostly clay. If you don’t have well-draining soil in your yard, you can purchase some at a local garden or home improvement store. To see if your soil is well-draining, dig a hole that’s roughly 1 foot (30 cm) deep and fill it with water. Once the water drains, fill it again and use a ruler to see if roughly 2 inches (5.1 cm) of the water drains each hour. If so, it’s well-draining. Plant the Proteas on a mound so that water doesn't build upon the soil. You can use completely new soil, or you can mix new soil in with your current soil as you dig the hole. If you are adding new soil, look for 1 that's slightly acidic, as protea prefers this type of soil. You can also amend your existing soil to make it more acidic.
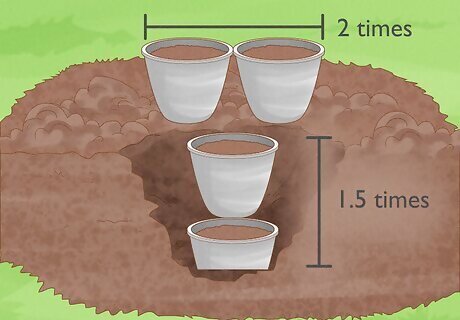
Dig a hole twice the width and 1.5 times the height of the container. This will allow the root ball to be planted comfortably in the soil with plenty of room to grow. If you’re using the soil that’s already in your yard, break it up with a shovel and set it to the side so that you can reuse it when covering up the root ball. Don't plant it too deep. Your soil line should be at the same height as it was in the container. Before you plant the protea, backfill the hole with amended soil that will provide proper drainage. When digging the hole, make sure that the height isn’t too deep—you don’t want the plant’s stem covered up. If you're using entirely new soil, you don't need to keep the soil you dug out.

Place the root ball in the hole and cover with soil. Once it’s placed, put soil around the roots, mixing your yard’s natural soil with nutrient-rich soil if desired. Avoid planting the protea deeper than the surface level of the pot. The crown of proteas shouldn’t be covered with soil, as it needs to be able to dry off and receive air or it will die out. Give the plant and soil a thorough watering right after planting.
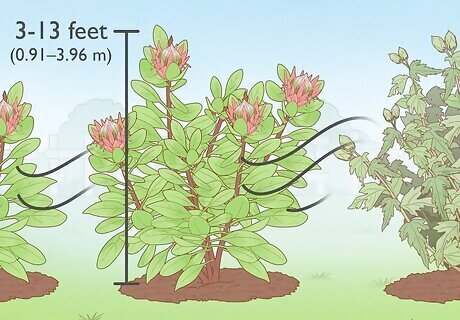
Space the proteas out so that they have full air circulation. While there isn’t a specific distance that you should place them from each other, just make sure that the leaves and flowers aren’t touching another plant. Proteas like to receive air from all angles, making it important to spread them out when planting. Protea plants can grow to be anywhere from 3–13 feet (0.91–3.96 m), depending on the exact species. Research the particular variety that you are growing to find out how big it will be once it's fully grown.
Maintaining the Plant
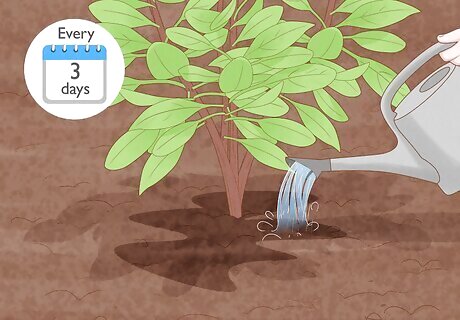
Water the roots of the plant, keeping the foliage dry. After the protea plant is established, you should only need to give proteas a deep watering about once a week. If the plants are less than a year old, you may need to water them more frequently depending on the climate and soil type. When the plants are young, check every 3 days or so to see if they need more water by touching the soil to see if it's damp or not. Proteas are often killed by overwatering, so avoid watering them more than necessary.
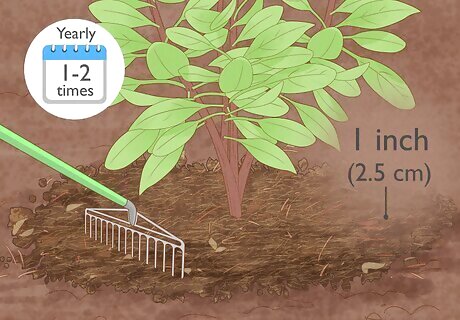
Spread mulch around the plant to retain moisture in the soil. You can spread a layer about 1 inch (2.5 cm) deep, making sure to keep it away from the main stem so that the plant is able to dry off easily. Mulches made of leaves or bark work well. Mulch the soil 1-2 times a year.
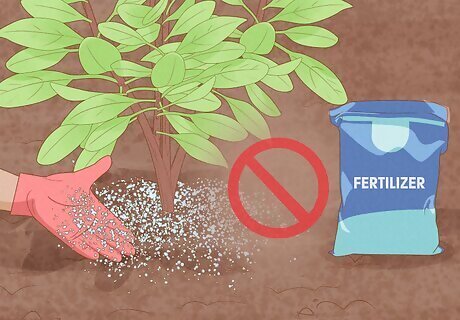
Avoid using a fertilizer on Proteas, if possible. Protea are very light feeders and generally don’t need fertilizer to help them grow. If you do choose to use a fertilizer, try to only use 1/4 of the recommended amount. Too much phosphorus in the fertilizer can damage the proteas, so read the ingredients carefully before purchasing.
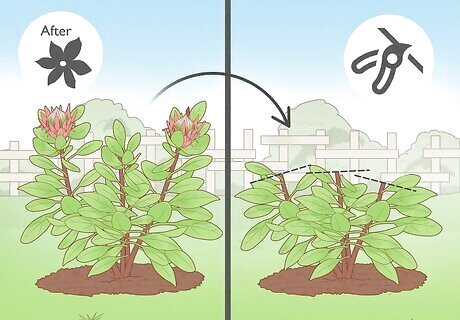
Prune proteas after they've flowered. Use sharp pruning shears to cut no more than half of each stem, making sure there are at least 4 or 5 leaves left. Pruning young plants will help them become more full. Avoid cutting bare stems without any leaves.
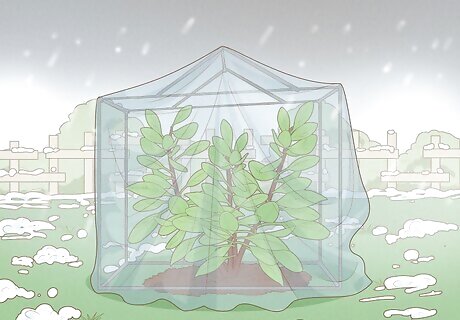
Protect young proteas from harsh, cold weather. When the weather gets cold and it might frost, move your proteas to a greenhouse if they're in pots. You can use horticultural fleece to protect proteas in your garden.
Taking Protea Cuttings
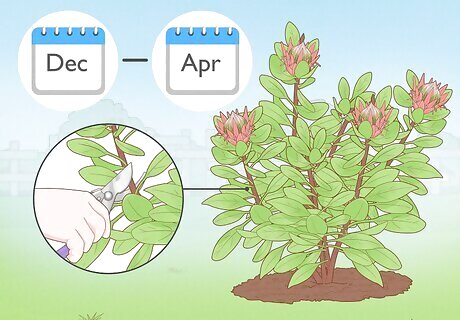
Harvest cuttings anytime between December and April. This is when the plants will have semi-hardened, and you can take new growth from the previous season. Early autumn is also a good time to take the cuttings, as it’s right before the cooler winter months. These months apply to the Northern hemisphere. If you're in the Southern hemisphere, take the cuttings between June and October.
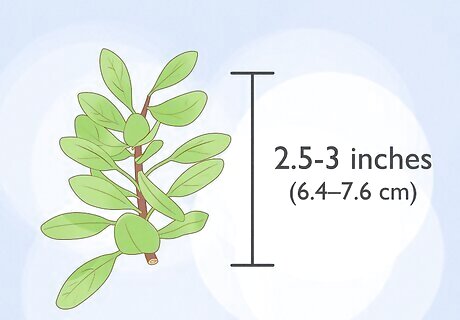
Take the cuttings using a sharp knife or razor blade. The cutting should be about 2.5–3 inches (6.4–7.6 cm) long, taken from a side stem that’s growing out of the main stem. Use the knife or razor blade to carefully make the cut straight across the stem. It’s best to take the cutting in the morning when the plant is still well-hydrated. Sanitize the blade before using it.
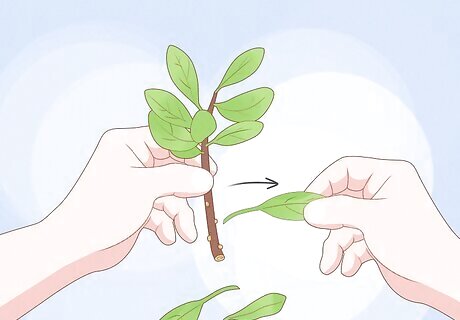
Remove the leaves on the lower half of the stem. You can do this with the razor blade or knife, or you can use your fingers. Just be careful not to damage the stem that you’ll be planting.
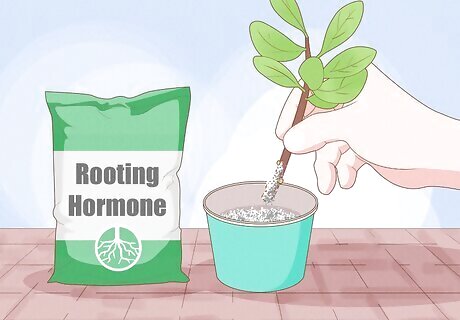
Dip the cutting into a growth hormone to help it grow. You can find rooting hormones for plants at your local garden or home improvement store. You only need to dip the end of the cutting into the growth hormone powder. This will encourage it to form roots. Dip the cutting in some water before applying the growth hormone so that the powder sticks to the plant more easily.
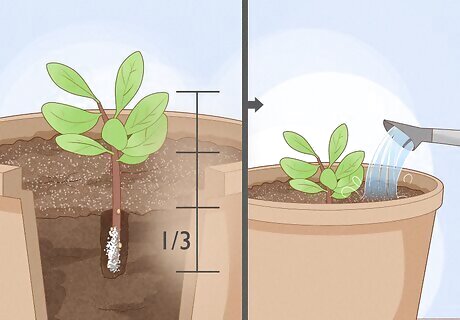
Put the cutting in a container with dampened river sand or potting soil. Fill a container with river sand or potting soil. Stick the cutting into the sand or soil gently so that 1/3 of the stem is covered up. Pour water into the container slowly until the sand or soil feels moist. Make sure the container has drainage holes.
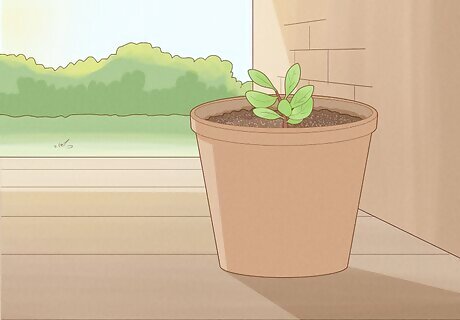
Set the container in a spot with dappled sunlight. A shady spot works too, just as long as the container isn’t in full sun. Until the cutting forms roots and grows into a strong plant, the sun can dry it out easily.
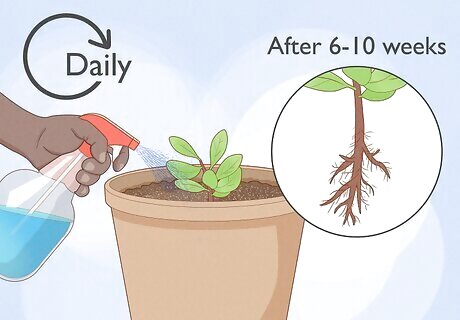
Keep the cuttings moist using a spray bottle. Giving the cuttings a spritz of water every day whenever they seem dry is a good way to keep them hydrated. You can also put a plastic bag over the container to keep moisture in as well. The cuttings should start to form roots after 6-10 weeks.
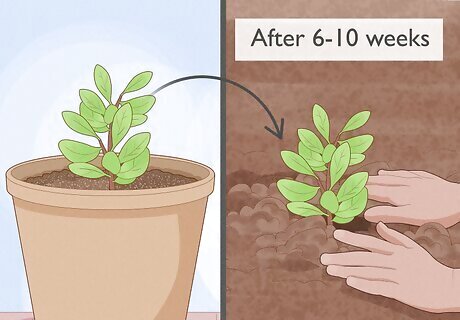
Plant the cuttings after 6-10 weeks, once the plant is established. When new roots have developed and the plant is ready to be transferred to the outdoors, you’ll see brown roots on the side of the container. Carefully remove the plant from the container and place it in a warm, well-lit spot outside in the soil. Check to see if roots are growing out of the drainage holes. Once you transplant your cuttings, make sure you keep them well-watered.


Comments
0 comment