views
Harvesting Radishes
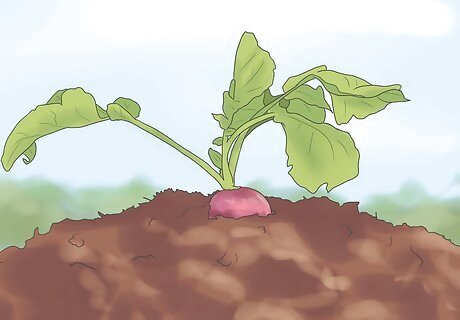
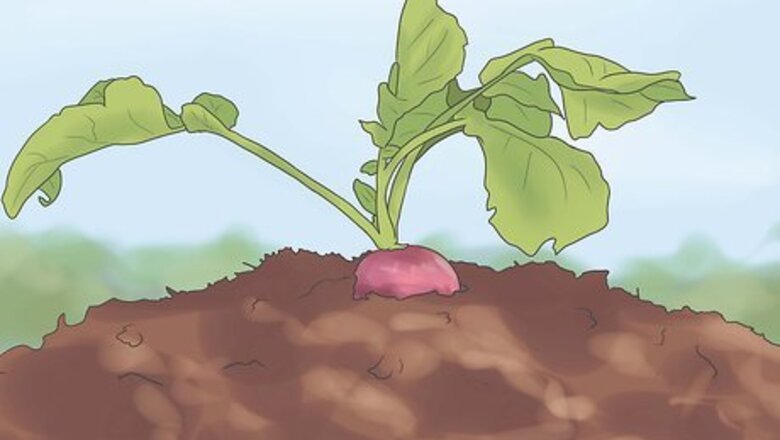
Give the radishes time to mature. Many varieties mature quickly, only needing as few as three weeks before they are ready to harvest and eat. Allow the radishes in your garden to mature, but once they mature, harvest them quickly. Spring radishes mature quickly and tend to degrade quickly if left in the ground for a few days longer than necessary. Winter radishes can be neglected a little more since they take longer to mature and longer to spoil in the ground. Winter radishes generally maintain their quality throughout cool fall weather. Some varieties can even be kept in the garden underneath a layer of heavy straw mulch throughout the winter. While each variety matures at its own pace, on the whole, spring radishes mature in 20 to 30 days and winter radishes mature in 50 to 60 days. Once a radish spoils in the ground, it will develop a spongy, unappetizing texture and hot taste.
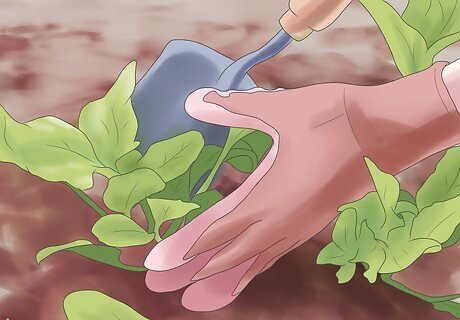
Check the roots. The roots of a mature radish are roughly 1 inch (2.5 cm) in length, if not a little less. Gently scrape away a little soil just above the roots, next to the greens poking out from the soil, to check on the size. You can scrape away the soil with your fingers or with a small garden trowel. Radishes with roots that are 1 inch (2.5 cm) should be harvested. If you spot roots that are far too small, recover them with soil and let the radishes continue to grow until mature. Since spring radishes mature so quickly, you should start checking the roots frequently as they approach maturity. If you plan to harvest your winter radishes in the fall, do so just before the ground freezes. If you want to try saving them over the winter, cover them with heavy straw much and harvest them before they show signs of new growth in late winter or early spring.
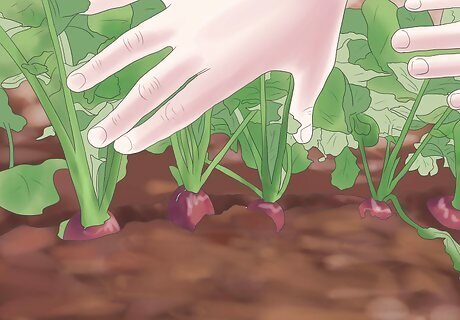
Pull each radish straight out of the ground. Harvesting a radish is fairly easy. To remove it from the ground, grab the radish at the base of its greens and pull straight up. You may need to gently wiggle it to loosen it from its place in the soil at first, but most radishes will come out with little more than upward force. It is important that you harvest the radishes as soon as they are mature, even if you do not plan to eat them immediately. They will last longer in your refrigerator than they will underground. If your radish crop has been thinned out enough, you should be able to harvest one without disturbing the roots of any neighboring radishes. This can be important since some radishes can be ready for harvest before others.
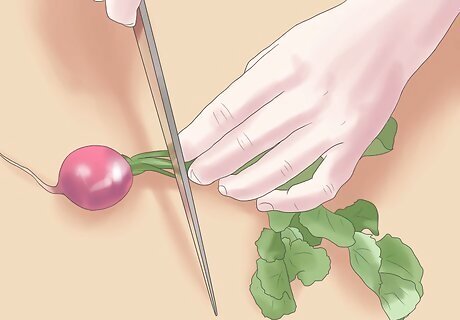
Cut off and save the greens. Trim the greens off the top of each radish using kitchen shears or a sharp knife. If desired, these greens can be cleaned in cool, running water and saved for culinary purposes. If you plan to save the greens, clean them in running water and scrub away any visible dirt using your fingers. Pat dry with clean paper towels when done. Place clean, dry greens in a resealable plastic bag. Close the bag and store them in the refrigerator for as many as three days. Radish greens can be added to salads or other dishes that make use of leafy green vegetables. If you do not plan to save the radish greens, you may discard them without taking any precautionary measures.
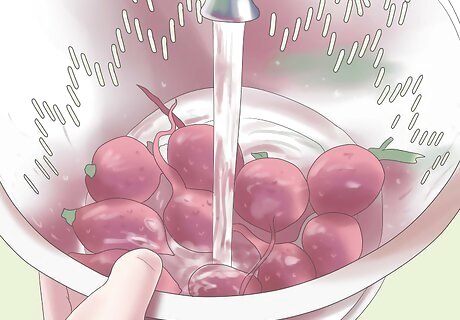
Wash and store in the refrigerator. Once the greens have been trimmed short on each radish, you can clean the radish itself under cool, running water. Place clean radishes in airtight, resealable plastic bags and refrigerate them until ready to use for up to two weeks. You can scrub off the majority of the soil and debris using your fingers, but for stubborn, embedded dirt, use a vegetable brush to gently scrub the side of the radish as you rinse it under water. Make sure that the radishes have been thoroughly dried with clean paper towels before you store them. Place the radishes in the crisper drawer if your refrigerator has one. This space will maintain ideal temperature and humidity conditions, thereby preserving the radishes longer.
Harvesting Radish Seeds
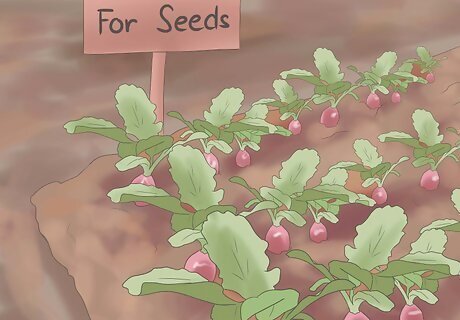
Choose which radish plants will go to seed. Once a radish goes to seed, it will no longer be any good to eat. As a result, you should set aside a few radishes in your garden with the specific intent of allowing those plants to go to seed. Of course, any radishes that you accidentally leave in the ground past maturity can be kept in the ground and used for seeds. It is helpful to designate a few radish plants with that purpose ahead of time, but that does not mean your radish seed yield must only be limited to those plants.
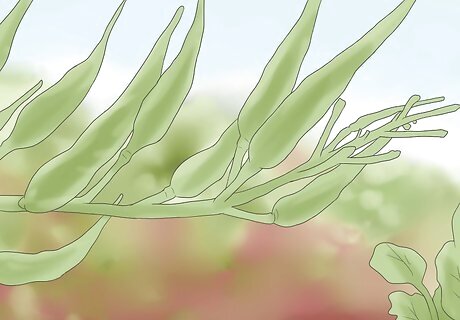
Leave the selected radish plants alone. Continue caring for the seed radishes as you always have, but otherwise, do not disturb them. It may take another couple of weeks past the mature stage before radishes develop flower buds and, eventually, seedpods. As the seed radishes continue to grow past maturity, they will send up one or two stems that will not have leaves. Once these stems grow long and strong enough, they will sprout small buds. From these buds, seed pods will quickly emerge. The seed pods will grow, taking on a long, pointed shape.
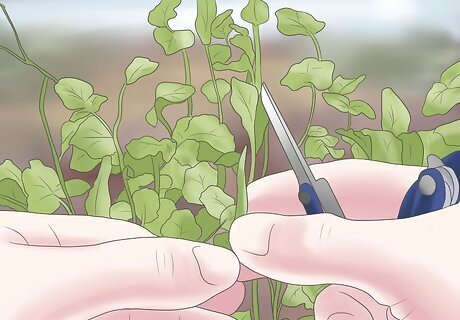
Collect the seedpods. Use sharp kitchen or garden shears to snip the seedpods off the plant once the buds drop off completely. If you only want to harvest the seeds to use for next season's crop and nothing more, you might want to consider waiting until the seedpods start turning yellow and dry on the plant before you pluck them. Waiting will make it easier for you to actually harvest the seedpods off the plant, and you can probably do so with your bare hands.
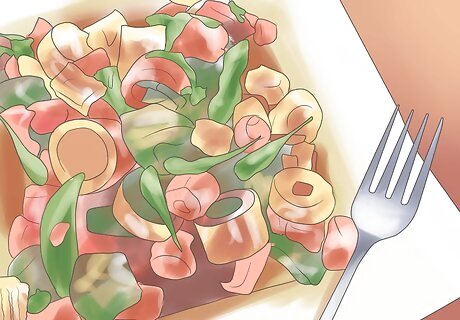
Enjoy the seedpods now, if desired. You can wash fresh radish seedpods and toss them into a salad if you so choose. The seedpods themselves are edible and similar in appearance and texture to snap pea pods. They can be added to salads or enjoyed raw and on their own. Radish seeds can also be sprouted while still fresh. To do this, you will need to open the seedpods before they dry out. Collect the seeds and sprout them as though you were sprouting beans.
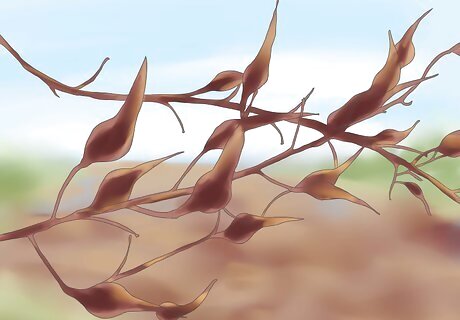
Dry the seedpods if you plant to harvest the seeds. If you want to harvest the seeds for future use, hang the seedpods in a dry location and allow them to dry out until they turn a light tan color. Of course, if you allowed the seedpods to dry while on the plant, you can skip this step and move onto the next since they will already be adequately dry without waiting any longer.
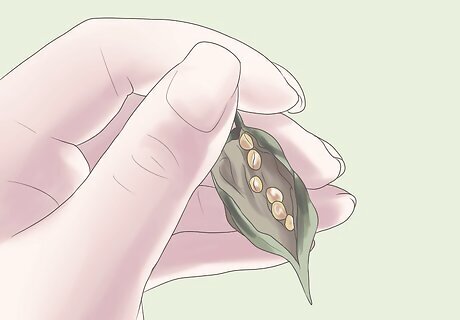
Open the seedpods. By this point, the seedpods are brittle enough for you to open without the assistance of any special utensils. Use your thumbnail to slice into each seedpod, opening it up. Gently scrape out the seeds inside using your fingers. Line your work area with clean paper towels to help catch any seeds that fly out as you open the seedpods. The seeds should be a nice brown color when they are dry enough. They should be dry once you open the seedpods, but if the seeds are still only a light tan color, they will need to be dried further. Dry the seeds by spreading them out in a single layer on your paper towels and placing them in a warm, sunny location. They should be ready within a day. An alternate option is to leave the seeds in the dried pods and open them in the same manner just before you are ready to plant them. Doing so can take up more storage space, however, but the seeds will be better protected in the long run
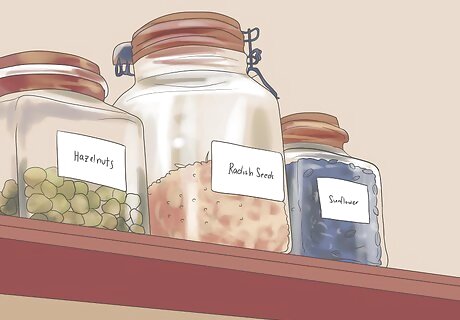
Store the seeds. If the seeds are not completely dry, allow them to dry out further before you save them. After they dry, place them inside a small envelop or airtight jar and save until you are ready to plant them. The best container to use is a small paper envelop. The envelop should be small, but still large enough to hold all the seeds with a little extra space left over. Make sure that the envelop is sealed tightly and securely after the seeds are inside. Any container you use should be labeled with the contents and the current date.




Comments
0 comment