
Choose Your Wood

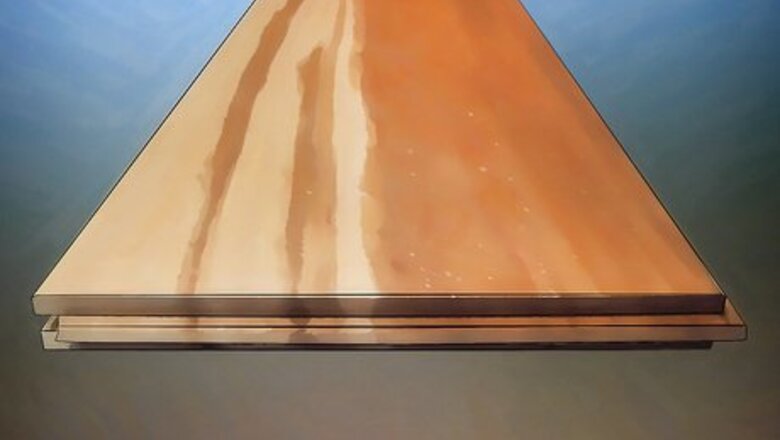
Consider solid hardwood. Solid hardwoods have been the traditionally used material in flooring for some time now. They will give a room an elegant, old-world look and for good reason: solid hardwood floors last a long time. They can be sanded and refinished many times, giving them a much longer lifespan than other types of wood flooring. However, considerations must be made as hardwoods are very susceptible to changes in moisture level. Solid hardwood floors can only be placed in specific areas, because of their reactions to moisture. They cannot be used in bathrooms or in basements. Prepare accordingly. Floors like these will also need installation considerations. Solid hardwoods will need to be nailed into place, which means that a wood subfloor is required. If you do not or cannot provide this, you will need to consider other options.
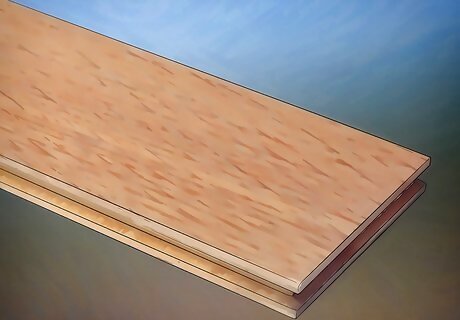
Consider engineered wood. If solid hardwoods are not an option but you would like to have a similar look, consider engineered wood. This wood is similar to what is used to construct many types of modern furniture, and can be used anywhere in your home as it is not affected by moisture as much. It will provide a sleeker, more modern feel and appearance to a room. It is also possible to glue boards such as this. However, the surface they are applied to must be absolutely flat and perfectly clean, so it is not necessarily recommended.
Prepare for Installation
Prepare your subfloor. You will need your subfloor to be ready for laying down hardwood floors. This tutorial focuses on installing solid hardwoods, so you will want a wood subfloor if you want to follow the directions exactly. Other options are available, however. Don’t forget to consider things like door jambs as well. You will need to be able to either get your floors underneath the molding or you will need to cut your floor to go around it.

Let your wood acclimate. Before you install solid hardwood floors, you will need to let the wood acclimate to the moisture level of your home first. Leave the wood to sit in the room in which it will be installed for at least three days. Try to install the floor during either the Spring or Fall, when the temperature is neither very hot nor very cold. Temperature will also affect the wood.

Gather tools. A larger number of tools and supplies will be necessary to complete this project. You can rent larger pieces, like flooring nailers, from your local hardware store. Other pieces, like nails, will need to be purchased. You can find the materials list for this project at the bottom of this page.
Install the Floor
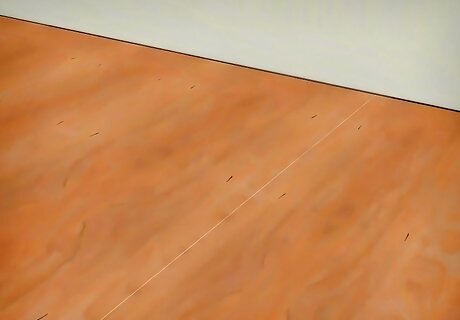
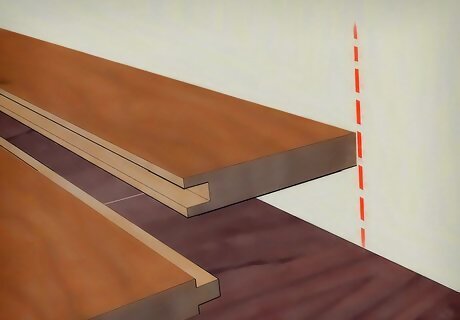
Lay down the first board, tongued-edge facing out into the room. The board should leave a small gap at the wall for expansion (check manufacturer’s recommendation) and be placed in line with the room (so consider measuring guidelines). Place spacers in the gap. Guidelines can be placed by finding the center point of each wall and marking a line between them, creating a cross at the center of the room. Where one of these lines meets with the wall, mark the manufacturer’s recommended expansion distance and then draw a line at that point which is perpendicular to the center line.
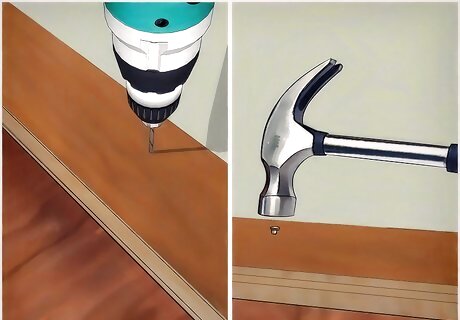
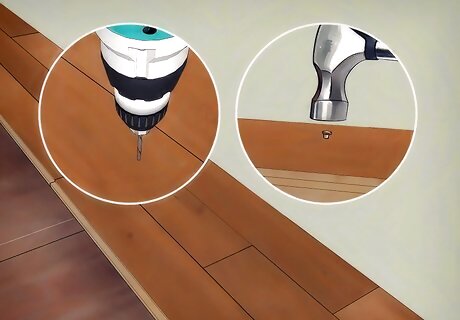
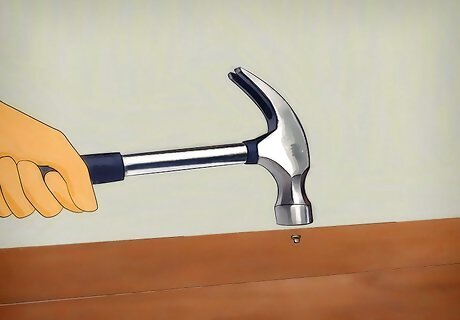
Nail the boards to the subfloor. Use the drill to make guide holes and then, using a hammer, nail the board into the subfloor with nails placed 1-3” from the end of the plank, ½” from the groove side, and every six inches down the board. Use a nail set to finish.
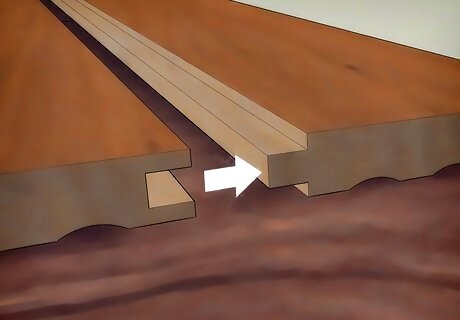
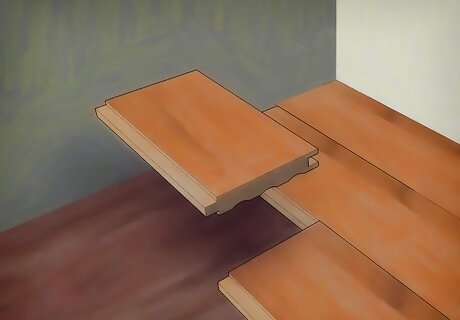
Lock your boards together. When the first row is done, place the next board so that the tongue of the first fits into the groove. You will want to place the boards so that they are offset, beginning six inches or so from the ending of the previous board. Use a mallet and tapping block to tap the boards together and create a tight seam.
Continue until you have completed three rows. You will nail the first three rows just as described in Step 2.
Remember to cut boards to size. Since you are staggering boards, you will likely need to cut boards in order to fit in the gaps at the end. Measure the distance that it needs to be, keeping the expansion gap in mind, and then (with the board face-down) cut it using a saw.
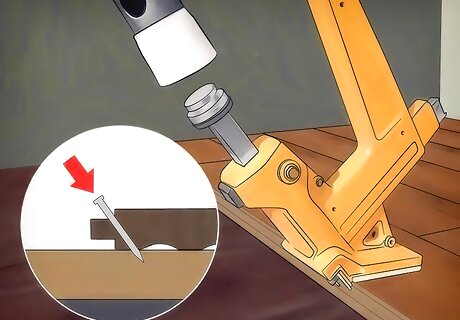
Begin laying rows with the flooring nailer. Once you have enough space, you should begin using the flooring nailer (though you could technically do the entire floor with the hammer and nails). Simply align it with the board to be nailed and then hit it.
Use a hammer for the last few rows. You will eventually run out of room to use the flooring nailer. Hammer the last few rows the same way you did the first ones.
Cut the final board to size. If it does not fit properly, you will need to cut the final board so that it is narrow enough to fit. Measure carefully and use a circular or miter saw to cut the boards to size.
Place the final boards using the crowbar. Since you will not have enough space to tap them with the mallet, use a crowbar instead to wedge them into place. You are now ready to finish your floor.
Add Finishing Touches
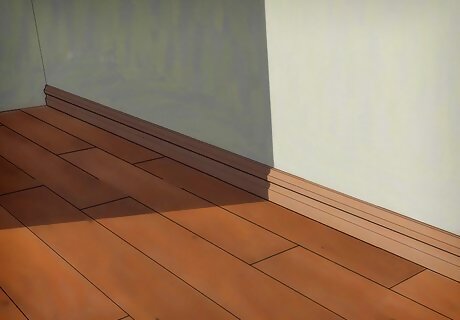
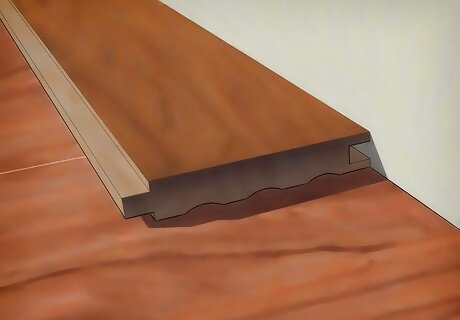
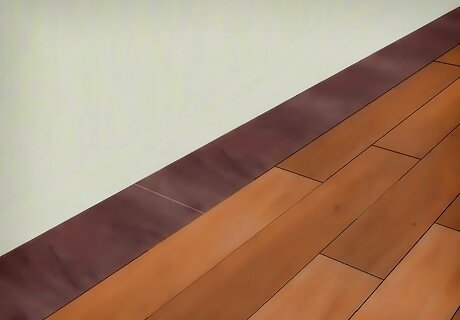
Add baseboards. Once the floor is in place, you can add some type of baseboard trim, usually a type of molding, where the floor meets the wall. What type of baseboard you choose is up to you and will depend on your needs as well as the design of the room.
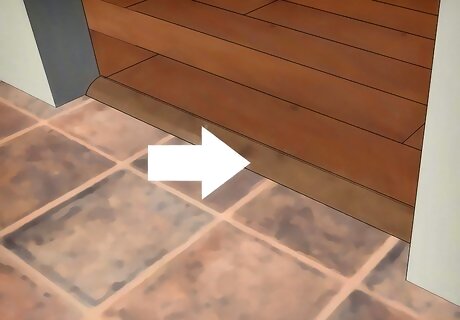
Add trim and transitions. Add trim and transitions anywhere where your floor does not meet up with your wall, such as doorways or a section of the room with different floor covering. Trim and transitions should be cut to size and installed according to the manufacturer’s instructions. This is usually a very simple process.
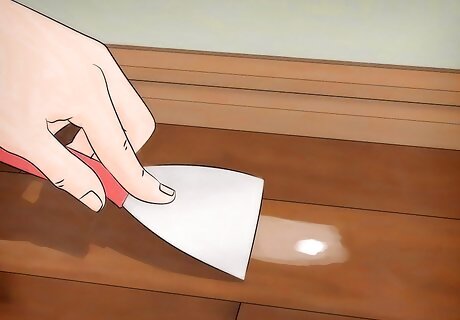
Use putty to cover holes. If you wish to, you can cover the holes created by the nails with nail putty. This may be a good idea, as such holes can collect dirt and other undesirable material. Be sure to get putty in the color of the wood you are using for the floors, as this will help in blend in. EXPERT TIP "To maintain your wood floors, vacuum them weekly, dry mop them every 2 weeks, and damp mop monthly." Chris Willatt Chris Willatt House Cleaning Professional Chris Willatt is a House Cleaning Professional based in Denver, Colorado. Chris is the owner of Alpine Maids, a cleaning agency that he founded in 2015. Chris is on a mission to elevate what it means to be a cleaning professional and has built up Alpine Maids with that goal in mind. Chris has been featured in USA Today, Forbes, and Readers Digest. Alpine Maids received Angie's List Super Service Award for three years in a row from 2016-2018. They were also awarded Colorado's "Top Rated Local House Cleaning" Award in 2018 and were featured on the Inc. 5000 Company List. Chris Willatt Chris WillattHouse Cleaning Professional


Comments
0 comment