views
X
Trustworthy Source
Science Direct
Online archive of peer-reviewed research on scientific, technical and medical topics
Go to source
To get started, though, you must first set up the equipment.
Setup
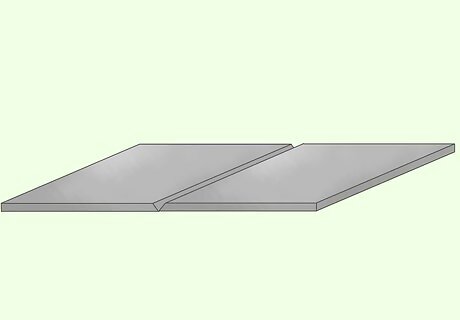
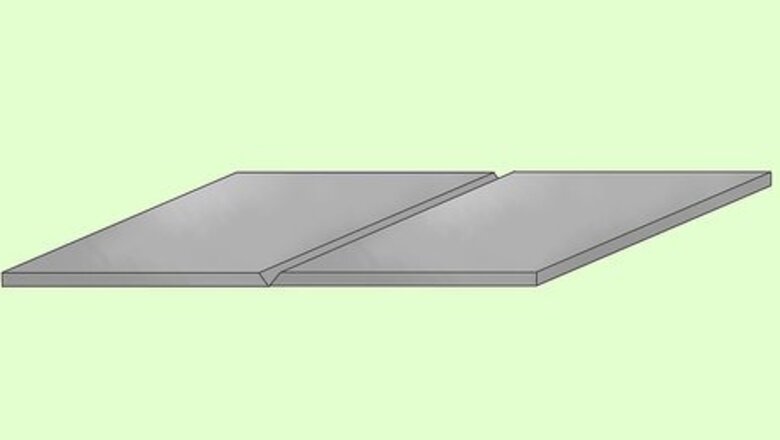
Select a material that can be welded with a handheld laser. Most manufacturers of handheld laser welders will keep their equipment manuals up to date with the materials that can be welded. This includes (but is not limited to) carbon steel, stainless steels, aluminums, copper, etc. Some materials with a high carbon content most likely will not be weldable due to the rapid heating and cooling.
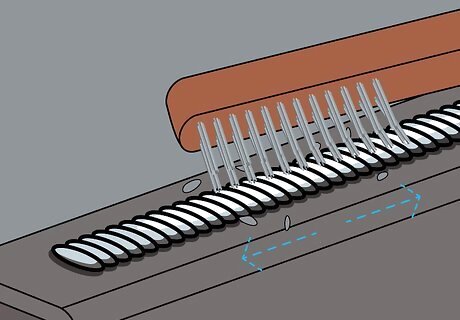
Aggressively clean the materials to improve weldability. The effectiveness of the laser energy can be heavily diminished by the presence of mill scale, an oxide layer, dirt, and even dust. Be sure to use a wire brush or grinder to remove any potential weld contaminants. Chemical cleaning with acetone or mineral spirits is also advised. With highly reflective materials, use a high grit sandpaper to rough up the joint; laser light can be reflected on a base material with a perfect finish which may affect the effectiveness of the welder.
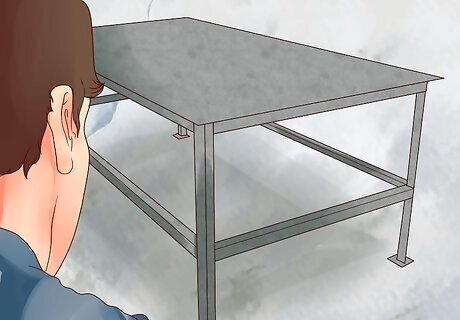
Prepare the workspace. Ensure the area meets ANSI Z136.1 standards. Due to the reflectivity of light, any reflective surface can potentially reflect energy dense light. Clear the area of any flammable materials, including paper, wood, and plastic, to reduce fire risk. Set up barriers around the welding zone to contain reflections. These should be made of materials like carbon fiber or drywall. Protect others nearby and ensure that there is adequate ventilation to remove fumes. Post warning signs at entry points to alert people about potential hazards, such as laser exposure and high temperatures.
Welding
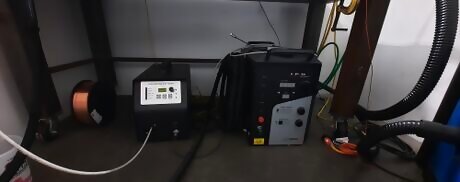
Connect the welder and wire feeder to a power supply. To comply with ANSI 136.1, there can be no openings leading outside, so if the power connections are outside, place a cover over the hole and power cables. Ensure that the ground clamp is connected to either the workpiece or work bench that welding will take place on. If applicable, add a safety interlock to the doors leading in and out of the work area (commonly provided by the laser manufacturer.)
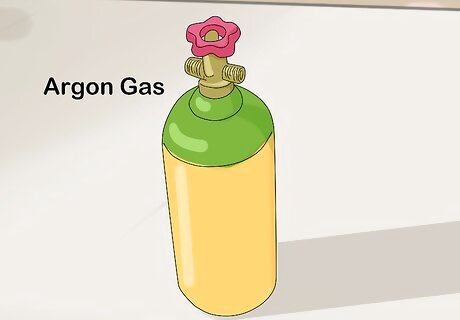
Secure and connect the gas supply to the laser. For steels, obtain a bottle of 100% nitrogen gas. For aluminums, use 100% Argon gas. Secure the cylinder with chains to a wall or sturdy post, then connect it to the laser. Make sure that the right pressure gage is being used; using a gage not rated for nitrogen or argon can cause serious damage to the gage and ultimate failure leading to the gage exploding.
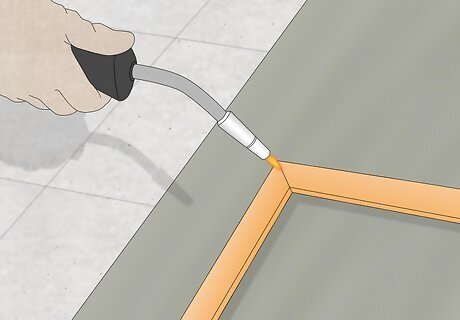
Create the weld. Select the baseline parameters. Most handheld lasers come with a set of predetermined parameters the manufacturers recommend for different material types and thicknesses. Select the parameters closest to the intended application and make a weld. This will serve as the base line for parameter development.
Troubleshooting
Look for discontinuities. Use destructive testing to look for discontinuities. A metal saw is best for cutting open the weld to check for discontinuities like porosity, lack of fusion, lack of penetration, and other common weld discontinuities. If none of these occur, skip the remainder of this part.
Check for porosity. Inspect the cross-section of the cut weld for small holes or cavities. These are indications of porosity, when gas is trapped in the weld. Surface defects, such as pitting or pinholes, may be visible on the outer bead. Address porosity by increasing shielding gas flow, ensuring the material surface is clean and dry, adding a back purge to the material, slowing down the travel speed, or a combination of these factors.
Check for lack of penetration. Check the depth of penetration in the cut weld to ensure it meets design specifications. Measure the weld cross-section to confirm that the fusion reaches the desired depth. This can be done by checking the back of the weld to look for the melted material, or using a standard acid etchant and by measuring the amount of penetration. Insufficient penetration suggests the need to increase power or decrease travel speed.
Evaluate bead profile and shape. Look at the overall shape of the weld bead for irregularities. A good bead should have a uniform width and consistent height without excessive convexity or concavity. Adjust wobble amplitude, travel speed, or power settings to refine the bead profile as needed. To ensure that the operator of the laser is holding the torch at the right position, consider adding a handyman’s level to indicate during welding that the operator is off track.
Weld Repair
Assess the damage. Check with the most applicable welding code to determine if any discontinuities are acceptable. If there is an unacceptable number of discontinuities, mark out the area of interest.
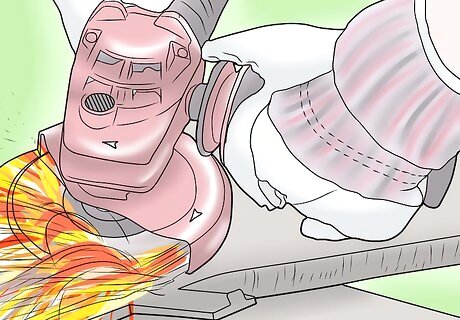
Remove defective weld material. Grind or machine away the defective portion of the weld until clean metal is visible. Be careful not to over-grind or damage the surrounding base metal, only grind until the discontinuities are barely removed. Make sure to remove the entire affected area, including any adjacent metal that shows signs of contamination or defects. Use dye penetrant or ultrasonic testing to confirm all defects have been removed before continuing.
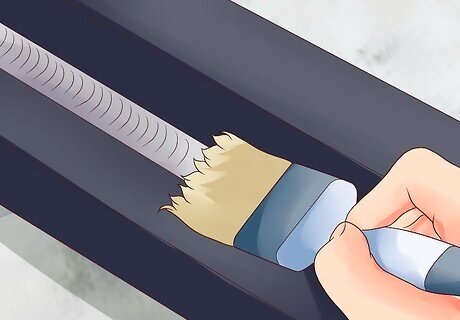
Aggressively clean the area using a wire brush, grinder, or chemical cleaning agents. Ensure the joint is free of any debris, oil, or oxidation that may have developed during the grinding or machining process. This step is crucial for achieving a strong bond during re-welding. Pay special attention to the edges of the cut area, as smooth, clean edges will promote better fusion during the repair process.
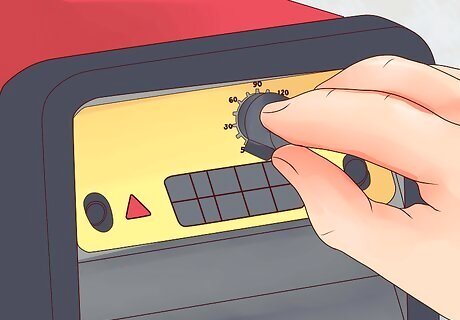
Select welding parameters that will prevent the recurrence of the identified defects. Use a lower travel speed or higher power setting to improve penetration or fusion as necessary. Perform a single pass to fill the cut-out section, or use multiple passes depending on the depth of the repair. Monitor the process closely to ensure no additional discontinuities are introduced.
Conduct a thorough visual inspection of the repaired area. Perform non-destructive testing (NDT) in areas that were repaired. Methods such as X-ray or ultrasonic testing can help identify any remaining or newly introduced defects. Ensure the repaired weld meets all quality and code requirements before considering the repair complete. Document the repair process for traceability and future reference.


Comments
0 comment