
Threading the Latch Hook
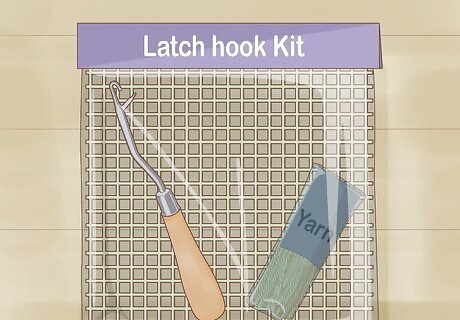
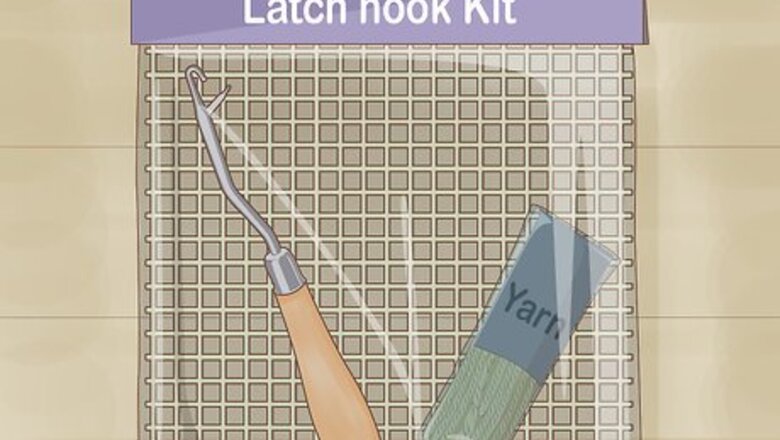
Buy a latch hook kit. Each of these kits contains the latch hook tool itself, along with a special grid-like fabric canvas that will serve as a base to which each strand of yarn will be attached. The canvases are constructed of sturdy intersecting strings, and usually measure about 30 inches (76 cm) tall by 24 inches (61 cm) wide. You'll be able to find latch hook kits at most arts and crafts stores, as well as hobby shops that sell knitting supplies. They typically retail for about $10 or less. Most kits also come with templates for basic weaving projects, which can come in handy if it's your first time working with yarn.
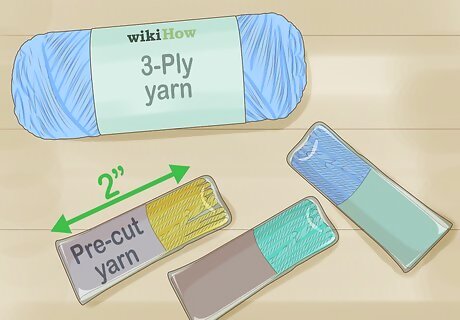
Stock up on yarn. Make sure you have enough yarn to bring the design you have in mind to life. The simplest solution is to purchase precut rug yarn, which comes in pieces that are between 2.5 inches (6.4 cm) and 3 inches (7.6 cm) long. However, you can also cut each strand to the desired length yourself to give your finished project a more tailored look. 3-ply acrylic rug yarn will provide the most eye-catching results for most projects. Shop around for yarn in a variety of striking colors that you think would make a good addition to your latch hook tapestry. When cutting your own yarn, each strand should be at least 2 inches (5.1 cm) in length in order to attach securely to the canvas.
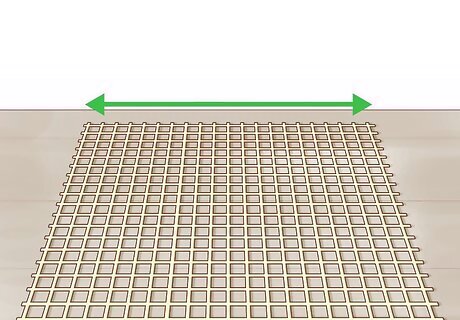
Lay out the canvas grid on a flat surface. Remove the latch hook canvas from the package and smooth it out on a spacious table or countertop. Make sure the squares form straight, neat rows, and that each square is fully stretched out. If you want to make a basic portrait-style wall hanging, arrange the canvas so that it's sitting in front of you lengthwise. To weave a landscape-style mural, turn the canvas widthwise. Clear your work area of other nearby objects to keep the canvas from getting snagged while you're working.
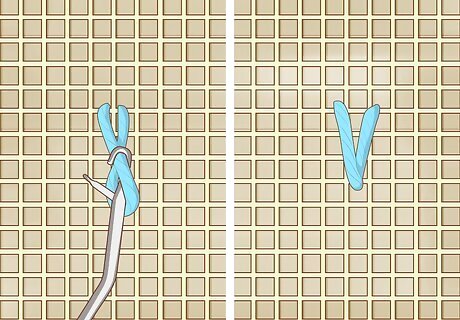
Wrap a strand of yarn around the shaft of the latch hook. Adjust the yarn until it rests in the shallow crook just above the handle of the tool. Pull the ends of the strand taut around the latch hook with your opposite hand. A little tension will make it easier to maneuver the tool through the holes in the canvas without losing the yarn. Don't let the yarn drift up towards the latch.
Knotting the Yarn onto the Canvas
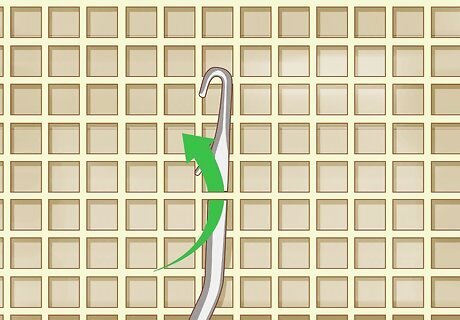
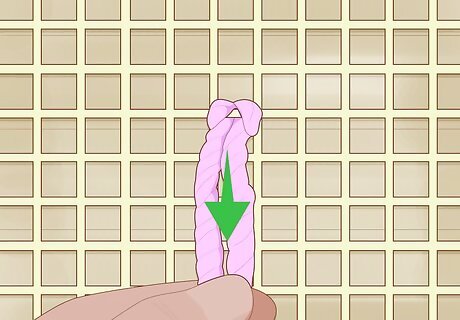
Thread the latch hook through one of the squares in the canvas. Guide the tip of the tool under the string at the edge of the square, then up and out through the other side. Keep sliding it until the crook of the latch hook is nearly level with the square, but don't let the yarn go through. Be careful to only insert the latch hook through one square at a time. Leave about an inch of space around the edge of the canvas in case you decide to mount your handiwork later. If you make a mistake, work the latch hook out of the square and start over.
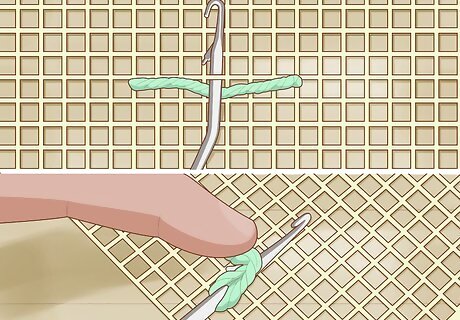
Draw the ends of the yarn to one side. This will place the strand in the correct position for knotting. It will also get them out of the way so you can concentrate on threading the latch hook. Pinch the loose ends firmly to hold them together. If they come apart, they may end up being two different lengths once the strand has been knotted.
Pull the latch hook back out through the hole. To complete the knot, all you have to do is go back out the way you came. As you withdraw the tool, the swinging latch will gather up the loose ends of the yarn, pulling them under the section that's anchored to the canvas. It's that easy! Repeat this process as many times as desired to cover your canvas with a dazzling, multicolored fringe.
Tighten the knot by hand. Each time you complete a strand, pause and give the loose ends a quick tug. This will both secure the knot and make the looped section less visible. Latch hook loops aren't as tight as hand-tied knots, which means they're more likely to come undone if they're not properly cinched. Be careful not to pull on the knot too forcefully, or you could stretch out the canvas and leave it looking misshapen.
Refining Your Latch Hooking Skills
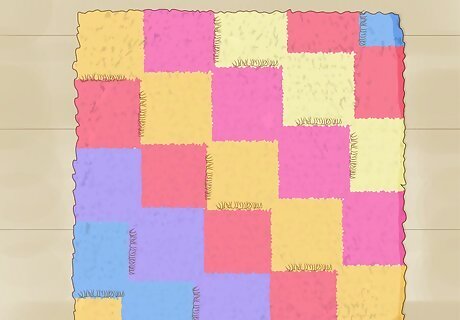
Start with basic designs. When you're first learning how to latch hook, it's best to keep things simple. Try following a template for your first few project to get an idea of how the yarn looks on the canvas. From there, you can move on to freehand shapes like lines and circles a shot.
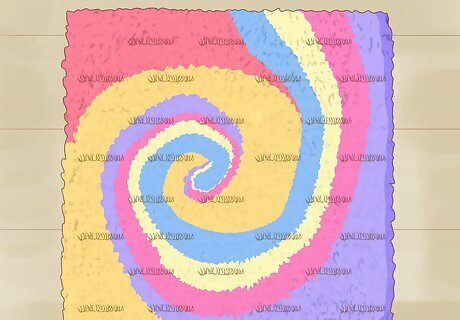
Get creative with your projects. As you improve, you'll learn to produce more complex patterns and contours and begin producing your own unique designs. These could be anything from formless swaths of color to distinct patterns like stripes, spirals, waves, and rainbows. Advanced latch hookers have even been known to weave detailed portraits and scenes. Don't be afraid to be abstract—experiment with yarn placement and weave whatever patterns your eye suggests. It can be helpful to think of the canvas squares as a guide for forming precise edges and curves, similar to drafting paper.
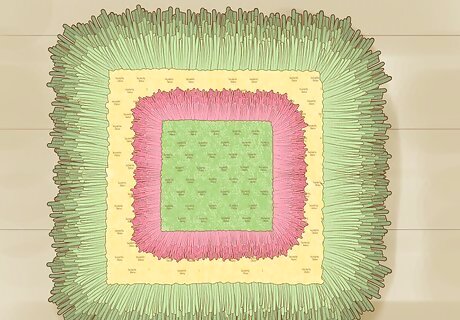
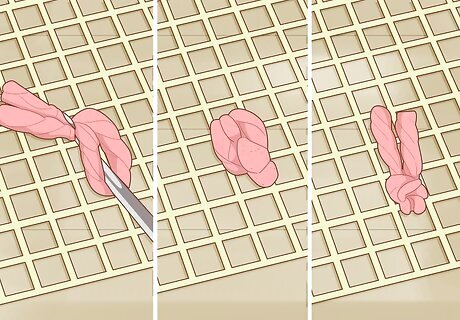
Trim the yarn to the desired length. Rather than spending hours cutting the yarn to size before you make a single knot, wait until your design comes together, then snip the strands wherever you want them to be shorter. Touching up your work after the fact will offer you more control, as it allows you to make just as much of an adjustment as you need instead of being forced to guess at the right length. Trimming the strands to different lengths can lend added texture and dimension to your finished project.

Use two strands of yarn at once. Wrapping, threading, and knotting one strand after another can take all day. By doubling up your yarn, you also stand to double your speed. Line up two separate pieces of the same length, then knot them as you ordinarily would, being careful not to let the two strands overlap in the process. Since you'll have an extra strand to deal with, you'll need to work carefully to avoid mistakes. This method can be especially useful when you're covering a large area with a single color.


Comments
0 comment