views
Replacing the Battery
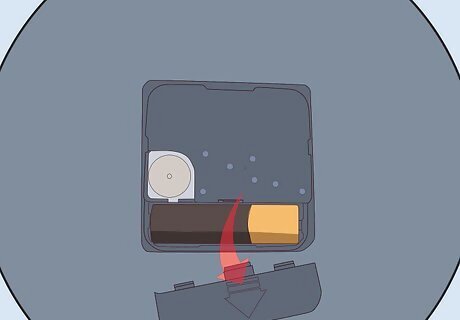
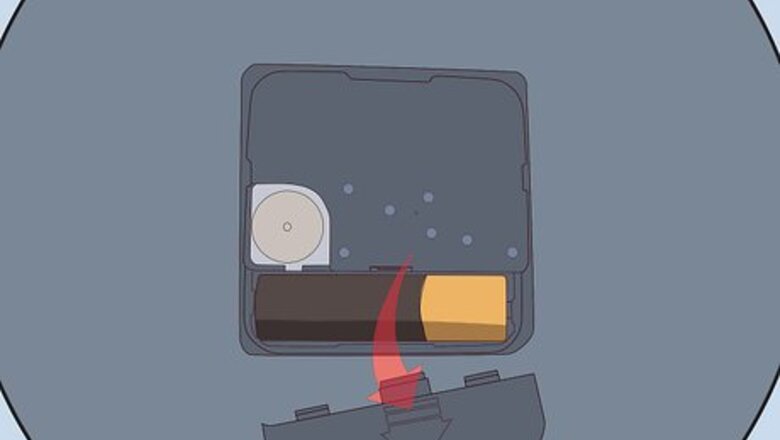
Open the battery compartment. The battery compartment can be found on the back of the clock. The small black box, known as the movement, will house the battery. Use a screwdriver to press in the clip or unscrew it.
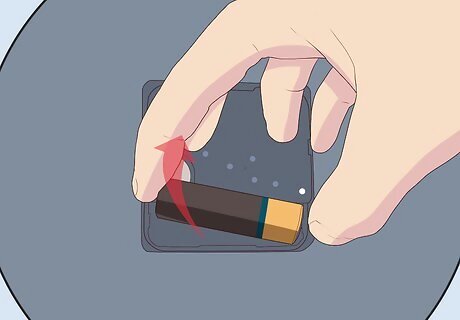
Remove the old battery. Use your fingers to pry up one end of the battery. This should release it from the compartment. Dispose of the battery.
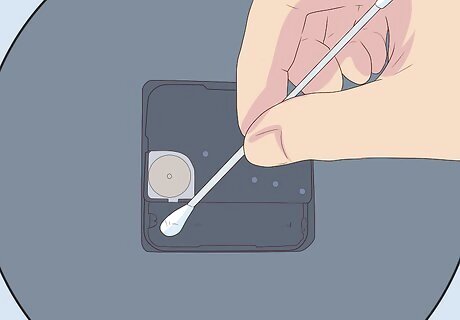
Clean the terminals. Remove any loose corrosion from the battery terminals. Use a damp q-tip or cotton ball to clean the terminals.
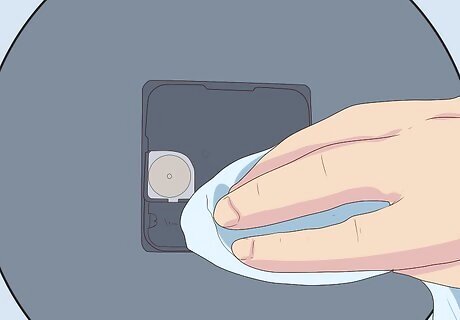
Dry the terminals. With a clean cloth or paper towel, gently dry off the terminals. It is important that the terminals are not wet when a new battery is inserted. If you do not have a clean, dry cloth, let the terminals air dry.
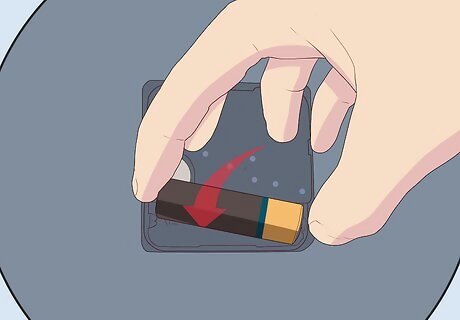
Insert the new battery. Read the instructions in the clock’s battery terminal to determine what type of battery the clock requires. Be sure to line up the positive and negative ends of the battery with the labels in the battery terminal.
Reducing Friction
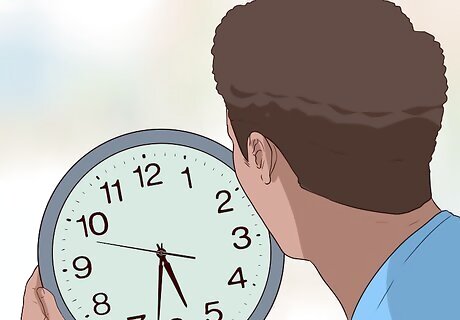
Examine the clock hands with the faceplate intact. Watch the clock tick as the time goes by. Determine if the clock’s hands need any adjustment. The clock’s hands should not touch. You will know that the clock’s hands need adjusted if they catch on each other as they rotate around the clock.
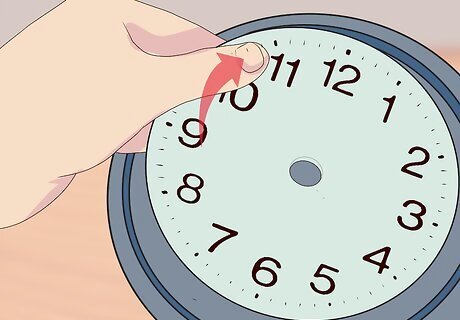
Remove the faceplate. Gently remove the faceplate of the clock to make any adjustments to the hands. The faceplate should pop right off. This step is not necessary if the clock does not have a faceplate.
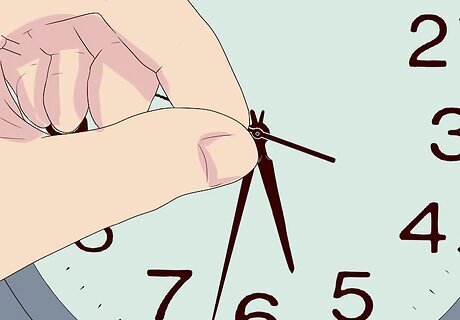
Ensure the clock hands do not touch each other. If the hands of the clock do touch, gently bend them away from each other. Be sure not to bend them too far. Just bend them enough so that they are not touching when passing each other.
Replacing the Movement
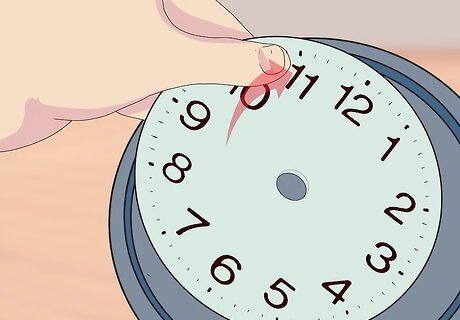
Take off the faceplate. If your clock has a faceplate, gently remove it. This can be done by simply popping it off of the rim of the clock. This step is not necessary if your clock does not have a faceplate.
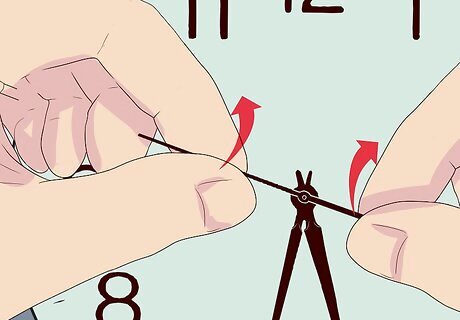
Lift up the second hand. Remove the second hand by gently lifting it off. Be careful not to damage or bend the hand when you remove it from the clock’s face.
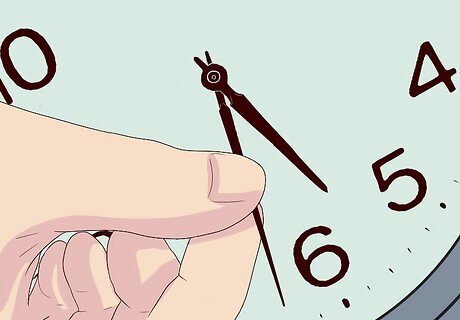
Take off the minute hand. Next, you will remove the minute hand. You will also want to be careful with this hand to not damage or bend it.
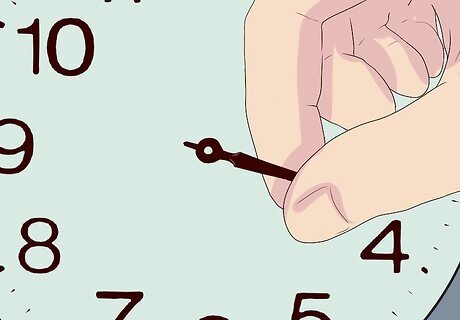
Remove the hour hand. The last hand that you should remove is the hour hand. Again, be careful to not damage the hand when you remove it from the clock’s face.
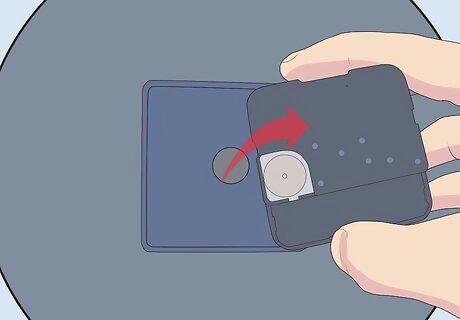
Pull out the movement. The movement is the square box that is sitting on the back of the clock. Gently pull it away from the clock. Be careful to not damage the face of the clock as you are removing the old movement.
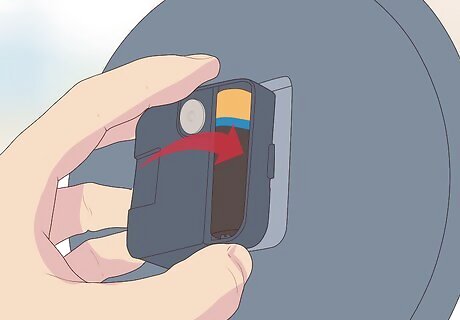
Insert the new movement. Insert the new movement where the old movement once sat. Be careful to not damage the face of the clock as you insert the movement into the hole in the face of the clock.
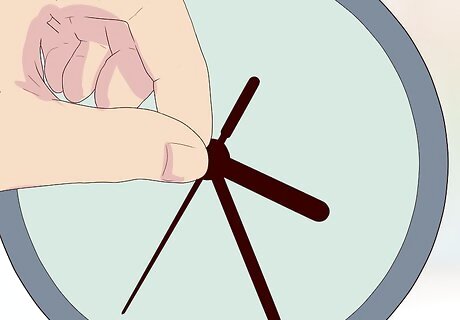
Replace the hands. Begin replacing the hands by starting with the hour hand, and then the minute hand, and finally the second hand. Be careful to not bend the hands while you are replacing them on the face of the clock. If the hands touch, gently bend them away from each other.
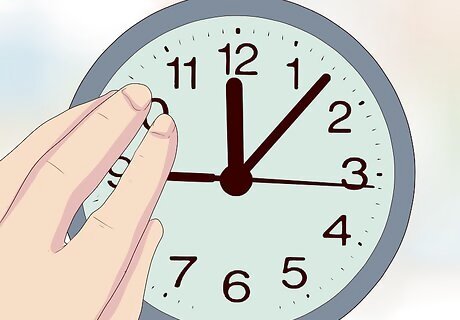
Put the faceplate back on. Once you have assembled all of the pieces of the clock, you should put the faceplate back on. The faceplate should pop right back into the edge of the clock.





Comments
0 comment