
- Separate your clay into smaller, more manageable pieces so you can focus on one part of the sculpture at a time.
- Bake your clay dog in the oven following your chosen clay's instructions.
- Use acrylic paints to paint your dog whatever colors you'd like—you can even replicate your own furry friend!
Molding the Clay
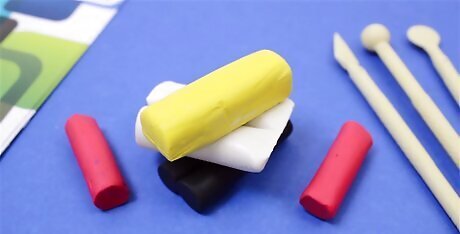
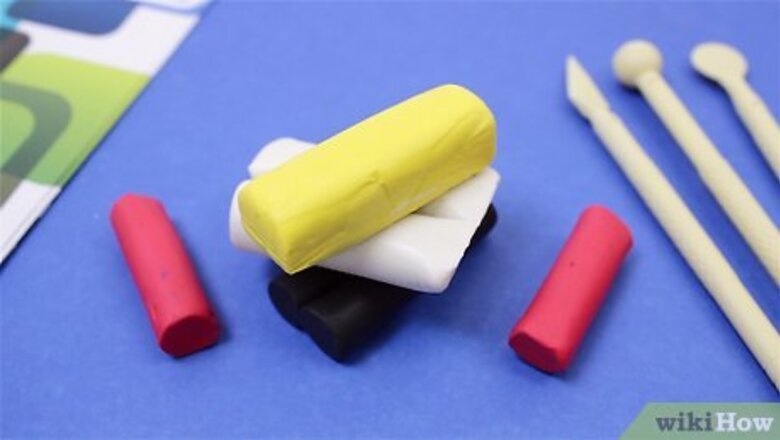
Select your clay. There are many different kinds of clay, any of which can create a dog. Deciding which clay to use depends on your desired end texture and appearance. Select your colors. You may choose to purchase different colors of clay to create the dog, or you can select to use one solid color and paint the dog after it is finished. Some clays, like polymer, can be baked into a finished piece very quickly in an oven. If you don't have an oven to use for your clay, you may prefer to select an air-dry clay, however, you will have to wait four or five days to finish it. If you are doing clay animation, you will want to select an oil-based clay that will not dry out. If you plan on making fine features, like a little dog's face, avoid clay with grogs. Grogs are little fired particles that can interfere with details on the clay's surface.
Break down the clay into manageable pieces. Instead of trying to mold a dog shape from a large chunk of clay, break apart the clay into several smaller pieces. Keep one larger piece to create the torso of the dog. Break off a piece for the head. Make four pieces of equal size to create the legs. Roll the pieces into balls to try and keep the size as even as possible for each leg. Make one smaller piece for the tail. Set the remainder aside to use for other small shapes that remain, such as the ears and eyes.
Make the body. Form a cylindrical shape with the largest piece of clay. Roll some clay into a ball and shape it into a rectangle. Round the edges a little to make the rectangular body look like a dog body. You may want to adjust the torso to be smaller or larger depending on the kind of dog you want to create. For example, a basset hound or dachshund will have a much longer body, but much shorter limbs. If you are making a large sculpture, you may want to crumple up damp newspaper and mold the clay around it. This will save you clay, make the sculpture lighter and save you time when baking.
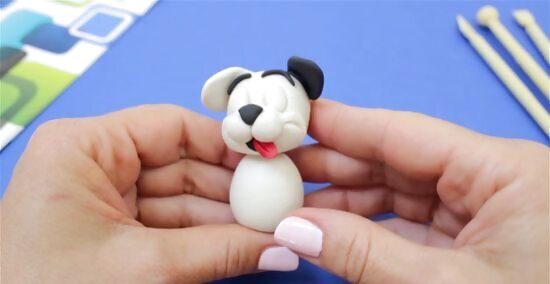
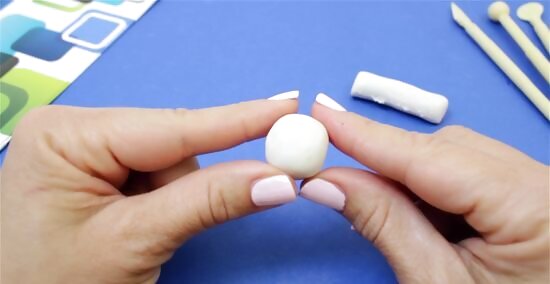
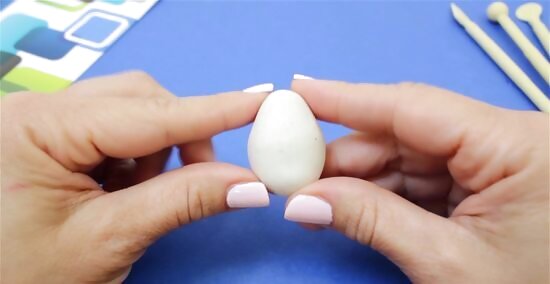
Shape the head. You can shape a single piece by forming a pointed snout at the front and rounding the back. Or, you can shape a separate ball of clay for the snout and press it to the front of the face. Stick it on the top of the end of the body. To keep the head in place you might want to insert a toothpick halfway into the body of the dog. Then, place the head on the top half of the toothpick.

Roll out four identical cylinder shapes for the legs. Flatten the bottoms and add pads with brown or black clay. Put two legs on the back of the dog, and two legs on the front. Use the legs to help create the pose for your dog. You might want to make him stand, sit, or lie down. It is entirely up to you.
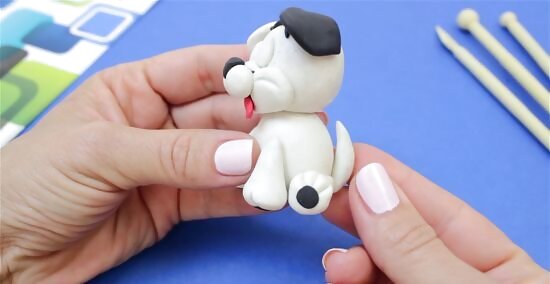
Make a tail. Roll another piece of clay between your hands to create the tail. You might want to make it long and pointy, or short and stubby. It depends entirely on the kind of dog you want to create. Attach the tail to the rear of the dog.
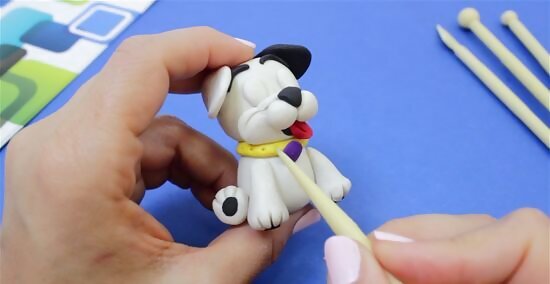
Add some details. You will want to have ears, a snout, mouth, eyes, and a nose. You can use smaller pieces of clay to shape the pieces, or use your modeling tools to carve some of them into the existing form. The more time you take creating details, the more lifelike your dog will be. Consider adding a tongue. Add a small piece of thin clay out the side of your dog's mouth. Try pressing two small lines into each paw to create some toes. If you are using different colors of clay you can give your dogs some spots by adding small, thin patches of different colors over the body or legs. Create a collar by forming a long flat strip and wrapping it around the neck of the dog.
Baking
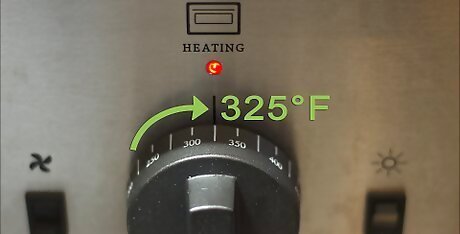
Heat the oven. Check the instructions for your polymer clay to find the right temperature and time for the type of clay and the size of your clay dog. Polymer clays will all cook at a temperature between 215°F (102°C) to 325°F (163°C).
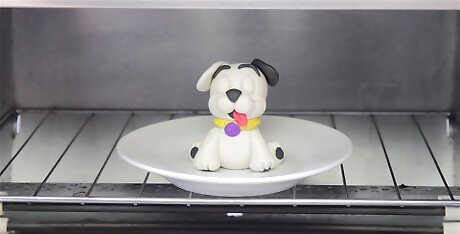
Place the clay dog on a glass or ceramic tile. Wait until the oven reaches the desired temperature. Place the tile with the dog on it on the middle rack of your oven.

Set a timer so you know when the time is up. Follow the cooking times suggested by the manufacturer for your type of clay. The larger your clay dog is, the longer it will take you to cook it in the oven.
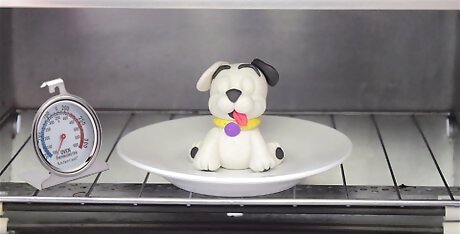
Use an oven thermometer. Certain ovens use rapid heating systems that can create dips and spikes in the temperature. You should try to monitor the temperature in the oven to make sure your clay isn't getting too hot or not hot enough. Too cold and your clay may become brittle, too hot and you may end up burning the clay.
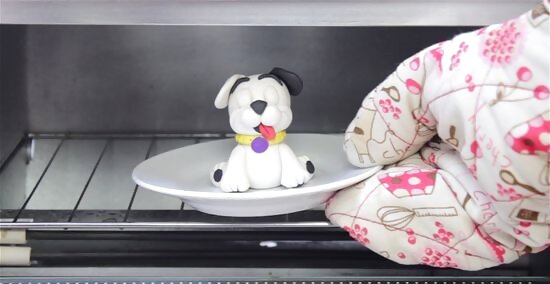
Remove the dog from the oven. When the timer goes off take out your clay dog. Leave the dog to cool on the ceramic tile. Don't worry if the clay doesn't appear firm when you first remove it from the oven. As the clay cools down it will harden. Use oven mitts when handling the tile. It will be hot.
Painting
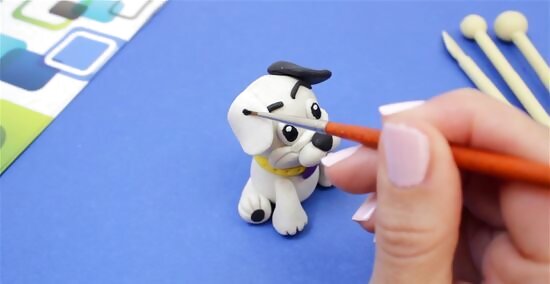
Use acrylic paints. You don't need to wash or sand your clay beforehand. Just brush on your base coat. Then add as much or little detail as you like. Select the colors that suit your type of dog. You might use mainly brown and black for a rottweiler, or white and black for a dalmatian. Avoid spray-on paints as they contain a solvent that can degrade your clay.

Let the paint dry. It may take 15-20 minutes to dry from the time you finish painting.

Brush on a coat of clear varnish. Use a different brush to apply the varnish. This will give your clay dog a nice glossy finish. The coat of varnish will seal in the paint and help protect it from chipping.


Comments
0 comment