
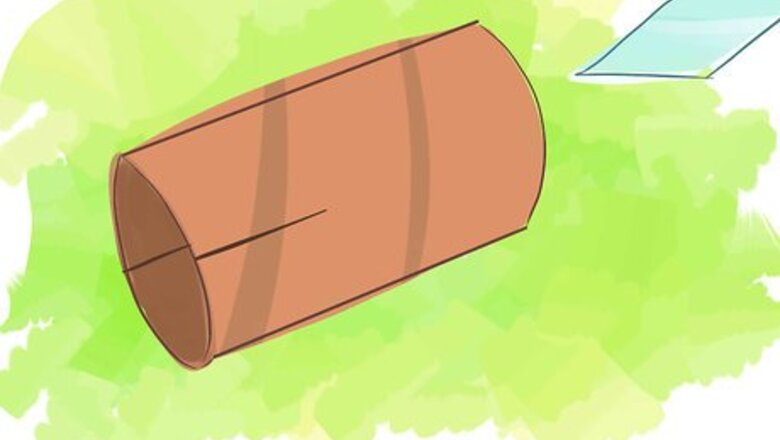
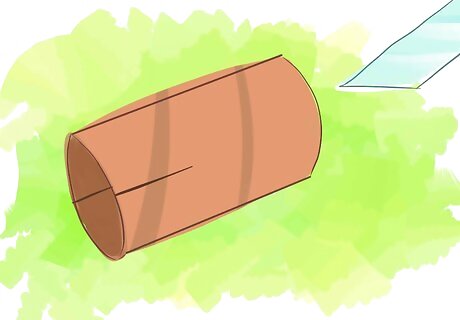
Cut two slits opposite each other in a toilet paper tube — they should go about a third of the way up the tube.
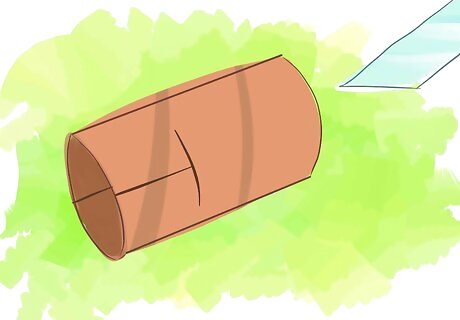
Make two short cuts at the ends of each slit you just made, cutting a "T" shape on each side of the roll (the flaps under the "T"s will be the legs of the doll).
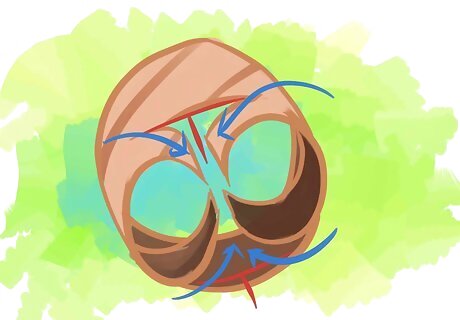
Curve each of the two flaps just made into small cylinders — these will be the doll's legs. Make sure that the edges meet exactly. Use tape to secure each cylinder (doll's leg).
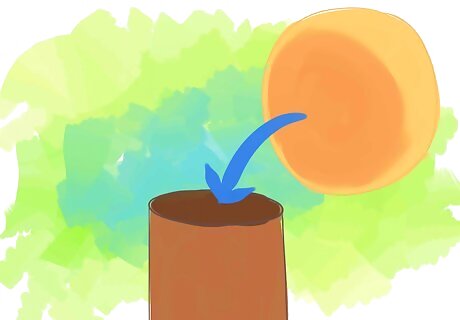
Use hot glue to attach a Styrofoam ball or a ping-pong ball to the top of the tube (this will be the doll's head). You can use other objects for the head, like modelling clay or a small box.
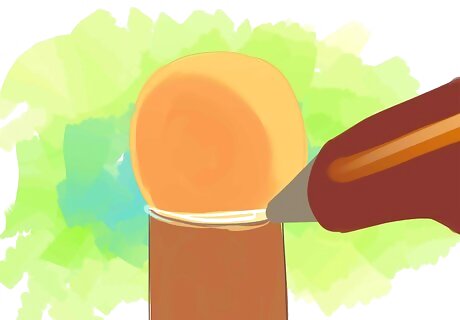
If the ball is a bit too small for the tube, make a series of cuts along the top of the cardboard tube, forming flaps. Then fold the flaps into the tube. Glue the ball to the flaps. Let the glue cool and set.
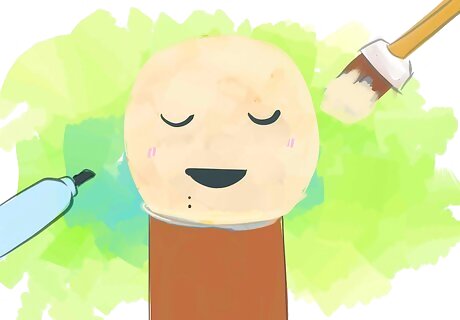
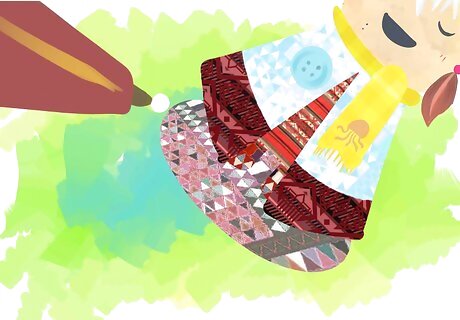
Decide the theme that your doll will represent so that you can decorate and dress your doll properly. Paint the head and let it dry. Then draw in the facial features using markers or paint. To make hair, glue on bits of yarn or felt scraps (or something else).

Cover the body and legs with pieces of construction paper, felt and fabric. Glue them to the doll (hot glue works well with felt and fabric — tape or glue is better for construction paper).
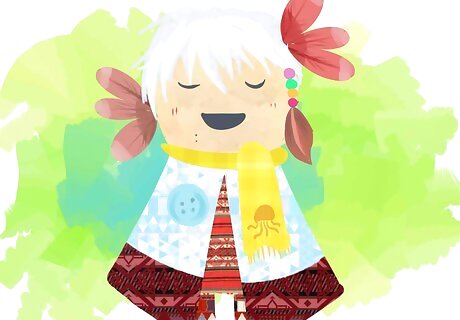
Decorate the figure by gluing on feathers, beads, buttons, shells, ribbons, or other decorative objects.
Make a base (oval, circular, rectangular or another shape) for your doll out of thick cardboard.

Use the doll's theme (that you decided on for the clothes) to design a corresponding base. For example, if your doll represents water, you could design a base that looked like a pool of water; if your doll represents the sun, the base could look like a sunburst.
Use hot glue to attach the kachina doll to its base. Decorate the base using paint, paper, beads, or anything else that fits the theme of your kachina doll.

Take pride, you just made your own kachina doll.


Comments
0 comment