views
Making a Bra Pocket Pattern
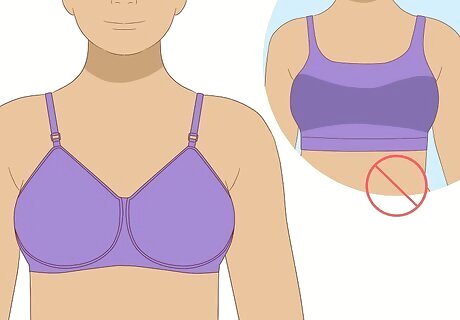
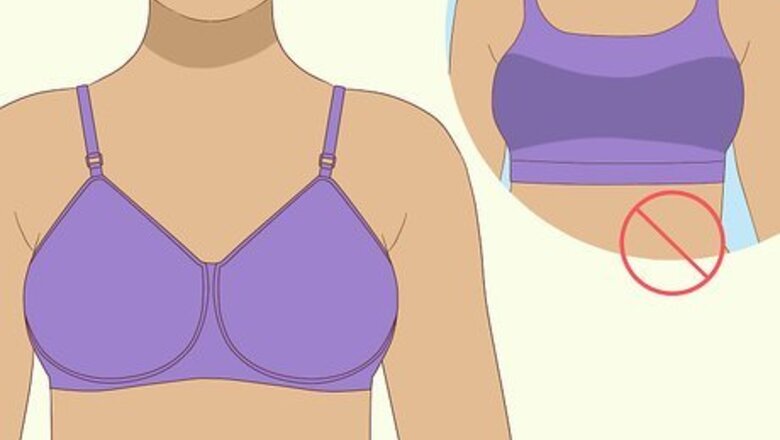
Use a comfortable, full-coverage bra for this project. Full-coverage bras are usually wireless, made of breathable fabric, and have full cups that cover the entirety of your breasts. Try on the bra to make sure the neckline fits close against your skin and the cups can support the size and weight of your prosthesis. Avoid tight-fitting bras and sports bras. Compressing scar tissue is uncomfortable and may prevent lymph fluids from draining properly. Choose a bra with minimal padding for the best fit. If you’re having trouble finding a bra that fits properly after your mastectomy, just know that this is pretty common and you aren't alone. Try booking an appointment with an experienced bra fitter to help you out. They can take exact measurements, offer advice, and help you select the best post-surgery bra for you.
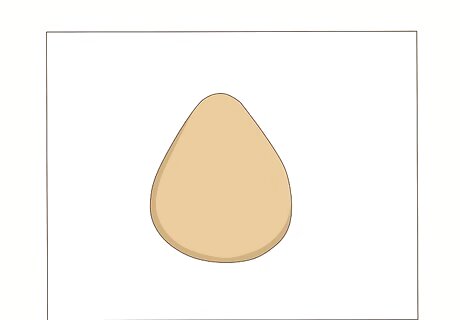
Put a sheet of paper on a flat surface and lay a foam breast form on top. A regular piece of white printer paper works fine for this. Place it on a flat table or ironing board and position a foam breast form in the center. If your prosthesis is made of foam or fiber fill, it's totally fine to use it for this since foam is durable. Don't use a silicone prosthesis for this part, though! The pins can damage it. If you had a mastectomy without immediate reconstructive surgery, your nurse probably sent you home with a temporary foam insert. You can use that for this. If you don’t have a foam breast form, stuff the bra cup with fiber fill in the next step. Fill up the cup completely! You can buy fiber fill at craft stores.
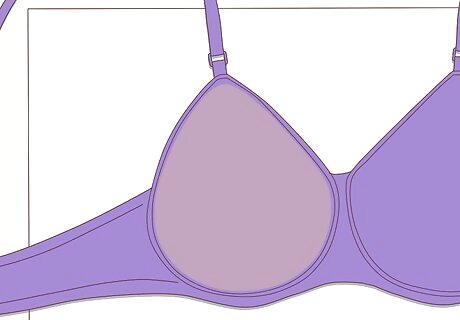
Place your bra over the foam breast form so it fills the bra cup properly. Unhook the closure and place one of the bra cups face-up directly over the foam breast form. Shape and adjust the cup with your hands until the foam fills up the cup properly. Smooth out the bra with your hand so the cup seams are resting flat against the paper. You can tape the bra to the paper if you’re worried it might shift around as you’re pinning the bra.
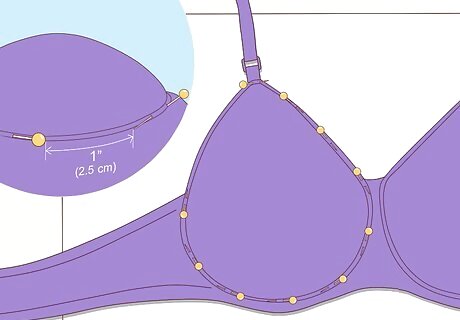
Stick straight pins around the edges of the cup to attach it to the paper. Start by pinning around the bottom seam of the bra, spacing the pins about 1 in (2.5 cm) apart. Be sure to stick each pin through both the fabric and paper. Pin along the center front of the cup, between the strap and underarm, and finish with the neckline edge. If the neckline has lace, stick the pins near the outer edge of the lace. Don’t pin the underarm seam! Leave that part of the cup open and unpinned.
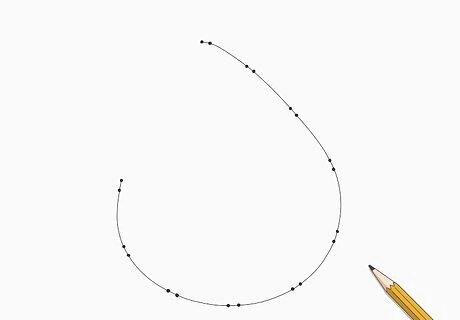
Take out the pins and draw a line to connect the holes on the paper. Pull out the straight pins and move the bra out of the way. Grab a pencil or pen and lightly sketch a line to connect the pin holes. The outline doesn’t have to be perfect, so don’t sweat it! Just connect the dots. Since you didn’t pin the underarm seam, there should be a space there.
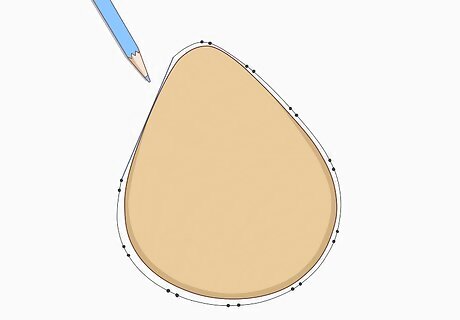
Put the foam form on the paper and sketch the underarm seam. Put the form back into place exactly how you had it. Using the edge of the form as reference, sketch a straight line from the underarm to bottom seam line. The line should skim the outer edge of the form. This line closes the gap in the pattern. Remove the form when you’re done. If you used fiber fill instead of a foam form, ditch the fill and use your silicone prosthesis for this since no pins are involved.
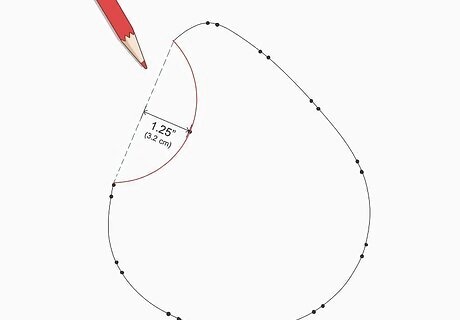
Draw a semi-circle connecting the underarm and bottom seam. Place the tip of a pencil at the center of the straight line you just drew. Move the pencil 1.25 in (3.2 cm) to the right and draw a dot on the paper. Draw a semi-circle to connect the underarm, center dot, and bottom seam. You can trace the round edge of a can (like hairspray) to create the semi-circle. Erase the straight line so you don’t get confused when you're cutting the pattern.
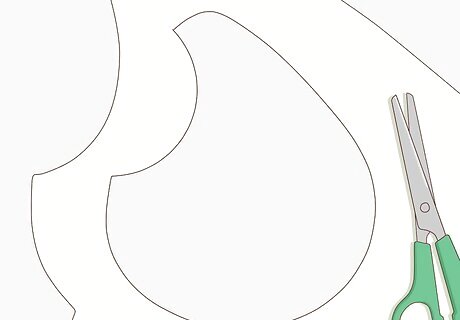
Cut out the paper pattern along the lines you drew. Your pattern is almost done! Just use sharp scissors to cut along the connected dots and get rid of the excess paper. Remember to cut out the underarm along the semi-circle you drew, not the straight line you originally sketched there.
Sewing the Pocket into Your Bra
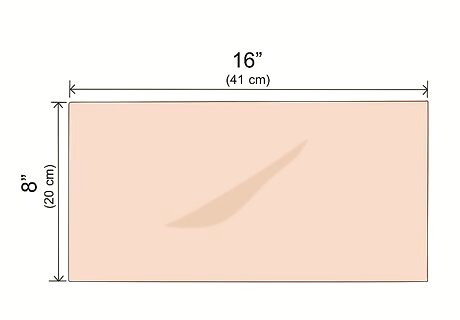
Cut a 8 in × 16 in (20 cm × 41 cm) rectangle of knit cotton fabric. Measure out a rectangle of fabric; your measurements don't have to be perfect or exact, though! Consider using white or flesh-toned fabric for this. The fabric won’t be visible when you’re wearing your bra, but dark fabrics might show through a white bra cup. Any soft, stretchy material, like cotton/spandex or nylon/spandex blends, will work for this project.
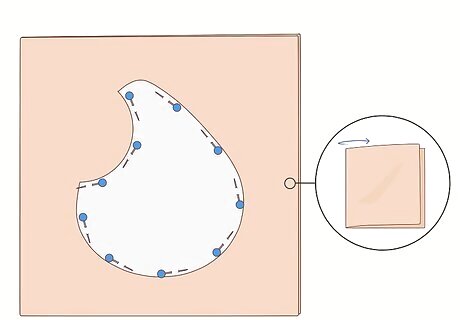
Fold the fabric in half and pin the paper pattern to it. Place the folded fabric rectangle on a flat surface in front of you. Lay the paper pattern on top of the fabric and attach it to the fabric with straight pins. Be sure to stick the pins through both layers of fabric and the paper. A double-layered pocket provides plenty of support for your prosthesis.
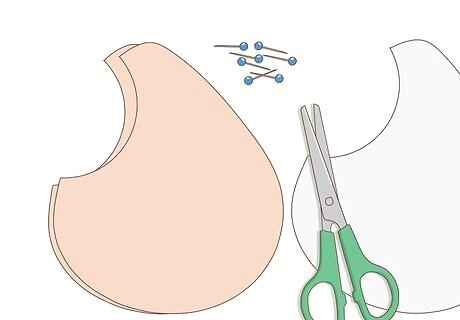
Cut the fabric around the pattern and remove the pins. Use sharp scissors to trim the fabric, taking care to cut through both layers, and remove the pins. This is enough for 1 bra pocket. If you had a double mastectomy, use the pattern to cut a second piece of fabric for the other bra cup. The semi-circular edge of fabric goes on the outer edge of each bra cup. For the right breast, the semi-circle will form a “C” shape. For the left breast, it will be an inverted “C.” Labeling the left and right cups now might prevent confusion later on.
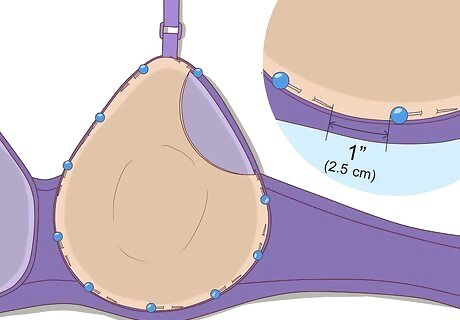
Pin the pocket in the bra cup with the semi-circle facing the outer edge. Position the double-layered fabric pocket inside your bra cup, lining up the edges so the semi-circle is on the outer edge facing the underarm. Stick pins around the cup's edge, going through the both layers of fabric and the cup. Space the pins about 1 in (2.5 cm) apart, leaving the semi-circle unpinned. Remember, the semi-circle creates the opening for the breast form. Leave the fabric folded in half when you pin it into your bra cup.
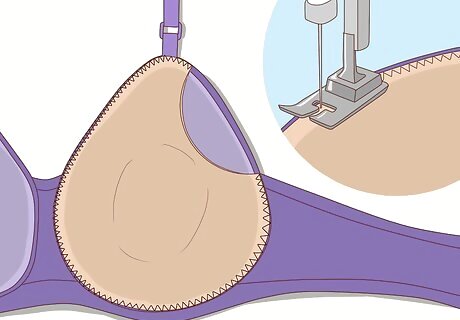
Sew a medium zig-zag stitch around the outer edge of the cup. Thread your sewing machine with matching thread and position the needle at the bottom point of the semi-circle. Use a medium zig-zag stitch to carefully sew around the outer edge of the cup. Remove the pins as you go and stop when you reach the top point of the semi-circle. Use a stretch needle or a universal needle for this.
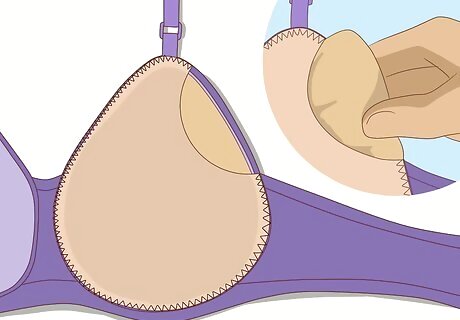
Slide the breast form into the pocket to test out the fit. Push your prosthesis or foam breast form through the opening of the pocket and adjust it until it's filling the cup properly without bunching up or wrinkling. The outer edge of the breast form will stick out of the pocket a tiny bit. This is normal and makes it easy to remove and insert the prosthesis whenever you want.
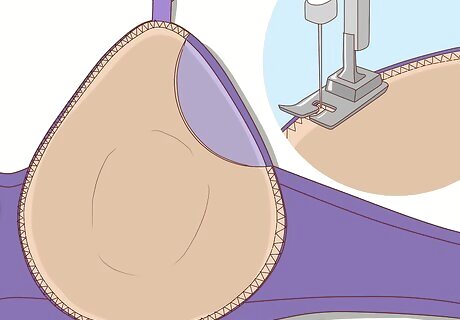
Backstitch to close the seam and cut the thread to finish the pocket. If you’re happy with the fit, take out the foam form and reverse the stitch to close the seam. Trim the thread and repeat the process on the other side if you’re doing both bra cups. Then, pop in the form(s) and try on your new bra! Your bra should be comfortable and your breasts should look balanced. If your breasts look uneven, adjust the bra straps or change the position of the insert(s) until you're happy with the way everything looks. If you’re not happy with the pocket position, use a seam ripper to remove the stitches, readjust the pocket, and sew it back into your bra cup. If the fit is too tight, remove the stitches and sew it into your bra again using a looser stitch.




Comments
0 comment