views
Making the Incubator
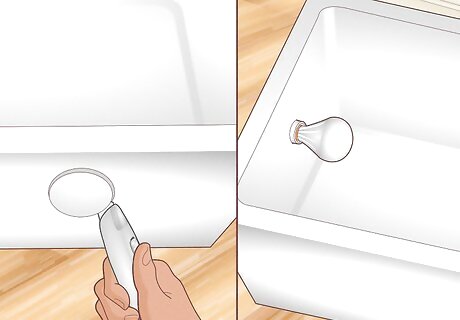
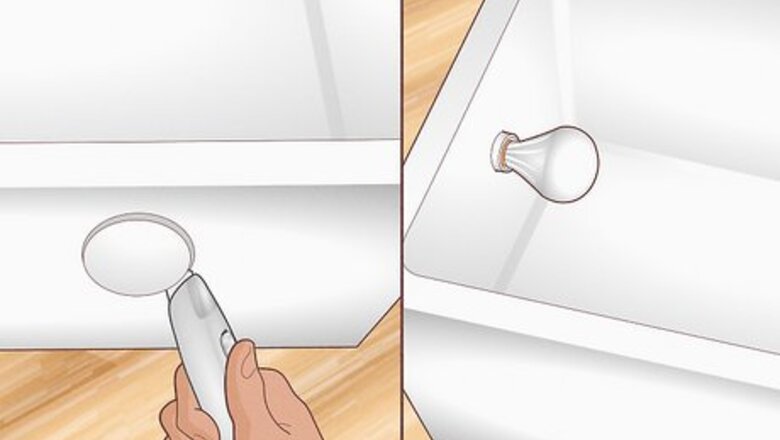
Cut out a hole at one end of a styrofoam cooler. The hole will contain the light bulb and its socket. Insert the socket from any lamp and put in a 25 watt bulb. Place duct tape around the hole and the socket from inside and outside the cooler. This is very important in order to reduce the risk of fire. You can also use a small box, but a styrofoam cooler works well because it is insulated.
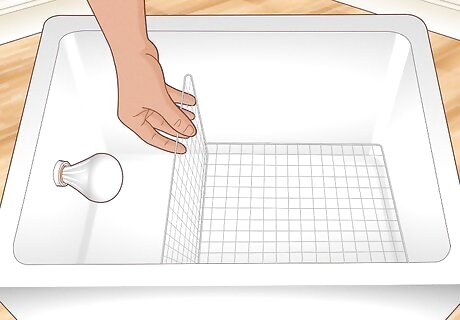
Divide the cooler in two sides. Using chicken mesh or some other hard wire mesh, partition off the side of the cooler where the light bulb sits. Doing this is important to protect the chicks from getting burned. Optional: Create a false bottom using chicken mesh a little above the floor of the cooler. This will make cleaning out the chicken poop easier once the chicks hatch.
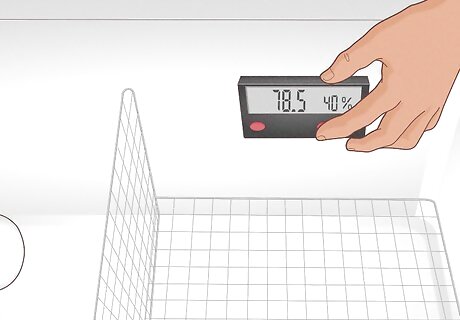
Add your digital thermometer and humidity gauge. Place it on the side where the eggs will be. Since the main function of an incubator is to keep the temperature and humidity inside it at an optimal level, be sure that the thermometer/gauge has a high rate of accuracy..
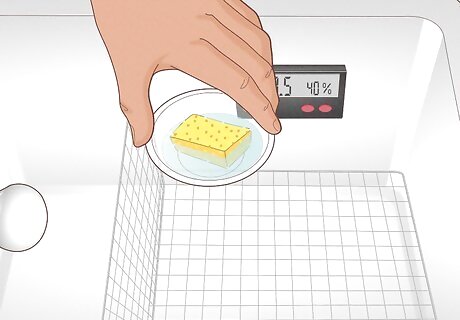
Add in a bowl of water. This will be your humidity source. Put in a sponge, too, so that you can adjust the amount of water easily.
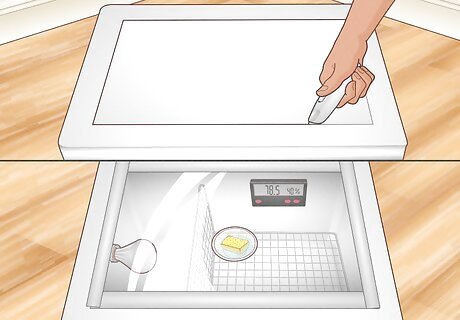
Cut a viewing portal in the cooler's lid. Using the glass from a picture frame, determine how big the opening needs to be. It should be a little smaller than the dimensions of the glass. Then secure the glass by using duct tape to fasten it in the opening. Optional: Make a hinge for the cooler's lid by attaching it to one side of the top with duct tape.
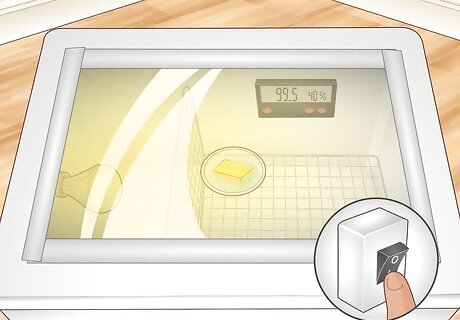
Test the incubator. Before putting in the eggs, turn on the light and monitor the temperature and the humidity for a day or so. Make adjustments to the heat and humidity until they are at optimal levels. The temperature should be kept at 99.5 degrees through-out the incubation. Optimal humidity varies: it should be between 40 to 50 percent for the first 18 days and 65 to 75 percent during the last four. To reduce the temperature, punch holes in the sides of the cooler. If it gets too low after you do that, tape up some of the holes with duct tape. For the humidity, sponge up some of the water to reduce it and squeeze out more water to increase it. EXPERT TIP Roger J. Lederer, PhD Roger J. Lederer, PhD Ornithologist Dr. Roger Lederer is an Ornithologist and the founder of Ornithology.com, an informative website about wild birds. Dr. Lederer has spent over 40 years teaching, studying, and writing about birds. He has traveled to over 100 countries to study birds. Dr. Lederer is an Emeritus Professor of Biological Sciences at California State University, Chico, and has been a Department Chair of Biological Sciences and Dean of the College of Natural Sciences. He has written more than 30 research papers and 10 books on birds and a textbook entitled “Ecology and Field Biology.” Dr. Lederer has consulted the BBC, National Geographic, National Public Radio, ABC News, the Guinness Book of World Records, and numerous other organizations and publications. Roger J. Lederer, PhD Roger J. Lederer, PhD Ornithologist Use a box and light bulb to incubate eggs. Recreate incubation conditions with an ordinary box, light bulb for warmth, and thermometer to monitor temperature. Maintain around 100°F while ensuring proper humidity levels, and bird eggs left alone have a chance to hatch.
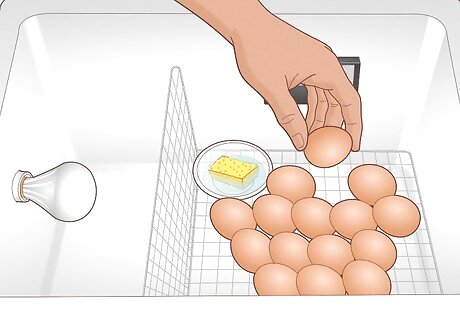
Put in your chicken eggs. It's important to find fertilized eggs: store-bought eggs will not work. If you don't have any chickens and a rooster yourself, a good way to find fertilized eggs is to contact local farmers. Once you have your eggs, cluster them close together, as this helps them maintain a constant temperature. The quality of the eggs depends on the health of the chickens they came from. Therefore, before purchasing eggs from a farm, ask the manager if you can inspect the facility. Free-range hens are almost always healthier than caged hens. An optimal hatching rate is between 50 and 85 percent. Laying hens are usually smaller in size and are bred to produce eggs. Meat hens, on the other hand, are bred for size. They tend to be larger birds that grow relatively quickly. However, there are chickens that are bred as dual-purpose birds. Ask the farmers you contact which variety they breed.
Incubating the Eggs
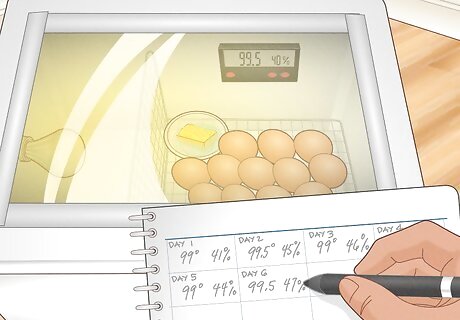
Keep track of time and vital statistics. Chicken eggs take 21 days to hatch, so it's important to know the exact day you put them in the incubator. Also, keep track of the humidity and temperature readings.
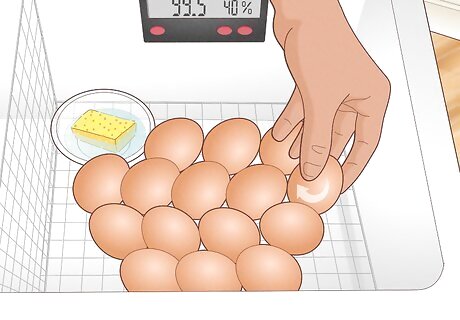
Rotate the eggs. Turn the eggs one quarter to half a turn three times daily for the first 18 days. You want to turn then so that one side faces down and the other up. Mark one side of each egg with "X" and the other side with an "O" to keep track of which side is facing up.
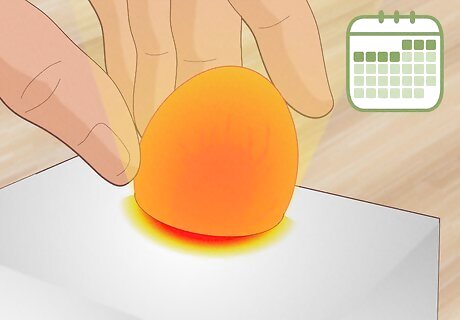
Candle the eggs after the first week. Candling allows you to detect infertile and bad eggs. It involves holding an egg against a bright light in a dark room to see inside. You can purchase a candling device, but for most situations, a small, bright flashlight will do. If you find any bad or infertile eggs, remove them from the incubator. If you use a flashlight, its lens should be the small enough so that the light is directed at the egg. Another way to make a homemade candler is to insert a desk lamp inside a cardboard box with a small round hole cut at the top. Put the egg in this hole to candle it. You may have to gently turn the egg up and down or from side to side to better see its contents. A living embryo appears as a dark spot with blood vessels radiating out from it. A dead embryo can show up as a ring or a streak of blood inside the shell. Infertile eggs light up bright and even since there is no embryo inside.
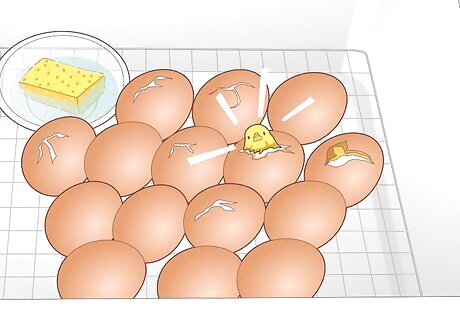
Listen for the sounds of the chicks starting to hatch. On the 21st day, the chicks will "pip" their shells in order to breathe after bursting the air sacks. Watch them carefully after this point. It can take up to twelve hours after "pipping" for a chick to fully emerge from its shell. If some of the chicks haven't concluded their hatching after twelve hours, go ahead and remove the tops of those eggs.




Comments
0 comment