views
Materials
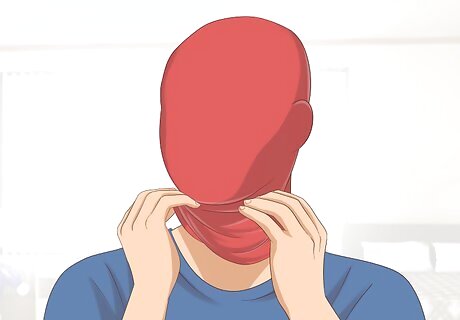
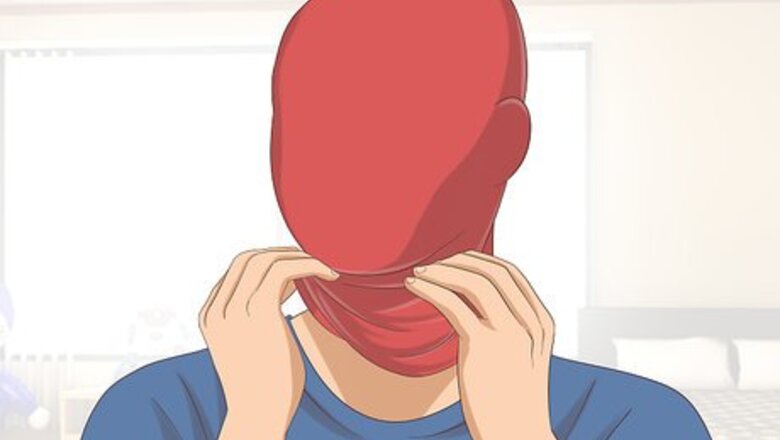
Get a red spandex mask. Many online vendors sell spandex face-masks, called Morph Masks. If you're planning on making a Spiderman suit to go with your mask, you can buy a full-body Morph Suit as well. Look for a plain red Morph Mask at a costume depot or order one online. It should cost around 15 dollars.
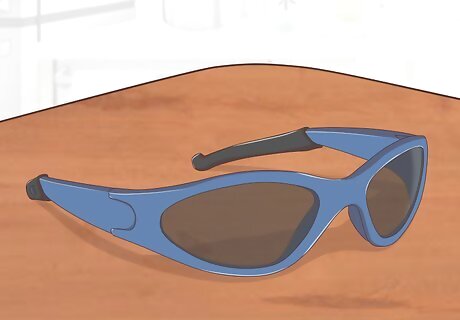
Buy a pair of large-frame sunglasses. There are many different versions of Spiderman, between the comics and the films. Some Spiderman costumes feature dark eye-lenses, while others show a Spiderman with bright, reflective eyes. Buy a large pair of sunglasses in the tint that you prefer for your costume, dark or bright. Make sure the glasses have very large lenses. Each lens will become an eye on your mask, so take some reference pictures of Spiderman with you when you go shopping. Look in the women's sunglasses section, as many women's styles feature larger lenses.
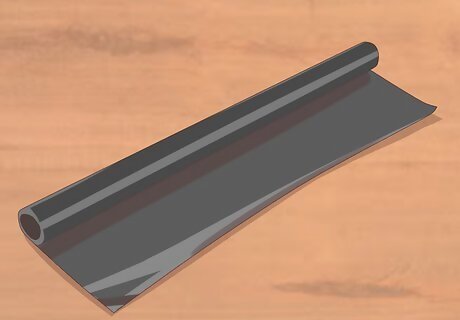
Use window tint for the eyes. For an alternative look, consider using a sheet of silver or dark auto tint for the eyes of your mask. It will make for a similar effect as the sunglasses, but the material is flexible instead of rigid. You can ask an auto detailing shop if they have any scraps, then cut it into the shape of the eyes. You won't need very much, so they should be able to help you out.
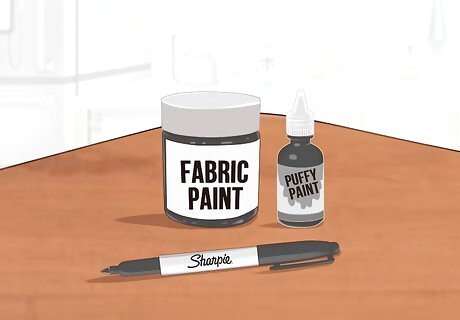
Buy a black Sharpie, black fabric paint or puff paint. To create the "web" pattern on Spiderman's mask, you'll have to decide between a black Sharpie or black fabric paint. This will depend on your aesthetic preference. Sharpie will create flat, matte lines, while puff paint or fabric paint will create raised, textured lines. Be aware that you may have to hand-wash your mask regardless of which marker type you choose. Both can be damaged by machine washing.
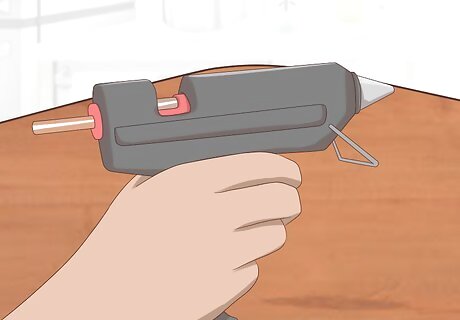
Get a hot glue gun. Many craft stores carry inexpensive hot glue guns. Pick one up or use one that you already own. Make sure that you have plenty of glue sticks handy so that you don't run out in the middle of your project.
Assembly
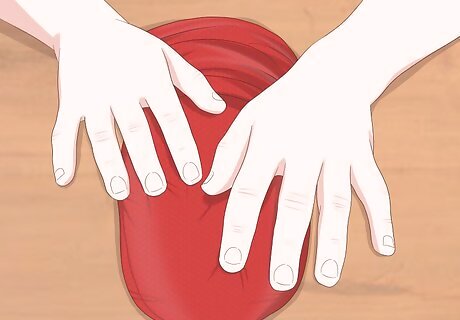
Lay your mask out flat. Lay the spandex mask on a flat surface, like a table or desk. Make sure you lay it with the front facing up, because you'll obviously want to draw the eyes on the front of the mask. If you have a styrofoam head or dummy head, feel free to use this as well. It will give you a better vantage point for designing your mask and visualizing it on your own head.
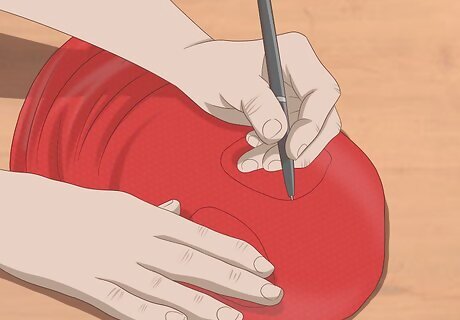
Sketch out the eyes. Using a pencil or a ballpoint pen, sketch out the size and shape of the eyes that you want. Use a reference photo to get an idea of how you want the eyes to look, relative to the mask size. Remember to check your sunglasses against the eye size: you want the sunglasses' lenses to be larger than the size of the eyes.
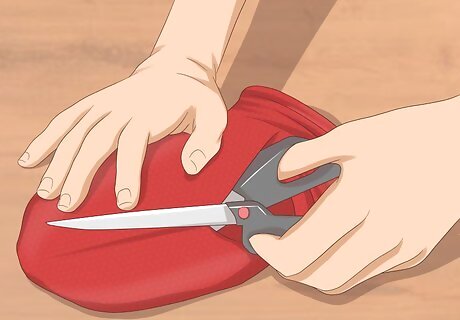
Cut out the mask's eyes. Put one hand inside the mask, then hold a pair of scissors with your other hand. Carefully pierce a hole directly on the line of one eye, then begin to cut along the line. Once the first eye is completely cut out, do the same for the second eye. Make sure that your scissors are sharp and your hands are steady, otherwise your cuts could turn out jagged or uneven. Look at photos of Spiderman as a reference to get an idea of the shape of the eyes. In most incarnations of Spiderman, his eyes are roughly triangular, with a straight line on top and a U-shaped line forming the lower eyelid.
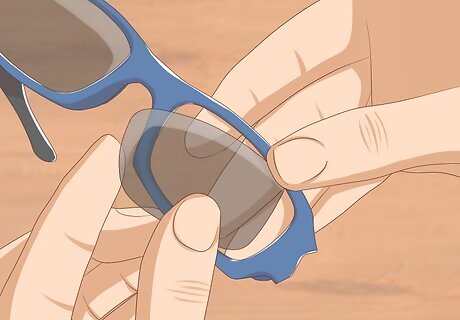
Take out the sunglasses' lenses. The lenses of most sunglasses will pop out easily when you apply pressure. Hold the frame with both hands, then push out the lenses gently with your thumbs. Make sure not to push too hard, or the lenses might break.
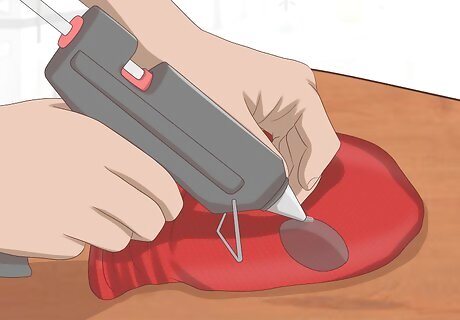
Hot glue the lenses inside the mask. Let your hot glue gun warm up, then apply a thin line to the outside of one lens. Holding the neck of the mask open with one hand, use your other hand to move the glued lens inside of the mask. Hold the lens directly under one of the eye holes, then adhere the glue to the fabric inside the mask. Make sure that the eye hole is completely filled by the lens, and that there are no gaps. Apply the second lens. Using the exact same method, glue a thin line to the other lens and then affix it to the inside of the mask, creating the second eye. If you place the lens incorrectly at first, you will have a few seconds to move it before the glue dries. Apply light pressure to the side of the lens to fill the eye-hole while the glue is still hot. The glue will take around 15 seconds to set, so keep in mind the amount of time you have left to make changes.
Accents
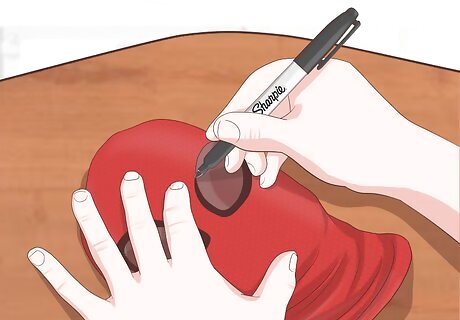
Draw the eye borders. Spiderman has thick black borders around both eyes, so you'll need to draw these on. Using your sharpie or fabric paint, sketch out a 1/2" border around each eye, then fill it in completely. If you are feeling a bit more ambitious, cut out some black fabric from an old t-shirt in the correct shape, then hot-glue it on.
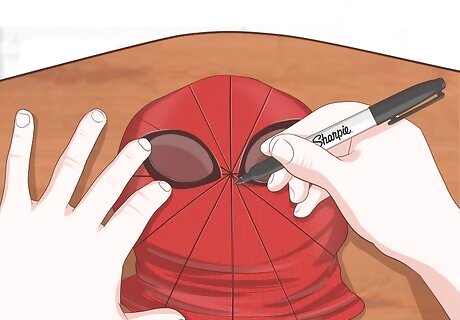
Draw on webs. Look in a comic book or online for a reference photo, then copy Spiderman's web patterns onto the mask. If you're uncomfortable free-handing the webs, try sketching them on with a pencil first, then erasing and adjusting till they're just right. Then, use your Sharpie or Fabric paint to draw over the penciled lines.

Let it dry. Now that your mask has been hot-glued and accented, you'll need to let it dry. Read your bottle of fabric paint and the hot-glue instructions for specific times. The glue itself may dry in around a minute, but fabric paint may take up to 72 hours to dry, depending on the brand.

Try it on. Once your mask has dried, go ahead and try it on. Pair it with a homemade Spiderman costume, or wear it on its own. It'll be perfect for Halloween, Super Hero events, or costume parties.


Comments
0 comment