
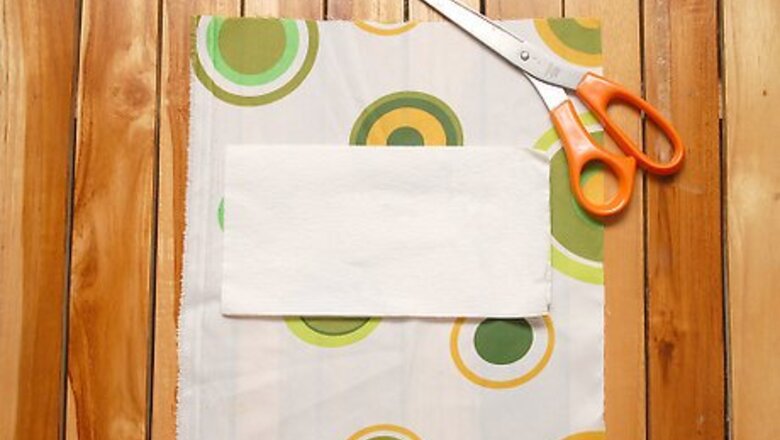
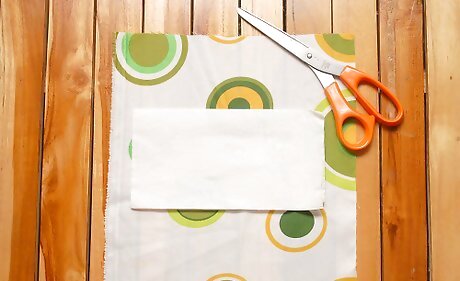
Use a tissue to measure out your fabric. Cut a rectangle of about 2 inches (5.1 cm) wider than the tissue (1 inch on each side) and 3 times the height of the tissue, with a couple of more inches of allowance.

Cut a second square of fabric. One to be used for the lining and the other for the cover.
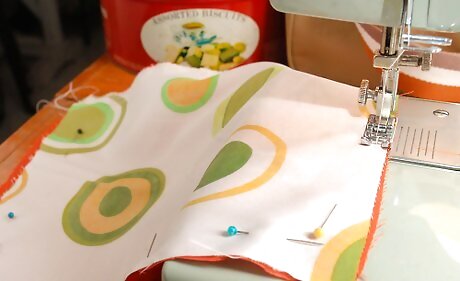
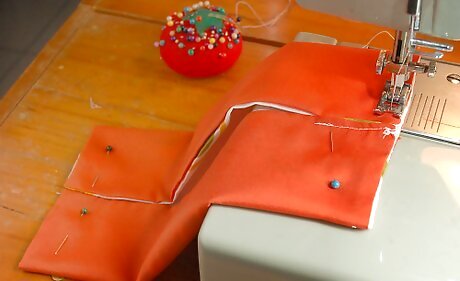
Place the fabric squares on top of each other so that the wrong side of each fabric is facing out. Sew along the edges, leaving a small gap, or opening on one side.

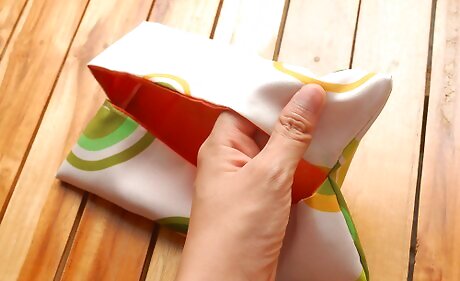
Pull the fabric inside out through the small gap so that the right side of the fabric is now facing out. Lay it down with the cover fabric facing upwards.
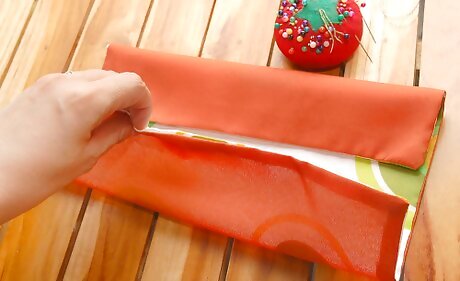
Fold the two sides of the fabric inwards so that the edges meet in the middle. Pin along the edges.
Sew along the edges, and in doing so, sew up the gap you left earlier.
Fold the pouch inside out again and fill it with tissues.


Comments
0 comment