views
This can serve as a wonderful way to say welcome, and each card can become a memento by which to remember this Thanksgiving day for years to come.
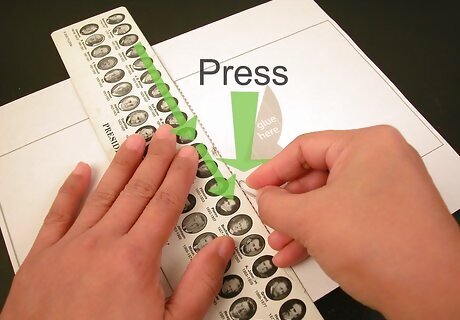
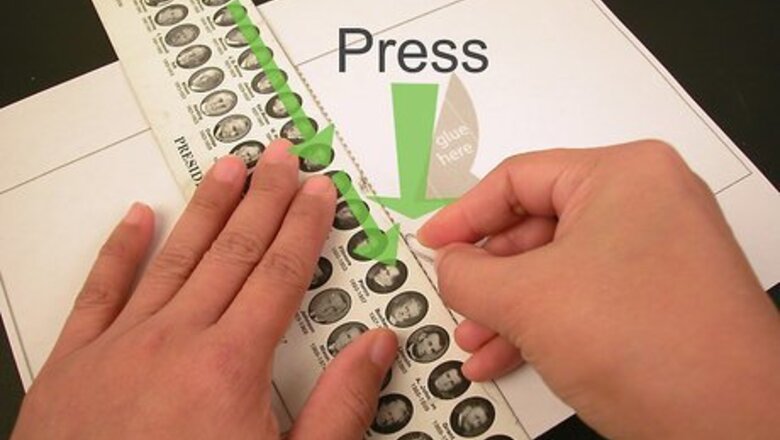
Using a ruler as a guide, take the rounded end of a paper clip (or a ballpoint pen that has run out of ink) and press along the dotted line located in the center of the card. Press all the way from the top to the bottom of the card. Don't press too hard so as to go through the card; just enough to make an indentation.
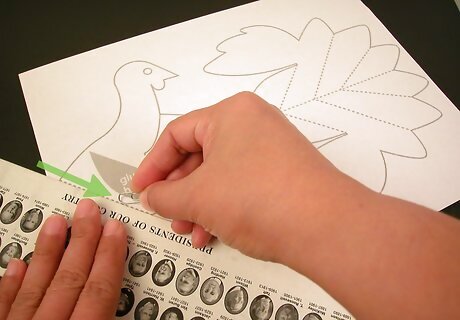
Using the same ruler as a guide, and the same paper clip or pen, press along the dotted lines of all the pop-up pieces as printed.
Carefully cut out the turkey card. Follow all of the solid, black lines, which indicate the cutting areas.
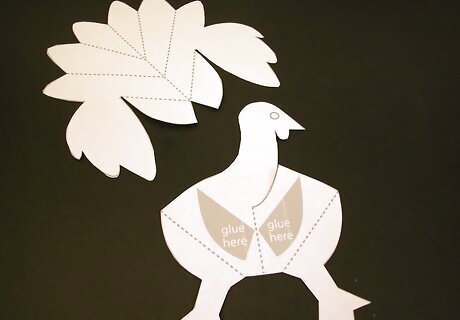
Cut out the pop-up pieces for the turkey. Once again, follow the solid, black lines. Don't forget to cut out the neck and the eye as well. At this stage, the pieces for the Thanksgiving card are ready for assembly.
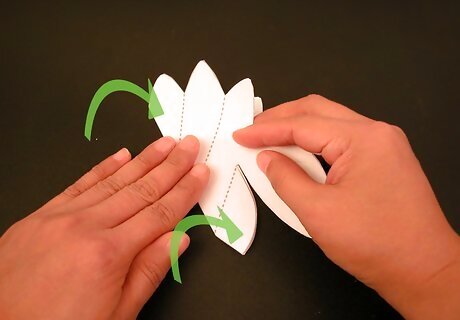
Fold the turkey feathers down the middle away from you.
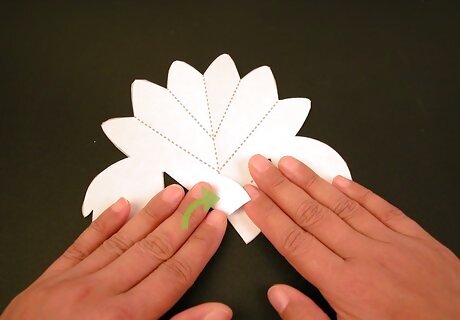
Take hold of the tab at the bottom left of the feathers and fold up.
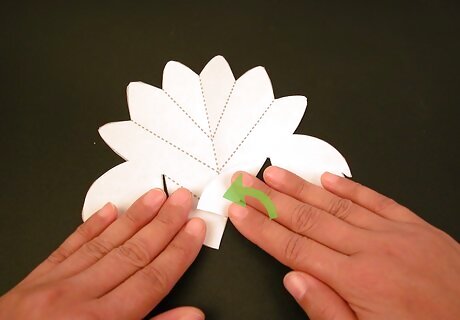
Do this for the right side, too.
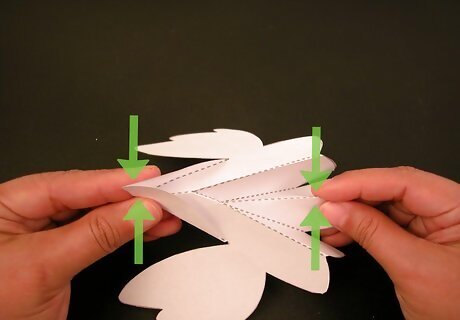
Take hold of the tab at the bottom of the feathers. Do the same with the upper section of feathers and then fold backwards. Then carefully take hold of the very top section of feathers and fold forward.
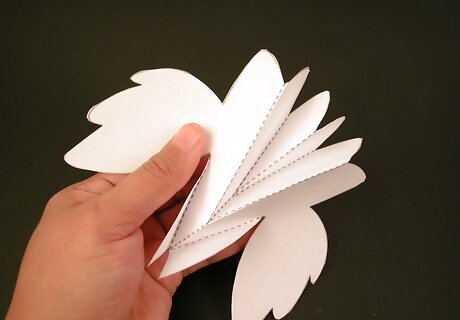
Check that the finished feather piece looks like this. Set this piece aside.
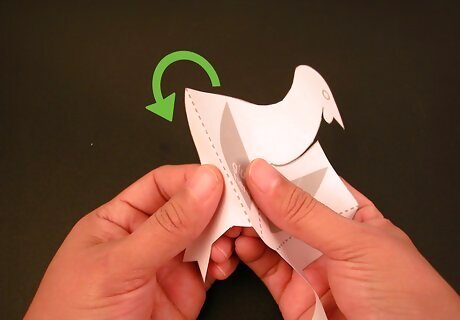
Hold the body with the lines facing you. Hold the leg tab at the left side of the turkey and fold it back away from the body.
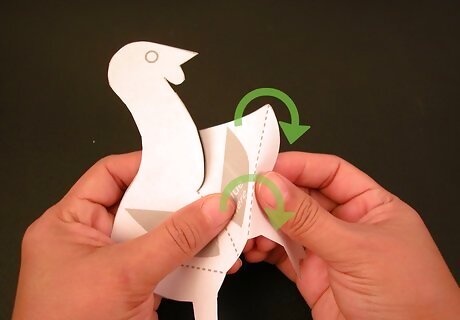
Hold the leg tab at the right side of the turkey and fold it back away from the body.
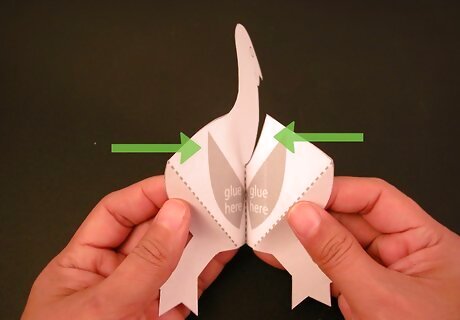
Fold the body of the turkey in half along the center fold line. The center fold line should be moving away from you and the outer edges of the turkey should be coming towards you.
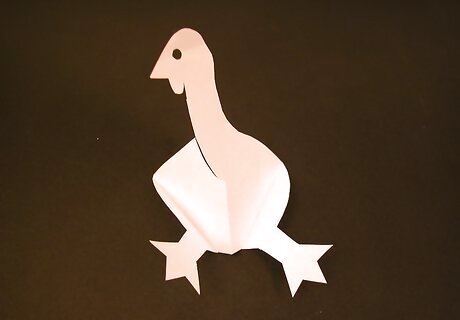
Turn the turkey piece over. It should now look like this image, with the head and neck, as well as the leg tabs, coming forward.
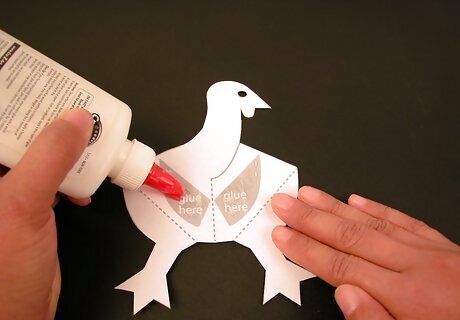
Now turn the turkey back over again. Apply glue to the areas marked "glue here."
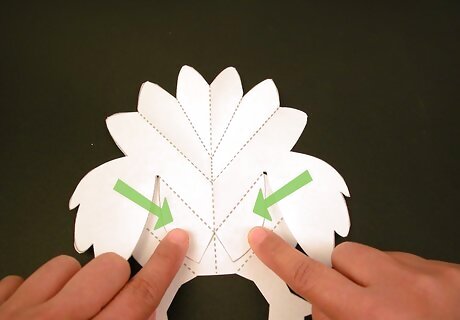
Press the feather piece firmly into the glue so both pop-up pieces are flat.
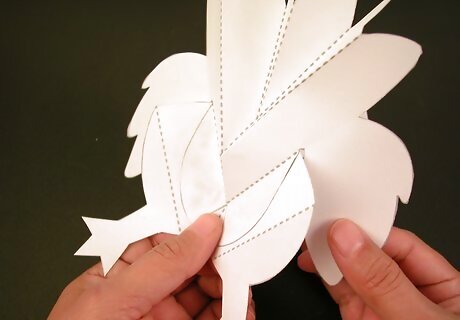
This is how your finished turkey should now look. It is important to make sure the outer parts of the feathers come in front of the turkey as shown.
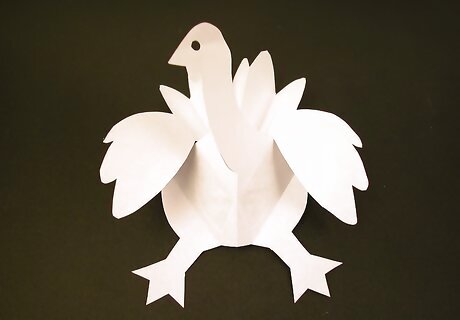
Turn it over.
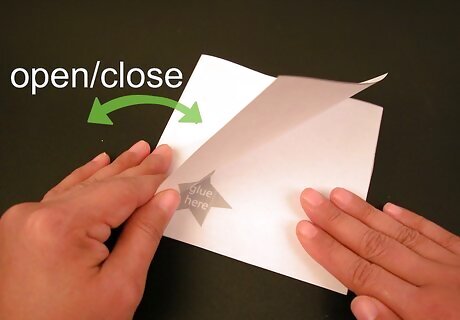
Take the card and fold it in half along the center fold line. Crease well, then open again.
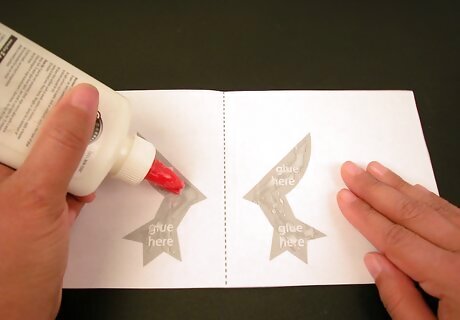
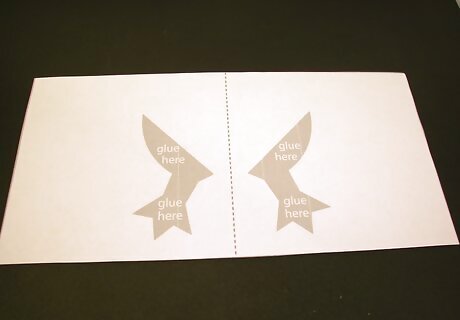
Apply glue to the areas marked "glue here."
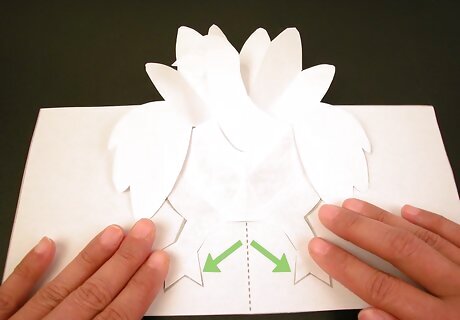
Align the leg tabs with the noted "glue here" areas and attach both legs.
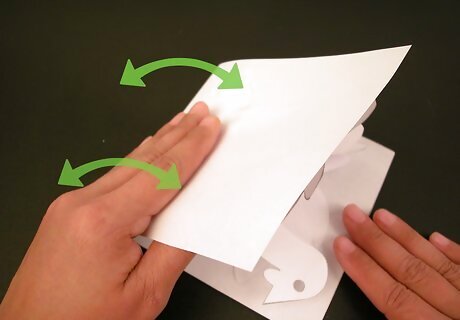
Set aside to let the glue dry. After the glue has dried, carefully close the pop up card. It's now ready for writing a message and date on and adding to the table set-up for Thanksgiving.
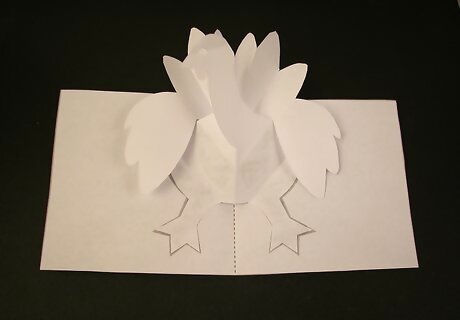
Enjoy your turkey card!





Comments
0 comment