views
Making a Vaporizer from a Lightbulb
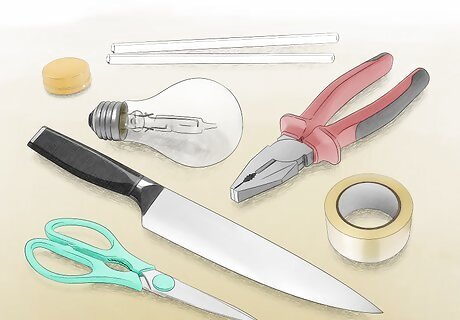
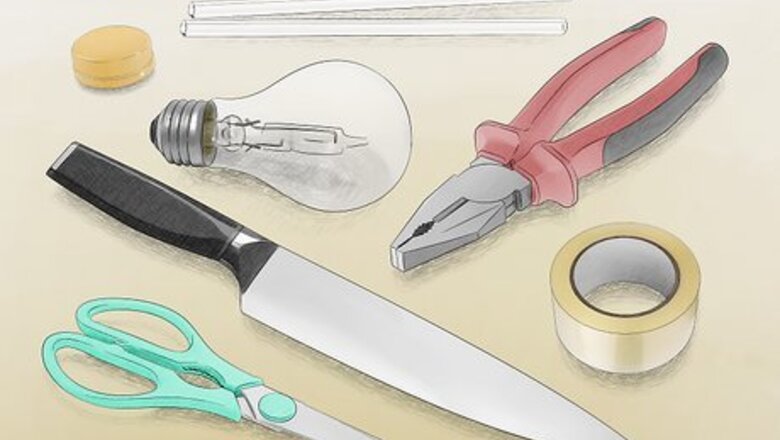
Gather your supplies. For this vaporizer, you will need a clear light bulb (100 watts is best, and don't use one that is painted white inside), a sharp knife, pliers, glass straws or tubes, tape, scissors, and the cap from a 500 milliliters (16.9 fl oz) bottle.
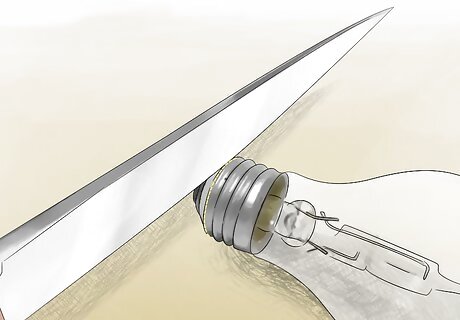
Cut the end off the light bulb. Take your knife to cut off the metal tip of the light bulb where you would typically screw it into the socket. Try to cut it smoothly to avoid rough edges.
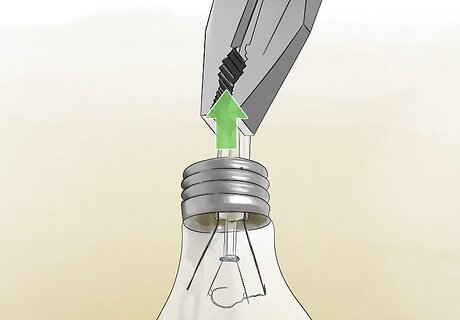
Remove the filament. Use the pliers to pull the filament out of the bulb. The filament is the metal wire that lights up the bulb when turned on. When you finish this, you should be left with an empty bulb.
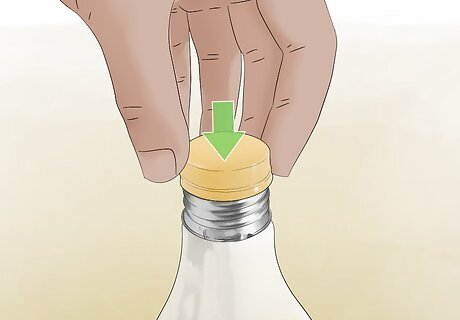
Fit the cap over the end of the bulb. Put the plastic bottle cap over the end of the bulb. If it is too big, use a little tape on the inside to create a padding so it fits snuggly.
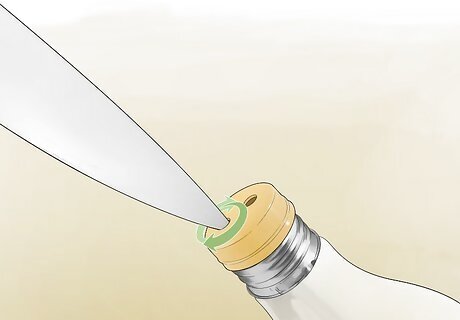
Cut two holes in the bottle cap. You will insert two straws or glass tubes into these holes, so measure to size. Use your knife to cut the holes into the cap. If you have one, you can also use a drill to quickly create the holes.
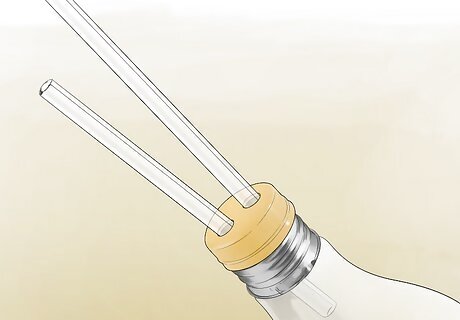
Put the vaporizer together. Place the straws/tubes into the cap and return the cap to the space over the metal in the light bulb. Once you are sure it all fits, you can remove the cap to add your preferred substance to the inside of the light bulb. Place a flame under the base of the bulb to create the vapor which can be inhaled through the straws.
Making a Vaporizer out of a Glass Vial
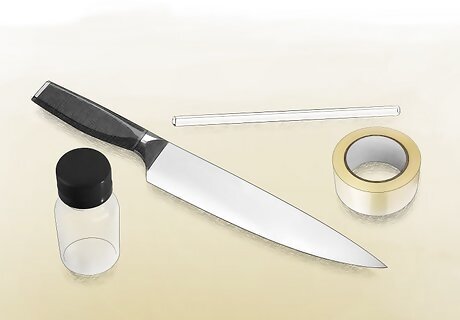
Gather your supplies. You will need to use/purchase a small glass vial (a vial of Ginseng extract available at vitamin stores is the right size), a small straw or tube, a sharp knife, and tape.
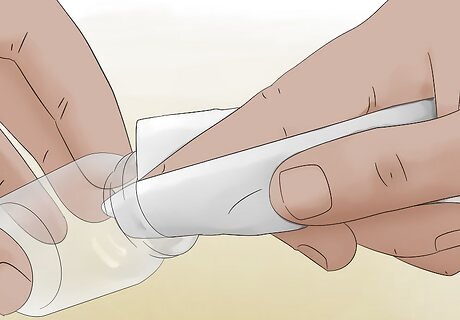
Clean the vial. Remove anything inside the vial and thoroughly wash it so that it is completely clean. Do the same with the plastic lid that the vial came with.
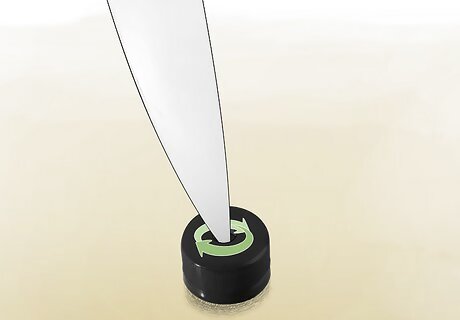
Cut a hole in the lid. Use your knife to cut a small round hole large enough for your straw or tube to fit through. Try to avoid rough edges by using smooth cuts.
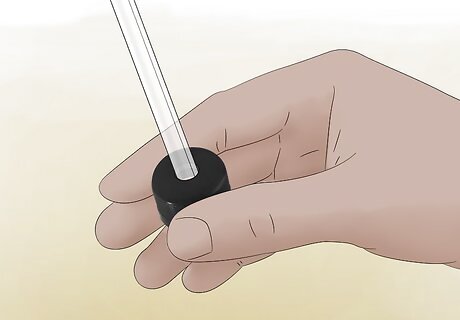
Put the straw in the lid. The hole should be big enough that the straw will easily fit into the lid. Cut a small hole in the base of the straw near the top of the lid to allow for airflow.
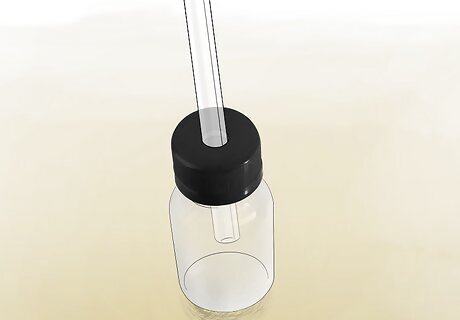
Put the vaporizer together. Replace the lid on the vial and make sure that all the parts fit together. Once you are sure it all fits, you can remove the cap to add your preferred substance to the inside of the vial. Make sure the straw only goes about halfway down, so that it doesn't melt with the heat or suck-up any particles.
Making a Vaporizer from a Shot Glass
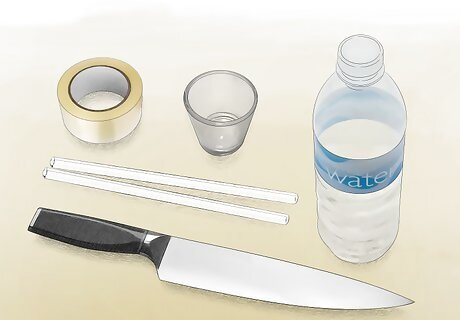
Gather your supplies. You will need a shot glass made out of thin glass, a 16oz water bottle, a straw or tube, tape, and a sharp knife.
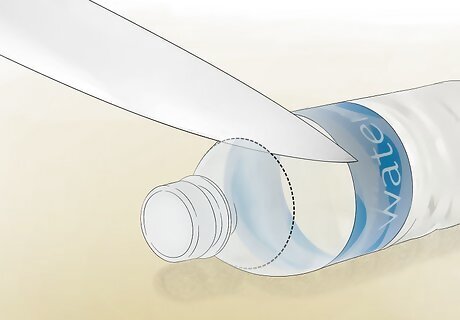
Cut the top off your water bottle. Making sure the bottle is empty, cut the top off the water bottle where the lid is. Cut about 1 inch (2.5 cm) down from the lid, so that a bit of the plastic bottle is still attached.
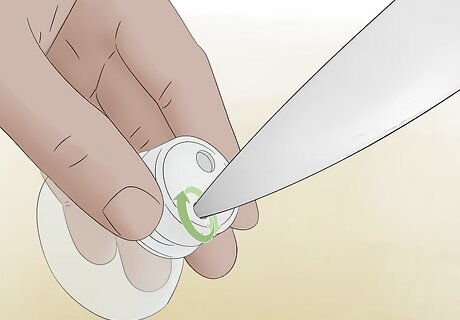
Cut a hole in the cap. Take the cap off the lid of the bottle, and use your knife to cut two holes in the lid to fit two of your straws/tubes. Try to keep the edges smooth and avoid rough edges.
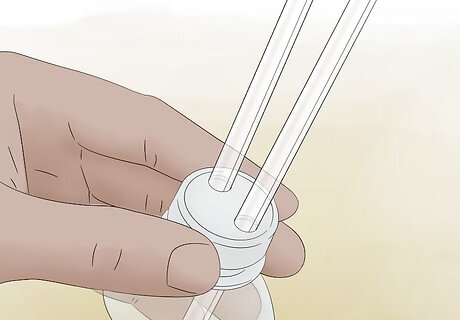
Put the straws in the lid. Using the holes you just made, insert the straws/tubes you have. Make sure that they don't go down too far into the plastic; you will want them to reach only about halfway down the shot glass.
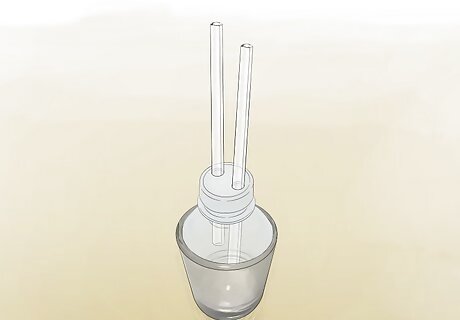
Put the lid on the shot glass. The plastic attached to the cap should be wide enough to cover the shot glass, but can be sealed with tape if it is not. Add whatever substance you would like to the bottom of the shot glass before sealing it. Heat gently from below.




Comments
0 comment