
views
Open your image in Photoshop.

Click the File menu and select Open. If you haven't already, this will prompt you to open the image you want to resize in Photoshop. Once opened, you can edit the image.
Open the "Image" menu.
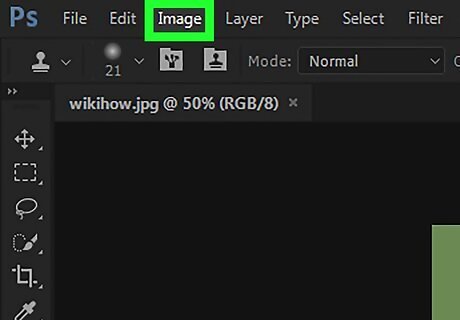
Click the Image menu. It’s in the menu bar at the top of the screen or window.
Select "Image Size."
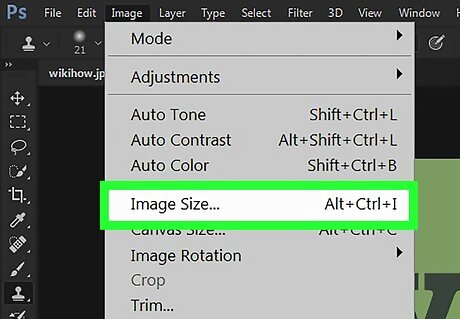
Click Image Size on the menu. This displays your image's current dimensions.
Check the box next to “Constrain Proportions.”
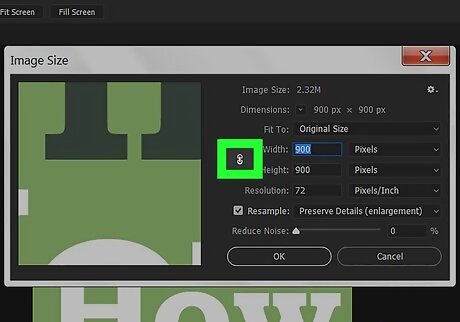
If this box isn't selected, check it now. This ensures that the image doesn’t get warped during resizing.
Enter the desired width and height.
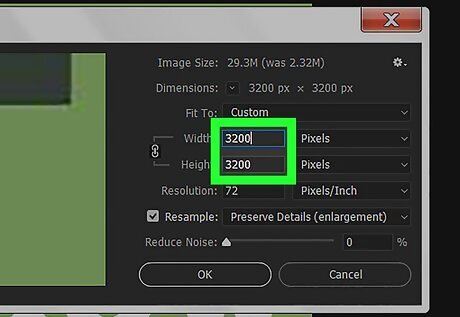
Type the width and height into the provide areas. In the “Pixel Dimensions” area, both the width and height drop-down menus show the current resolution in pixels. If you know how many pixels wide and/or large you want the image to be, leave “Pixels” selected in the second drop-down menu, then enter the new width or height in pixels. For example, if you want the image to be 800 pixels wide, type 800 into the “Width” box. Entering the width will automatically change the height due to the “Constrain Proportions” setting. To increase the size by percent instead of by specifying the exact width or height in pixels, select “percent” from the drop-down menus, then type the percentage by which you want to increase the size. For example, to increase the image size by 20%, select percent from the drop-downs under “Pixel Dimensions,” then type 20 into either the width or height box.
Click "OK".
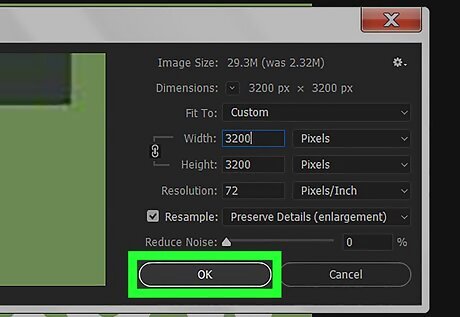
Click OK to resize the image. The newly-resized image now appears in Photoshop. To save your changes, click the File menu and select Save.


Comments
0 comment