views
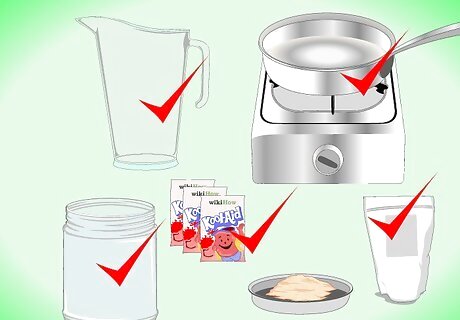
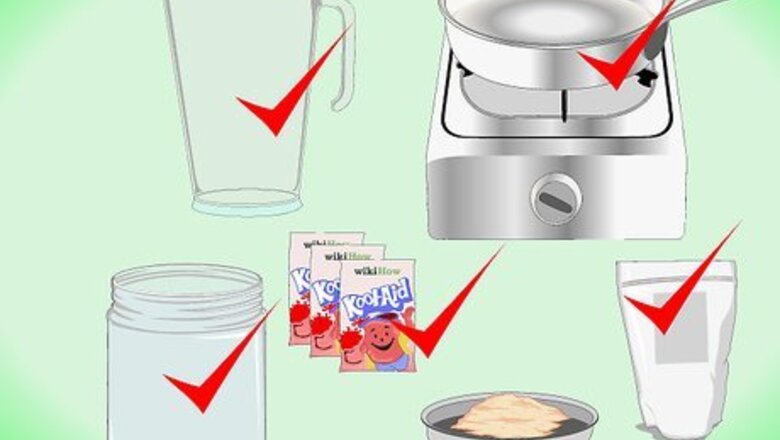
Assemble your equipment and ingredients for bottling. Most of the equipment used can be stuff found around the house, and bottles can be fished out of people's recycling bins or reused if you drink bottled water. If you clean the bottles with dish detergent and let them soak in bleach for a few minutes, then rinse them well, you'll have nothing to worry about. The rubber tubing can be found in Home Depot for about $4. It is intended for use with ice makers. You could also find it in aquarium stores or just about any hardware store, but may pay a bit more.
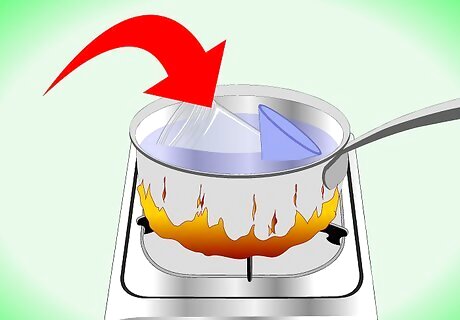
Disinfect the equipment that will be used in the bottling process, including the bottles, funnel, and rubber hose, in a large pot of boiling water for at least three minutes. This will kill the critters that could potentially be plaguing your equipment. If you fail to do this step, the bacteria could kill the yeast and/or spoil the wine. Be sure to use a different pot than the one you use to make the sugar water.
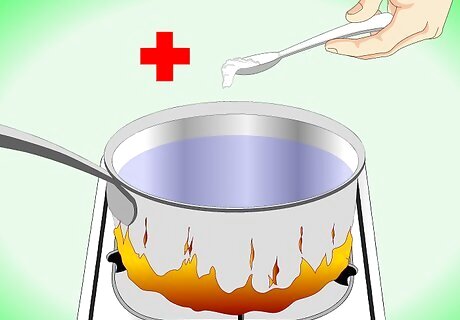
Boil the water to kill any form of bacteria. Use the jug or bottles to measure how much water you will need. Fill a large pot with water and the sugar. As it gets hot stir to dissolve all of the sugar. Let the water and sugar mixture cool to room temperature.
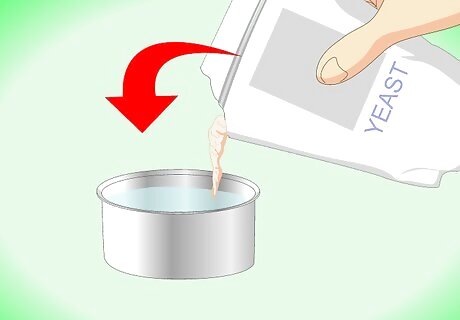
Activate the yeast. Pour the packet into half a cup of warm water (not hot or you'll kill the yeast) with a teaspoon of sugar. Let it sit for a couple minutes, then stir it lightly. Move on to the next step.
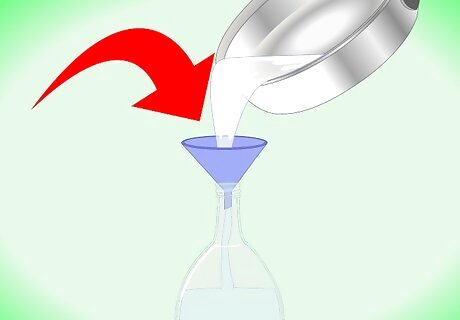
Use a clean funnel to fill the jug or bottles with the cooled sugar water. Do not overfill. Leave some air space for foaming.
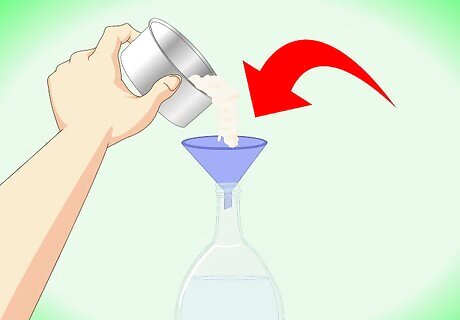
When you can see that the yeast has been activated (getting foamy) use the funnel to pour it into the bottle. Add 4 more cups of warm water, cap it, and shake it again. Make sure all the sugar is dissolved and that the yeast is mixed in.
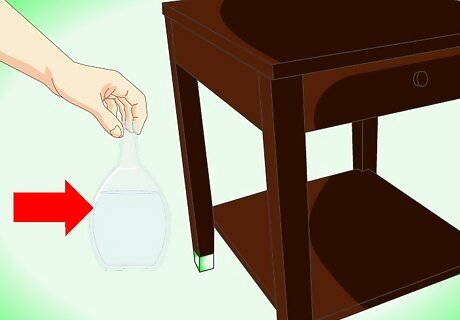
Find a safe location where you’ll be able to store the bottle upright, such as inside a bathroom cabinet, in a basement, or behind a desk. Take the balloon and poke a few holes in it using the pin. Take the cap off the bottle and stretch the balloon across the opening. Put an elastic around the balloon on the top of the bottle to hold it in position. Carefully put the bottle in a plastic bag that will catch any wine that overflows or spills. Put the bottle in your decided location and leave it there for about 2 weeks, until the balloon isn't full of gas anymore. The balloon will fill up with gas which will leak out the holes in it, but when the gas stops, the holes will close and air won’t be able to get in and ruin your wine. This process is where the alcohol is being produced, and is called fermentation. If you use 2-Litres, then instead of using balloons you can tighten the cap to just before it is fully sealed, which will let gas escape when it builds up but won't let any in when it stops fermenting. Instead of a balloon, you can use a common fermenter airlock. They cost about $1.50.
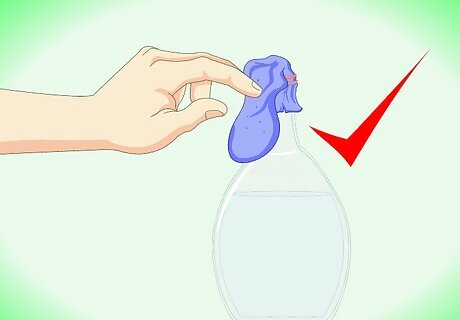
When you can see that the balloon isn't full of gas anymore, the fermentation is over. Remove the bottle from its location, and be very careful not to shake it up. At this point, the alcohol has actually been produced and this stuff will get you drunk, but it is “flavorless” and is an acquired taste. (If it has gone bad, usually from something unsanitary, it will taste like vinegar. It makes you want to puke on one sip, so it's pretty obvious.) Waiting a little bit longer and finishing the rest of this will yield a much better tasting product.
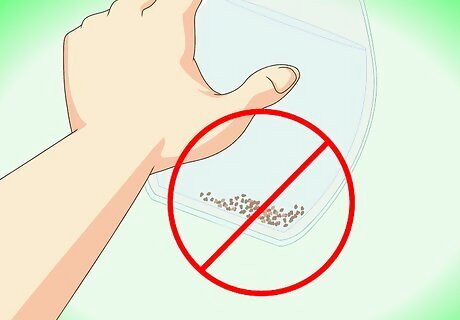
Separate the dead yeast. There should be a fine layer of dead yeast and such lying on the bottom of the bottle. This stuff isn’t poisonous, but it tastes awful and is known to give you bad gas. Place the bottle somewhere relatively high, such as on a counter, and put the second 4L bottle on the floor underneath. Using the rubber hose, siphon the unflavoured wine into the empty bottle without sucking up any of the gunk on the bottom. Try not to let it splash around too much. When only a small amount of wine is left right above the sediment, stop siphoning and throw the rest out. Another way you can remove the dead yeast is to strain your liquid through a properly cleaned cloth. Switching containers is not necessary; it's done to get rid of the dead yeasty-beasties. Yeasty-beasties cloud the wine, taste bad and can give you diarrhea. Aesthetics count. It is difficult to be proud of cloudy wine but a crystal clear 14% wine is something to be proud of, regardless of how you did it or how cheap it tastes!
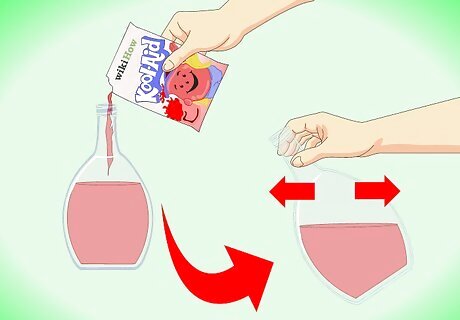
Add the two packages of Kool Aid powder to the wine in the new bottle, cap the bottle, then shake it for a few seconds to mix it thoroughly. Try tasting a bit, it will probably be awful. Don’t dump it out, it will get way better! Adding some more sugar here may improve the flavor a bit, but it really needs to age a little while longer. Leave it in the second 4L bottle for about a week or so, and check on it whenever you can to make sure there isn’t gas building up inside the bottle. If it is bulging a bit, just open the cap enough to let the gas escape then close it again.
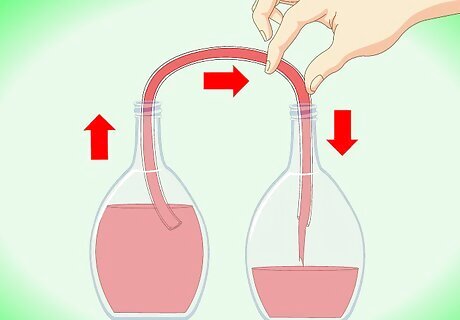
After the third week has passed, siphon it again except into small water bottles. You will fill nearly 8 regular 500 milliliters (16.9 fl oz) water bottles. The smaller bottles are much easier to hide and to drink from.
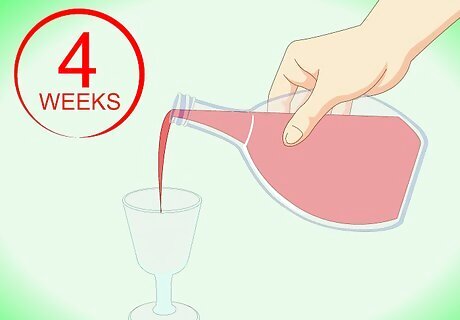
When the wine is around 4 weeks old or older, it should be ready for consumption. Have fun and don’t be afraid to tell people you made it yourself!





Comments
0 comment