views
Throwing Boiling Water in Freezing Weather
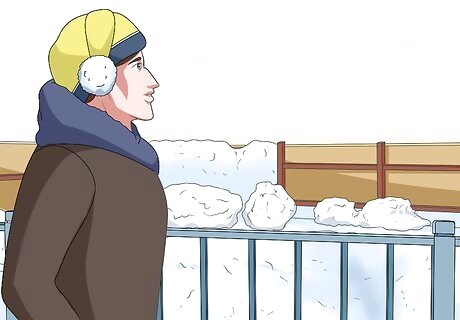
Check the weather conditions to see if the water will freeze. Boiling water will only freeze instantly if it is colder than −30 °F (−34 °C). Look up the weather on your local news station or by searching online. Keep in mind that exposure to temperatures this low can be dangerous and you'll need to wear a thick coat, pants, and a hat to protect yourself.
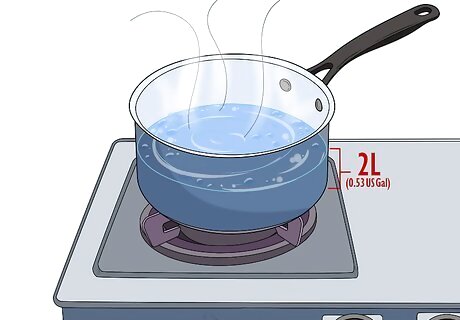
Boil a pot of tap water on the stovetop. You will need to be able to toss the water in the air, so don't use more than 2 litres (0.53 US gal) of water. Pour your water into a pot and heat it on your stovetop at the highest temperature. Wait a few minutes for the water to boil. Never use the stove without the supervision of an adult.
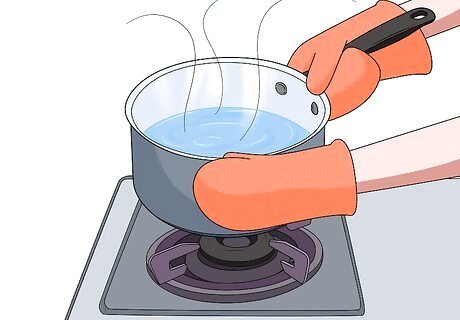
Hold the pot in both hands with oven mitts and carry it outside. You may want to enlist a friend or parent to open the door for you so that you can get outside quickly. If the water stops boiling before you get outside, this may not work. Be sure to walk carefully with the boiling pot as it is going to be incredibly hot and you don't want to spill. Hold the handle of the pot with two hands. This will help you steady the pot as you walk and will prevent dangerous spills.
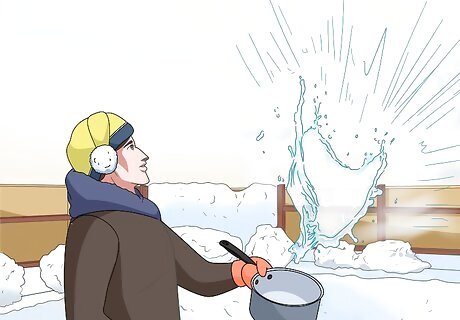
Toss your pot of water into the air to create instant snow. Let your arms down a little, then toss the pot upwards and away from you while still holding on to it. You do not want the water coming back to hit you, so be careful about doing this when it's windy. If the temperature is cold enough and the water is still boiling, you will see the water turn into snow in mid-air.
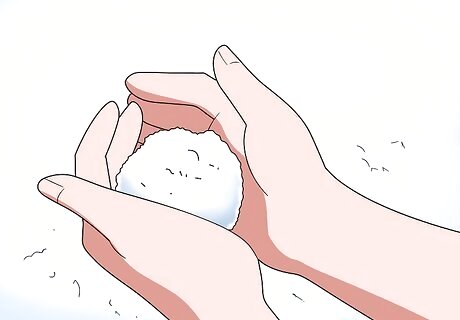
Make a snowball if you can create enough snow. The snow that you create this way is real snow! You won't generate much snow with your boiling water, but it is a neat trick and you may even be able to scoop together a small snowball.Tip: If you can repeat this process multiple times, you may be able to generate enough snow for several snowballs to have a quick snowball fight!
Creating Fake Snow for Decoration or Sensory Play
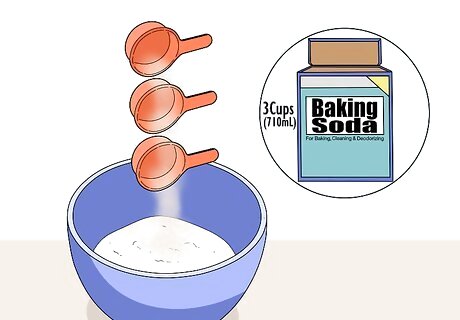
Fill a large bowl with 3 cups (710 ml) of baking soda. Place your bowl on a flat and stable surface and pour your baking soda into the bowl. Making fake snow can be kind of messy, and you'll have to do lots of mixing, so choose a work surface that you can easily clean. Sensory Play Sensory play refers to any stimulating activity that activates a child’s senses. Fake snow is excellent for sensory stimulation, considering how interesting and fun it is to hold and touch. You can lay out a large towel underneath your bowl to make cleaning easier.
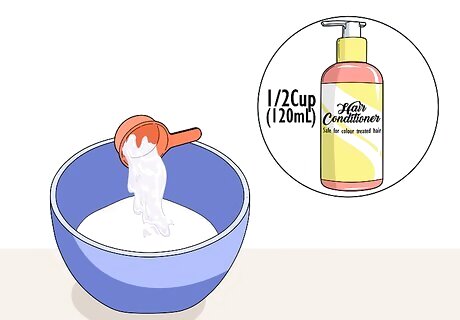
Pour ⁄2 cup (120 ml) of hair conditioner on top of your baking soda. You can use any brand of hair conditioner, but keep in mind that the color will change the hue of your snow. Check the bottle to make sure that the conditioner is white before using it if you're trying to emulate classic snow. If you're buying conditioner explicitly for this process, read the label on the back. Hair conditioners list any dyes or colors that they use in the ingredients. You may want to use a spoon to scoop out thicker hair condition from the bottom of your measuring cup.
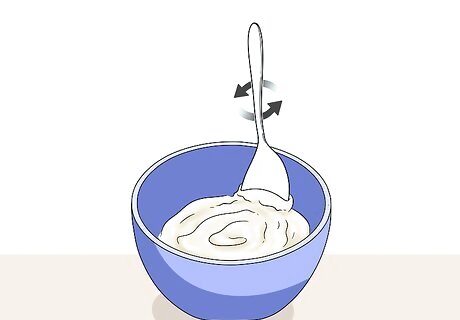
Mix your ingredients with a large spoon to combine them. Scrape your spoon along the bottom and sides of the bowl so that you catch any chunks of baking powder that haven't been exposed to conditioner. This will take a fair bit of effort at first, since the baking soda will be particularly hard to pull your spoon through. After 1–2 minutes of stirring, the baking soda will become fluffy and easy to pull apart. Use a clean spoon to stir your ingredients thoroughly. For best results, mix it thoroughly with your hands after stirring it.
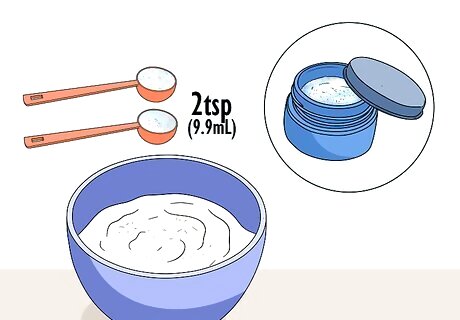
Add glitter if you want to give your snow an extra shine. Pour in 2 teaspoons (9.9 ml) glitter and mix it with your baking soda and hair conditioner. This will give your fake snow a shine and texture similar to that of real snow in the sunlight. Keep in mind that glitter is especially difficult to clean up! This is probably not the best idea if there will be younger children around your decorative snow. Your fake snow should last for at least a few hours before it begins to coagulate and change texture. For this reason, it's probably not a good idea to store it for long periods of time.
Creating Real Snow with a Snow Maker
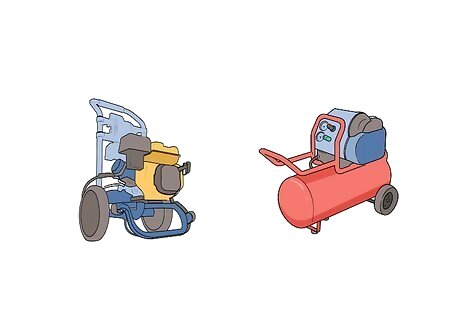
Acquire the necessary components from a hardware store or online retailer. To make snow, you'll need a pressure/power washer, a compressor, and a snow-making nozzle. You may be able to purchase a pressure washer and compressor at a local hardware store, but you'll likely have to buy the snow-making nozzle online from a specialty shop. Make sure that your nozzle comes with the adaptors needed to attach it to a compressor and power washer.
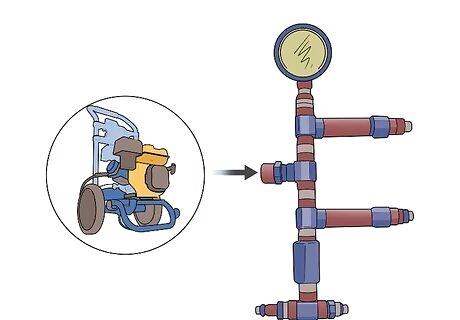
Connect your pressure washer to the snow-making nozzle. Attach your nozzle by screwing it into the end of your power washer extension hose. The opening is typically 22 millimetres (0.87 in) in diameter and should fit automatically, but you may need to use an adapter to match the threading between the nozzle and the pressure washer.
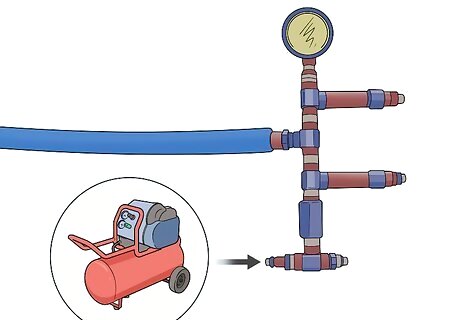
Attach the air hose from your compressor to the snow-making nozzle. There will be a spigot for your air compressor on the nozzle itself, usually at the bottom. Connect the air hose to the spigot by screwing it in. The spigot should be fitted for a ⁄4 inch (0.64 cm) hose, but you may need to use an adaptor.
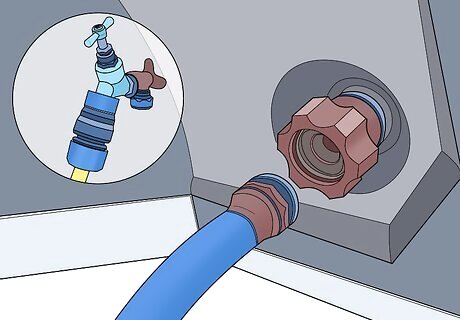
Secure your garden hose to the power washer and tighten it. Power washers work by pumping water through a narrow opening, and all of them have a port for a garden hose. Tighten your garden hose to the spigot where you're getting your water, then screw it into your pressure washer. There are portable power washers that rely on a tank system. These won't work in a snow-making machine, since they can't be attached to a garden hose and snow-making machines require a constant flow of water to operate correctly.
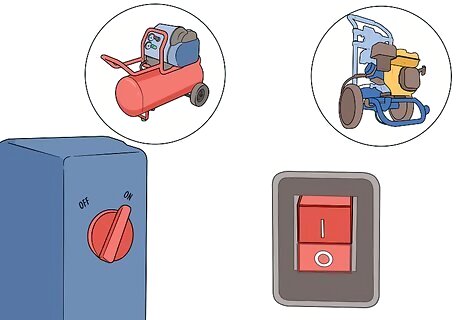
Turn on your air compressor then turn on your pressure washer. Turn your air compressor on first, then immediately activate your pressure washer. There should now be water shooting out of the nozzle. If there isn't, check to see if there is a ball valve or shut-off switch that is preventing water from coming out. Affix your nozzle to a fencepost or tree branch and angle it in the direction that you want the snow to accumulate before turning anything on. Snow will begin to accumulate as the nozzle and compressor adjust the temperature of the water.
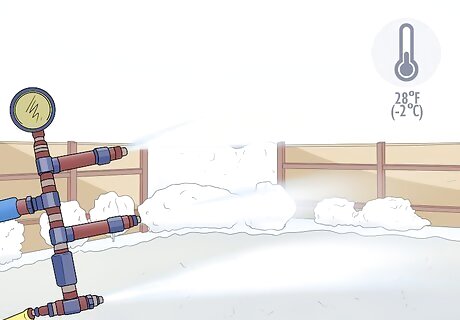
Use your snow machine in the proper weather conditions. Your snow maker won't function correctly if it's too warm or humid out. Only use you snow maker when it's 28 °F (−2 °C) or colder, and try to avoid turning it on if the humidity is higher than 50%. Outside of these conditions, you'll just be making thick slush instead of snow.
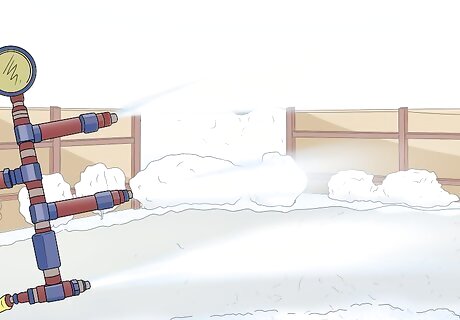
Leave your machine on to allow snow to accumulate. A snow maker is generating authentic snow, even if the texture and quality is a little different than what you may be used to. You can leave your snow maker on for hours at a time if you want a lot of snow to accumulate on the ground. Keep in mind, it'll take just as long to melt as normal snow.Warning:While you can leave a snow maker on for hours at a time, you don’t want to leave it unsupervised. If water gets in the compressor it could damage it, and you’ll want to be nearby in the event that you need to shut it off








Comments
0 comment