
- Cut 9 strands of wax cord that are each 5.5 in (14 cm) long, then 2 more strands that are each 10 in (25 cm) long.
- Bundle the short strands together, then tie them at the ends with the longer strands, using a square knot. Melt the tips with a lighter.
- Twist the longer strands on each side together, then tie them at the ends. Overlap them and tie them together with a separate piece of cord using square knots.
Making a Pura Vida Bracelet
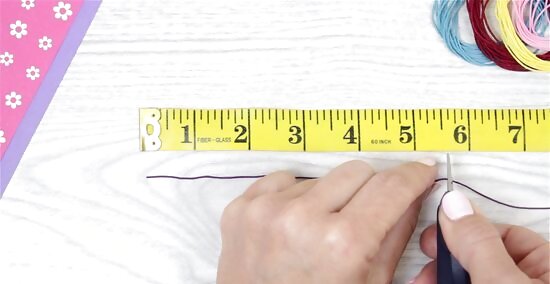
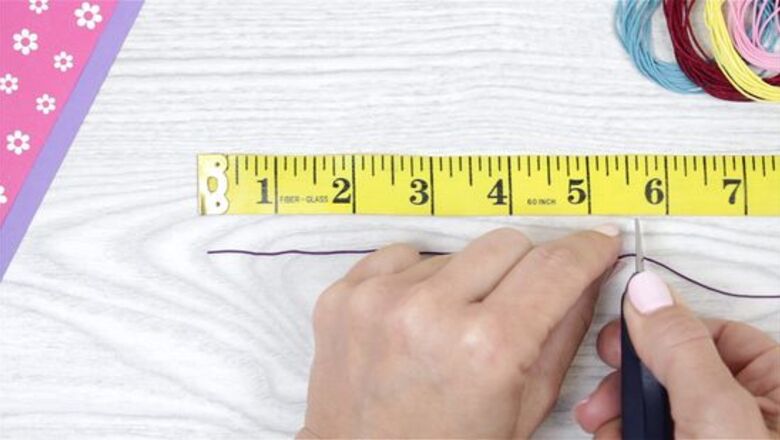
Cut 9 strands of wax cord 5.5 in (14 cm) long. Choose some colors of wax cord for your bracelet, then use a ruler to measure 5.5 in (14 cm) of cord, and use scissors to cut the cord to length. Measure and cut 9 strands of cord. Which colors you choose are up to you, but to start, try using just 3 different colors of cord, and cut 3 strands of each. For a larger bracelet for larger wrists, cut the cords to 6–7 in (15–18 cm), instead. Make sure they’re all the same length!
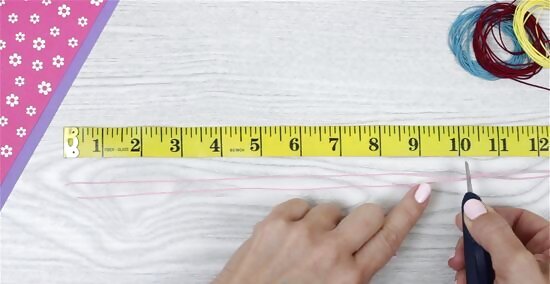
Cut 2 more strands that are 10 in (25 cm) each. These strands will be the adjustable clasps. Choose a color that complements the others, or simply choose one of the colors you’re already using to incorporate it neatly into your design.
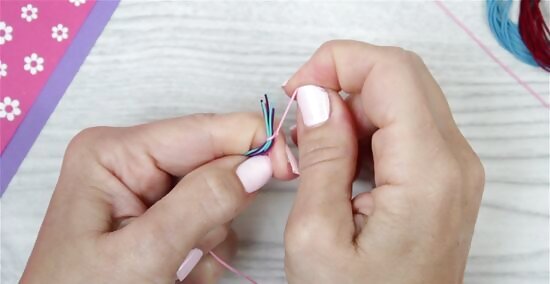
Tie off the ends of the shorter strands with the longer strands. Gather the 9 short strands of cord so that their ends align. Then, take one of your longer strands and tie it about 0.25 in (0.64 cm) from these ends using a simple square knot, so that the knot falls in the center of the long strand. To tie a square knot, loop one end of the long strand over and under the other end, pull it tight, and repeat. Tie the other ends of the short strands together with the other longer strand, as well.

Melt the ends of the short strands with a flame. Use a lighter or a candle, and hold the joined ends of the short strands up to the flame for just 3-5 seconds to melt them together and secure the strings of the bracelet. Make sure to melt both ends of the bracelet! Avoid melting anywhere past the knots you tied with the longer strands.
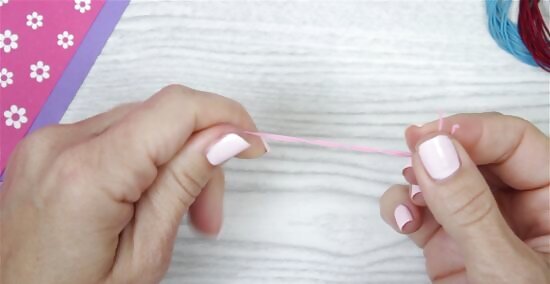
Twist and tie the ends of the long strands together. Take an end of one of the long strands and roll it between your fingers, in the direction that the fibers of the cord are already twisting and until the strand starts to bunch up. Then do the same with the other end of the long strand, holding the twisted end between your fingers. Then, hold the ends together and gently twist them so that they twirl around each other, making a single, stronger, thicker cord to secure the bracelet. After, tie the 2 ends of the long strand together with a square knot—hold the strands together, cross them over and behind themselves, then feed the ends through the loop you just created. Repeat this step with the long strands on the other side of the bracelet, twisting and tying them together.

Overlap the long strands and tie them together with a new cord. Cut a new strand of wax cord about 4 in (10 cm) long. Then, form the bracelet into a circle, with the 2 longer, twist strands at the ends overlapping. Use the new strand to tie these longer strands together with a square knot. Tie about 4-5 square knots this way to ensure your bracelet doesn’t come undone, then trim away any excess cord. After, melt any loose ends with your lighter or candle to secure them. Then, your simple Pura Vida bracelet is ready to wear!
Adding Beads, Braids & Charms

Add beads or charms to any of the strands. Before you tie off any of the strands, string on some beads or small charms to the short strands to really glam up the bracelet. Use faux jewels for a sparkling finish, or spell you or your best friend’s name in bead letters. Then keep making the bracelet as usual, tying and melting the ends to finish it. Or, make simple knots in the strands to create faux beads.

Braid the short strands before tying them off. Align the 9 short, central strands, then tie the ends on 1 side with one of your longer strands. Then, braid the central strands together to form a fabulous design on the body of your bracelet. To braid, group the 9 strands into sets of 3. Bring the rightmost group over the center group. Then bring the leftmost group over that one, and repeat down the length of the strands. After, tie off the other end of the braid with your other longer strand, and continue making the bracelet as normal. If you choose to braid, cut the 9 central strands about 7–8 in (18–20 cm) long to account for the length lost to the braids.

Add a charm to the middle of the bracelet for a stunning centerpiece. For this design, cut 2 sets of 9 short strands, then loop both sets through a charm with a hole in the center, like a heart or a circle. Join the ends of either set of strands and tie them together with the longer strands, then keep making the bracelet as normal. This results in a charm placed in the center of the bracelet, with 2 sets of 9 short strands on either side.


Comments
0 comment