
- Before you start your cut, ensure you have the right tools. You’ll need a pair of cutting shears, electric hair clippers, and a hair razor.
- Part your dry hair into 3 even sections: 1 section at the back and 1 section on either side of your head. Then, use a hair tie to secure them at your desired length.
- Use your shears or clippers to cut the back section underneath the hair tie. Then release the side ponytails and cut them to match the back section using a razor.
- Point-cut the ends to blend your cut by lifting small pieces of hair and running the hair razor on the ends of the hair in a downward, angled motion.
Gathering Supplies
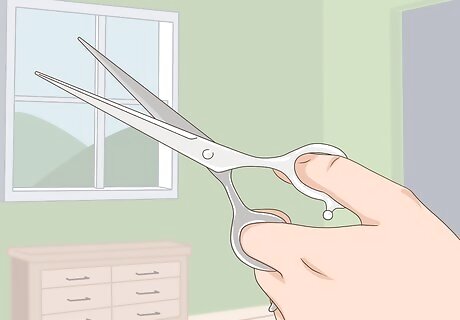
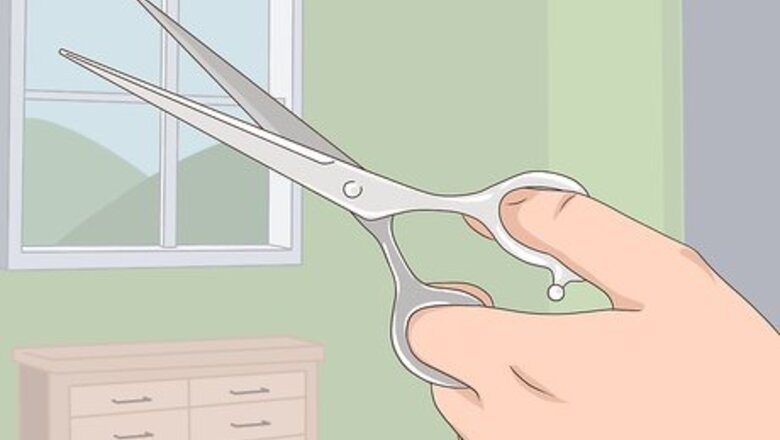
Get a pair of good cutting shears. If you decide to cut your hair at home, you should look for cutting shears that are made for hair and are high quality. You can find good cutting shears online or at beauty supply stores. Good quality shears will make cutting your hair at home easier. You should look for stainless steel, sharpened cutting shears. Do not use kitchen shears, household scissors, or gardening shears, as they could pull or damage your hair.
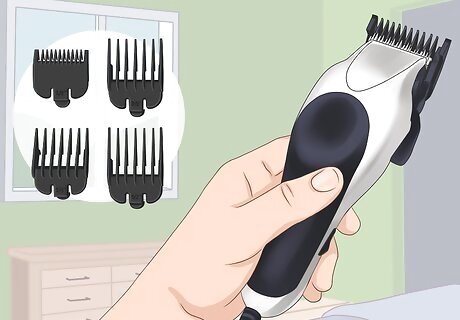
Buy hair clippers and a hair razor. You can find both hair clippers and hair razors online or at a beauty supply store. Make sure your eclectic hair clippers are quality and in good working order, as you are going to be using this tool to cut the bob. A hair razor is useful for cutting the bob, as it will allow you to shape and trim your hair without having to do any major cutting. Make sure the hair razor is sharp, as a dull razor will make it more difficult to use. If you have thick hair, you may also want a pair of thinning shears which will remove volume while creating texture on the ends of your hair.
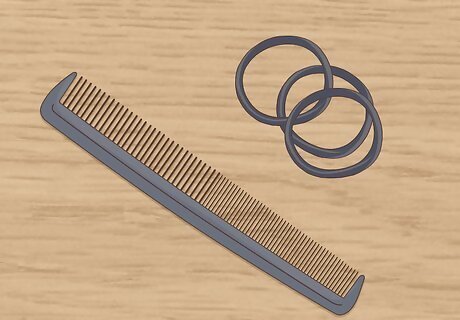
Get a hair comb and hair ties. You’ll need a hair ties throughout the bob-cutting process. You can find these products online or in the beauty aisle of your local drugstore. The hair comb will help you create even sections of your hair for the cut. The hair ties will keep sections of hair out of the way as you cut.
Cutting the Bob
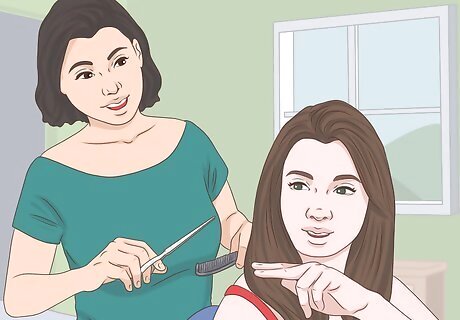
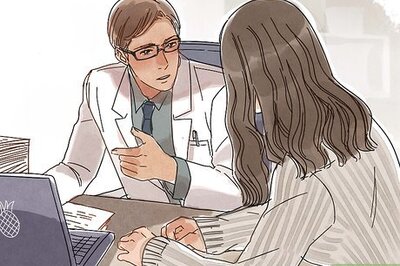
Confirm the style if someone else is cutting your hair. If you’re getting a friend to cut your hair into a bob, you should discuss the steps for the cut beforehand. Make sure to communicate and clarify the length and style you want for your hair before your friend starts cutting away to avoid a hair horror story. Check in with your friend throughout the cut about your expectations to ensure they’re doing what you want with your hair. Let your friend know if the style is too long or needs to be tweaked so you end up with a bob you like.
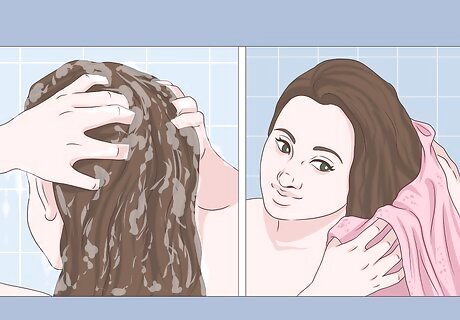
Wash and dry your hair. You’ll need to start with hair that is clean and dry. Use your usual shampoo and conditioner on your hair. Then, allow it to air dry or blow dry it. Having dry hair will ensure that you don’t cut your hair too short, as wet hair can end up drying much shorter than it looks. It’s essential to blow dry your hair first if it’s curly or wavy. Curly hair appears much longer when it’s wet. Before you dry your damp hair, you might want to use the hair comb to find your natural part. Finding your natural part is important if you plan to part your hair to one side rather than do a middle part. You can find your natural part by running the comb over the front section of your hair, so the hair falls to the back of your hair. Then, use your hand to push your hair forward gently. Your hair should fall toward your natural part. You can also determine your natural part by noting which side of your head you usually part your hair on. You can then keep this in mind when cutting your hair so your hair parts as you like it.
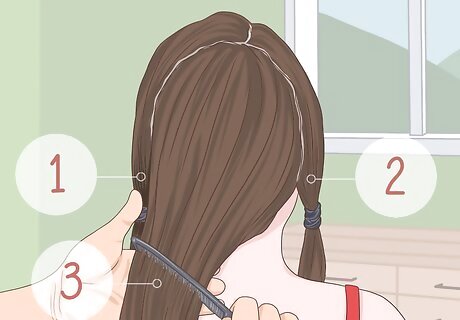
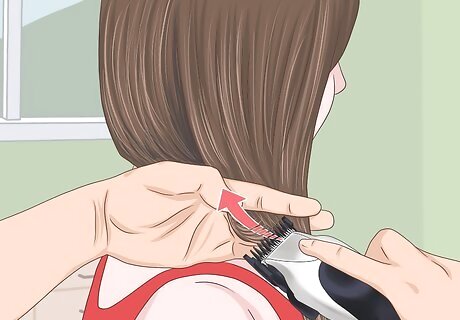
Divide your hair into 3 even sections. Use a comb to divide your hair into 3 even sections: 1 section at the back and 1 section on either side of your head. Then, secure the 3 sections using hair ties. Make sure the back section sits just above the nape of your neck. You’ll need to gently slide the hair ties up and down your hair at the back, so don’t tie them too tightly.
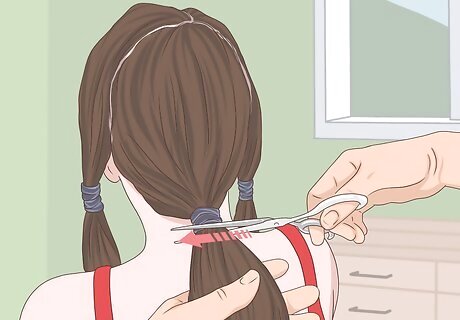
Cut the back section off with scissors. You may need a hand mirror to see the back ponytail if you're cutting your hair yourself. Move the back ponytail up or down against your neck, based on the length you would like the bob to be. If you want a shorter bob, move the ponytail further up. For a longer bob, move the ponytail further down. Use the cutting shears to cut right underneath the back ponytail. You may need to cut across the top of the back ponytail slowly to ensure you get an even cut, especially if you have thicker hair. For a more blunt look, use the hair clippers to trim any uneven hairs underneath the back ponytail. If you are using the hair clippers on your own hair, take care to hold the clippers steady as you trim off any uneven hairs. Try to get an even cut all the way across the back ponytail so the back section will appear straight and even.
Use the hair razor on the side sections. Release the back ponytail once you are done trimming it. Then, release the side ponytails. You should have a blunt, even cut in the back section and longer side sections. You will then take the hair razor and shape the side sections until they are the length you would like for the bob. If you are going for a more A-line look, you may want to keep the side sections a bit longer than the back section. Lift small sections of hair and run the hair razor through the bottom of the hair in an angled, upward motion. This will help to trim and shape the hair, so it’s at an even angle to the back section of your hair. For more of a straight bob look, use the hair razor to shape and trim the side sections, so they are in line with the back section. Run the hair razor through the bottom part of your hair in an upward motion until it is trimmed to the length of the back section.
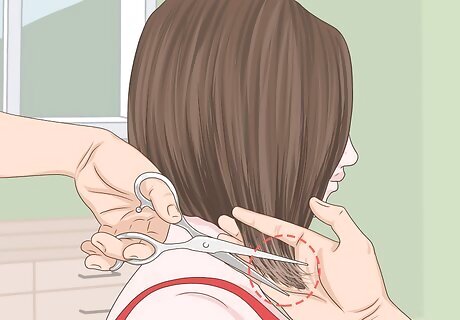
Add layers, if desired. Adding layers might be a good option if you're looking for extra volume. Layers are ideal if you have thinner hair, as they will give your hair more body. If you have thicker hair, you might want to skip layers to avoid your hair getting too puffy or round. To add layers, use the hair comb to comb out a section of hair on the side of your head, towards the back of your head. Hold the section of hair so the ends are facing upward, and use the cutting shears to trim the ends, pointing the scissors down and in as you trim. Don’t cut the hair straight across, as this will lead to jagged ends. Continue to do this on the sides and back of your hair, cutting the ends of the hair with the scissors pointed down and in. This will create layers throughout your hair, giving your bob a more voluminous look.
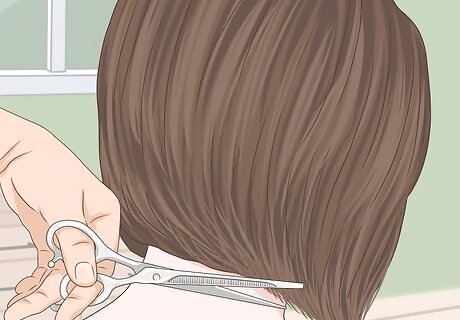
Blend the ends of the hair. As a finishing touch, you should blend the ends of your hair so your bob looks even and polished. Blending the ends will also help to remove any stray pieces of hair that are too long. Lift small pieces of hair and run the hair razor on the ends of the hair in a downward, angled motion. This will help to taper the ends and make them appear more blended. Do this around your entire head for a uniform result. You might find it helpful to spritz your hair with a spray bottle to dampen it slightly as you cut, especially if your hair is straight. This will help you achieve clean, even lines as you tidy up your bob. If you want a softer, textured bob, use thinning shears on the bottom 1 in (2.5 cm) of your hair, rather than a razor.


Comments
0 comment