
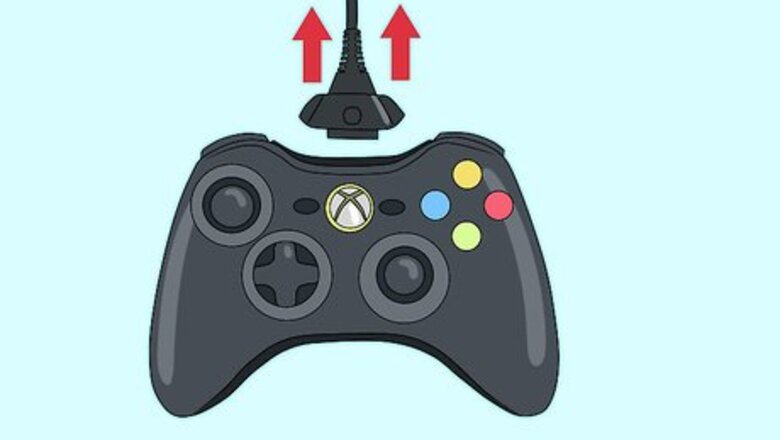
Make sure that the controller is unplugged.
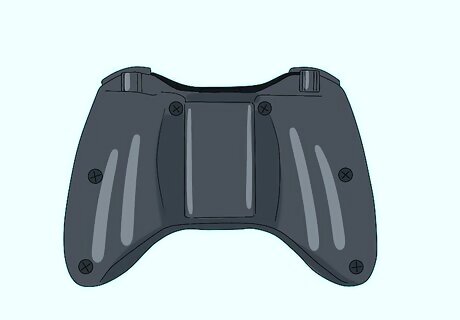
Flip the controller so the back is facing you.
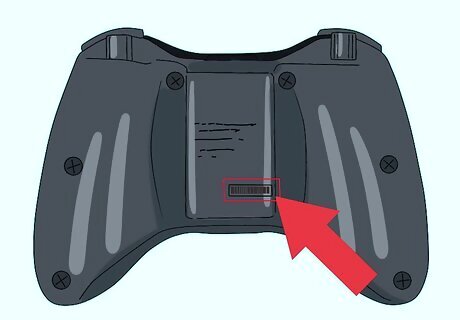
In the lower-right center of the controller you will see a small sticker with a barcode, although the barcode may fade over time. This sticker is right next to the Microsoft/XBox 360 hologram. Remove this sticker to expose a screw hole. (Removing this sticker voids the warranty, if your controller is still under warranty.)
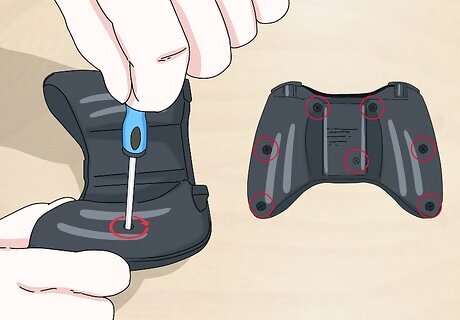
Unscrew the all seven screws on the back of the controller and set them aside. Place them somewhere that they cannot be easily lost.

Separate the two halves of the controller shell.
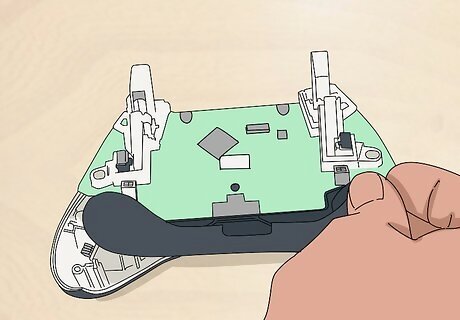
Remove the bottom plate (where you connect a headset) by lifting it from the controller shell.
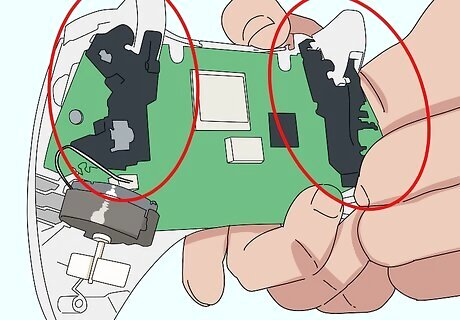
Remove the top plate (where the two bumper buttons are located) by lifting it from the controller shell.
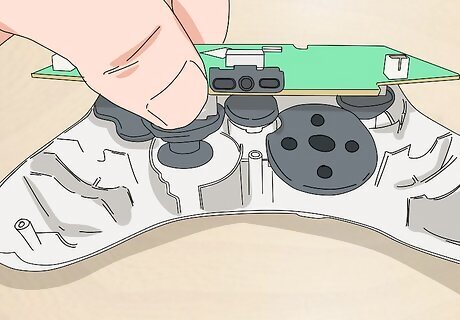
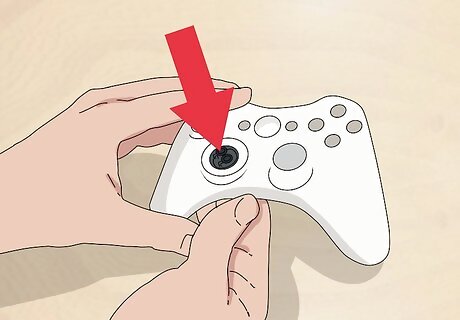
Carefully remove the circuit board. The analog sticks can be removed by grabbing and pulling straight up.

(Wireless Controller only) The D-pad (Directional Pad) will still be connected to the top portion of the controller shell. To remove it you must remove two small screws located inside the D-Pad. These screws are slightly smaller than those on the controller shell and may require a smaller screwdriver. On a Xbox 360 wired controller, the D-pad will come right off, no extra screwdrivers required.
After removing the two screws from the D-Pad you will see two small clips inside it. Gently pry the clips to separate the two parts of the D-Pad. The D-Pad can now be easily removed.


Comments
0 comment