
- PineTools is a free web-based app that makes it easy to overlay and blend multiple photos.
- GIMP is a free tool that has similar features and controls as Adobe Photoshop, including the ability to combine photos.
- You can overlay photos to make a subject appear like it blends into the background or create a collage effect with different transparencies.
Getting Ready

Consider using PineTools. If you just want to create a simple collage with different transparencies, you can use an online tool to do so without having to download and install GIMP. You can't use Pine Tools to introduce a new photo, such as a celebrity, to a base photo in hopes of convincing people that the end result is a real photo.
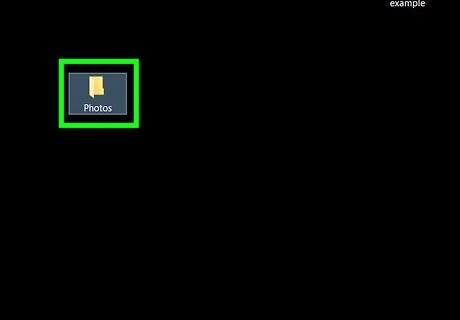
Make sure all your photos are in one location. This is helpful when selecting photos to add to your project as layers. You may want to make a copy of the photos you plan on using by selecting them, pressing Ctrl+C (Windows) or ⌘ Command+C (Mac), and then pasting them in a common location such as the desktop.
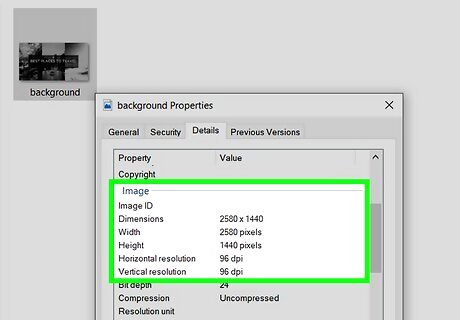
Find out the size of your main photo. Once you know which photo you want to use as the background for your final image, you'll need to find the width and height (in pixels) for the photo so that you can create a properly sized canvas later: Windows — Right-click the photo, click Properties, click the Details tab, and look for the numbers to the right of the "Dimensions" heading (you may need to scroll down). Mac — Click the photo to select it, click File, click Get Info, and review the "Dimensions" heading in the "More Info" section (you may first have to click the More Info heading).
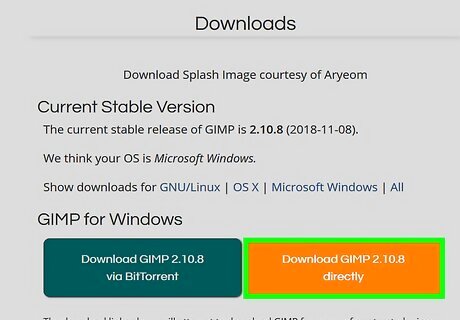
Download and install GIMP. Do the following depending on your operating system: Windows — Go to https://www.gimp.org/downloads/, click Download GIMP directly, double-click the downloaded setup file, and follow the on-screen instructions. Mac — Go to https://download.gimp.org/mirror/pub/gimp/v2.8/osx/ in your computer's web browser, click the gimp-2.8.10-dmg-1.dmg link, double-click the DMG file, click and drag the GIMP logo onto the "Applications" folder, and follow any additional instructions. On a Mac, you may need to verify the installation before you can install GIMP.
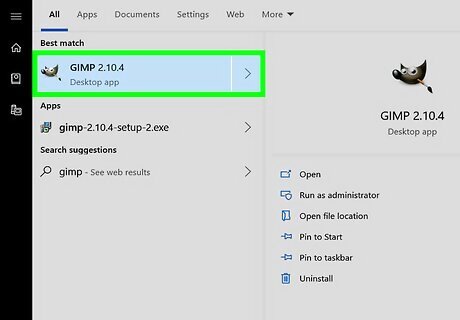
Open GIMP. Once you've installed GIMP, you can proceed with opening it, after which point you'll be able to begin overlaying your photos: Windows — Click Start Windows Start, type in gimp and click GIMP at the top of the menu. Mac — Click Spotlight Mac Spotlight, type in gimp, double-click GIMP, and click Open if prompted.
Cropping
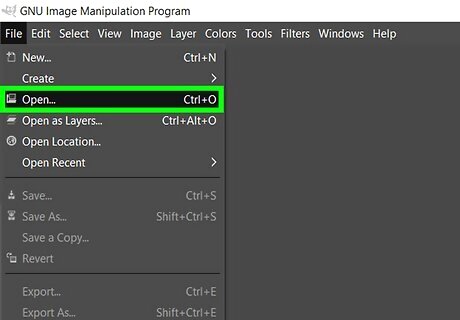
Open the photo you want to crop. This should be the photo you plan on overlaying on top of your base photo: Click File Click Open... Select the photo. Click Open
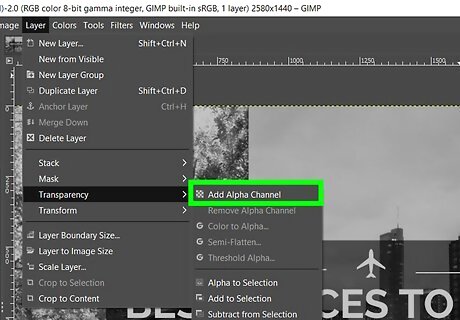
Add an alpha channel to the photo. This will allow you to save the cropped portion of your photo as clip art rather than as a cropped photo on a white background: Click Layers Select Transparency Click Add Alpha Channel
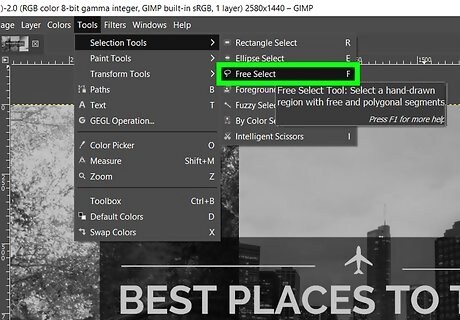
Open the "Free Select" tool. Either press "M" on your computer's keyboard, or do the following: Click Tools Select Selection Tools Click Free Select

Draw around the section you want to keep. Click and drag your mouse around the section of the photo that you want to add to your base photo. Repeatedly clicking in a line around the selection instead of dragging will help achieve greater accuracy. You'll need to connect the end of the line to the beginning of the line before you can continue.
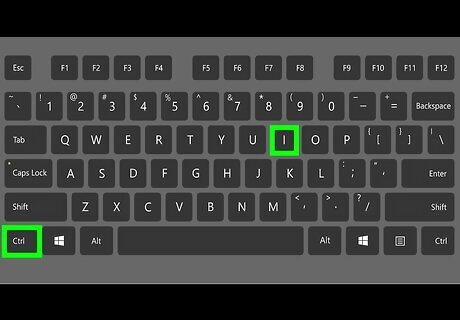
Select the inverse. To highlight everything but the section you want to keep, press M to select the section, then press either Ctrl+I (Windows) or ⌘ Command+I (Mac).
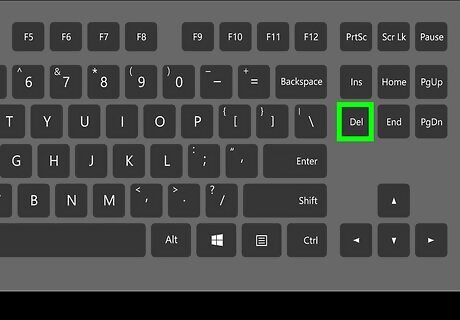
Delete the inverse. Press Del on a Windows computer, or press ⌘ Command+X on a Mac. You should see everything but the selected portion of the photo disappear, leaving behind a checkerboard background.
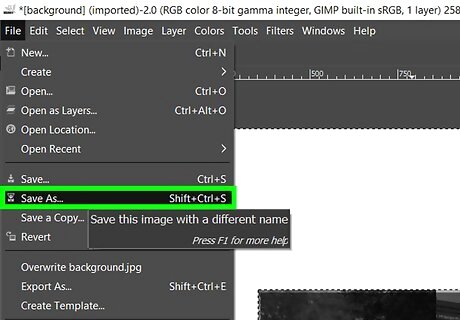
Save your photo. Since you want to save this photo as a GIMP file rather than as a JPG or PNG, you'll use the Save As feature: Click File Click Save As... Enter a file name, then select the same save location as your base photo. Click Save
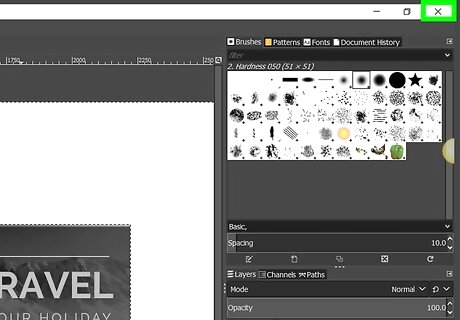
Close the current photo. Click the X in the top-right corner of the project window (top-left corner on Mac) to do so. The GIMP window should remain open and blank while the photo disappears. At this point, you can proceed with overlaying your pictures.
Overlaying Pictures
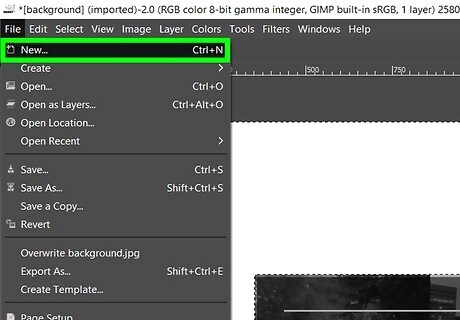
Create a blank canvas the size of your base photo. Using the dimensions from the photo that you found earlier, open a new project: Click File Click New... Adjust the "Width" and "Height" text fields. Click OK
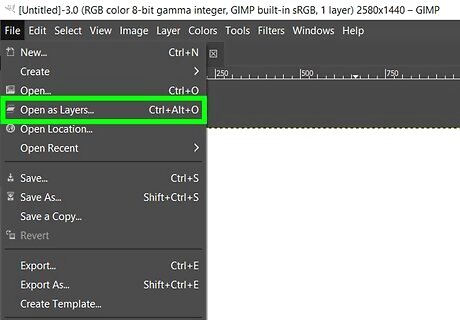
Open both your base photo and your cropped photo. By opening both photos as layers, you'll be able to align them with each other: Click File Click Open as Layers… Select your pictures' location on the left side. Hold down Ctrl (Windows) or ⌘ Command (Mac) while clicking photo names. Click Open

Move the cropped layer. To readjust the cropped layer's position, do the following: Click Tools Click Transform Tools Click Move Click and drag the cropped layer.
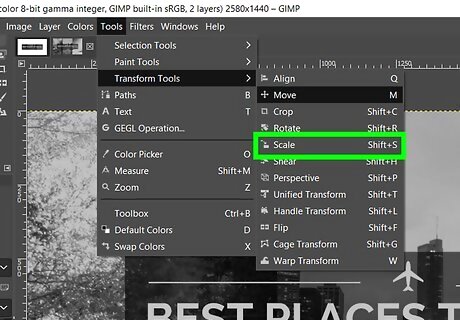
Adjust the cropped layer's size. If you want to change the size of the cropped photo, do the following: Click Tools Select Transform Tools Click Scale Select your cropped layer. Click and drag the layer to resize it. Click Scale

Review your photo. If your intention was to create an image in which you place another image to make it seem like the second image was part of the first image, you can proceed with flattening and exporting your project. If you want to create a collage with different transparencies, proceed to the next part.
Creating a Collage
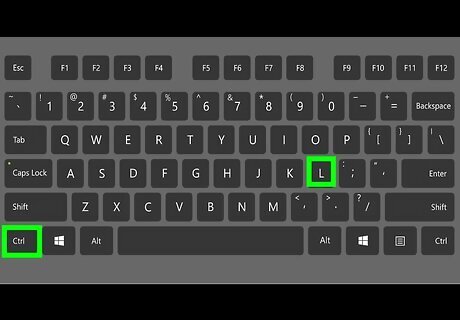
Open the Layers window. Press either Ctrl+L (Windows) or ⌘ Command+L (Mac) to do so. The Layers window will pop up in the upper-left side of the screen; you should see both the base photo and the cropped layer appear in the photo.
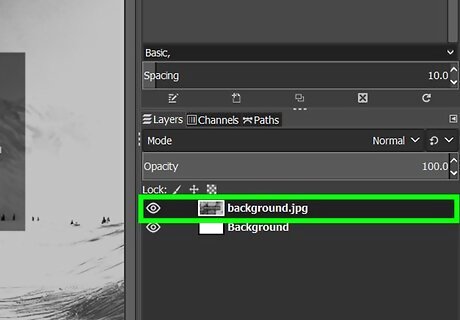
Select the cropped layer. Click the layer preview that corresponds to your cropped layer.
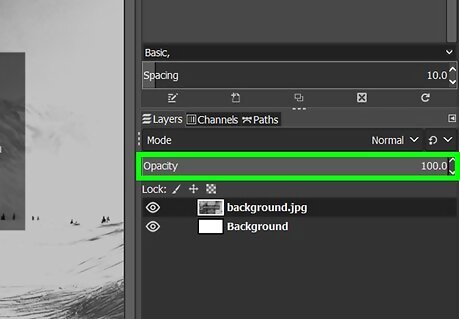
Lower the layer's opacity. At the top of the Layers window, click the downward-facing arrow to lower the opacity of the cropped layer. You may have to lower the opacity to 20 (or lower) to achieve your desired effect.
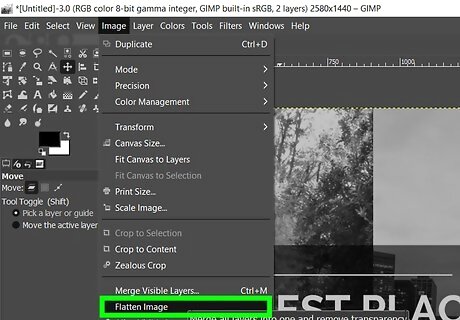
Flatten the layers. Click the Image tab, then click Flatten Image in the resulting drop-down menu. This will combine all of the photos' layers into one image. This step is necessary before you can export the image to an image file.
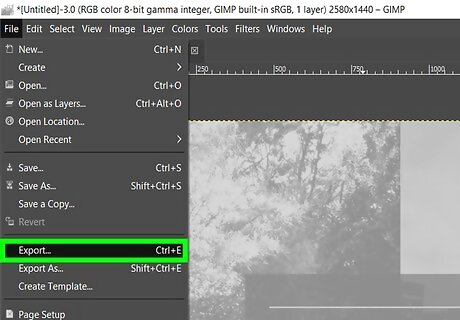
Export your finished image. This will allow you to save the image as a JPG or PNG file: Click File Click Export... Enter a file name. Select a save folder. Click Export
Using PineTools
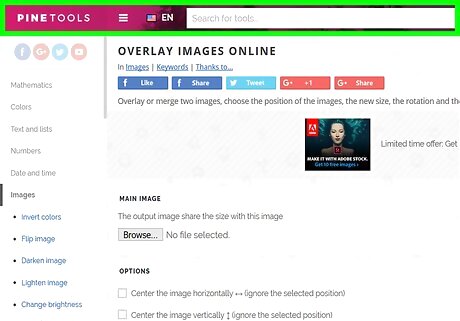
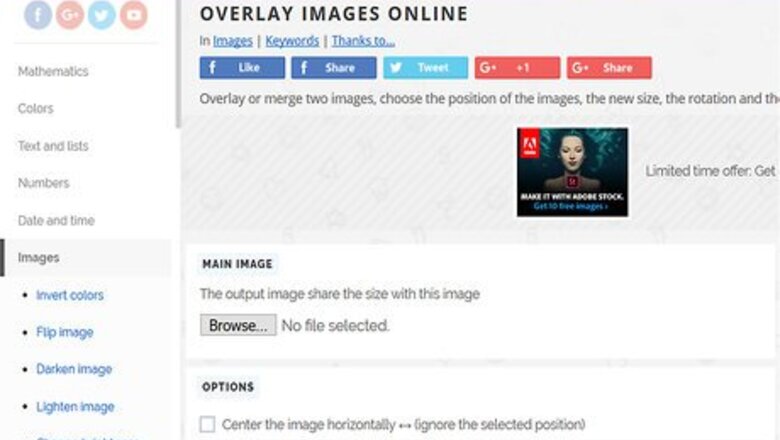
Open PineTools. Go to http://pinetools.com/overlay-images in your computer's web browser. PineTools is a website which can overlay simple photos without requiring installation or complicated menu options.
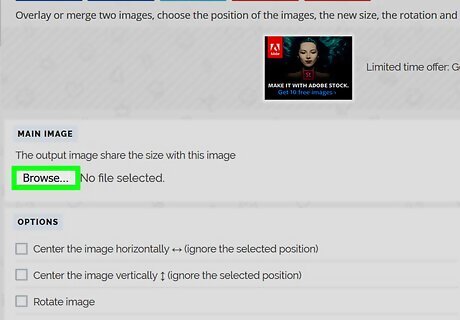
Upload your base image. Click Choose file under the "MAIN IMAGE" heading, then select the photo you want to use as your main photo and click Open.
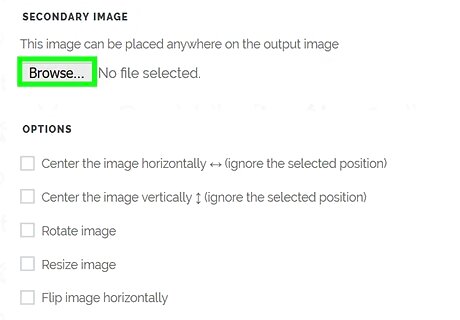
Upload your overlay photo. Click Choose file on the right side of the page below the "SECONDARY IMAGE" heading, then select the photo you want to use and click Open. You should see the photo appear on top of the first photo.
Scroll down to the "OPTIONS" section. You'll find this on the left side of the page, below the "MAIN IMAGE" section.
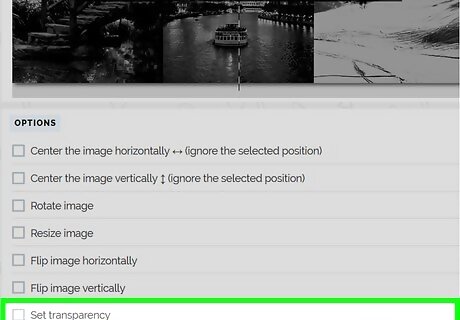
Check the "Set transparency" box. It's in the "OPTIONS" section. A "Transparency" slider should appear below the checkbox.
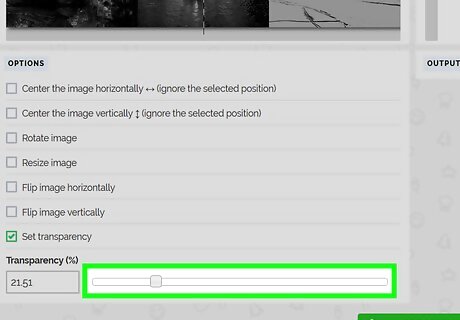
Drag the "Transparency" slider to the right. This will cause the overlayed photo to appear transparent. You may have to drag the slider over to the 70% mark (or more) to achieve your desired effect.
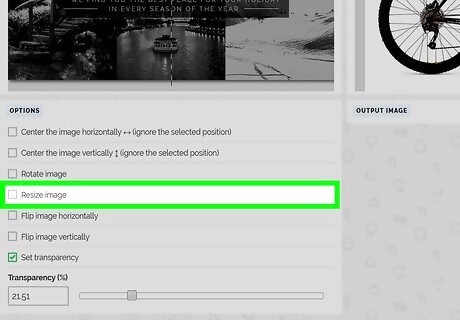
Check any additional options. For example, if you want to center the second image in the middle of the main image, you'd check one or both of the "Center" boxes.

Click PROCESS. It's a green button at the bottom of the page. Doing so will combine your uploaded pictures with your selected settings.
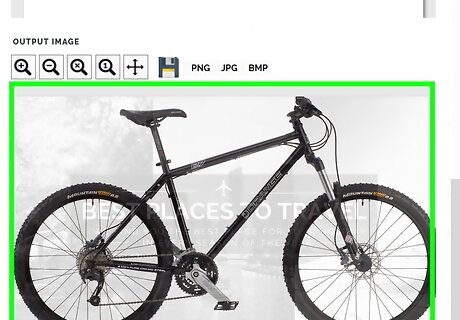
Review the final image. In the "OUTPUT IMAGE" section on the right side of the page, you should see the image as it appears using your selected options. You can adjust your options and then click PROCESS again to redo the final image.
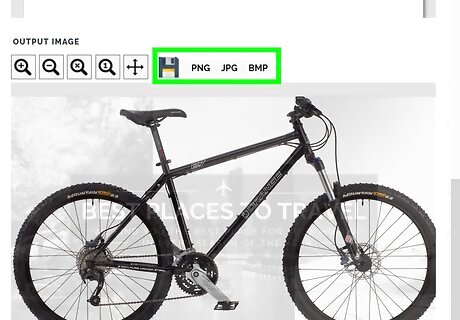
Select a file type. Click either PNG or JPG in the "OUTPUT IMAGE" section to download your overlayed photo as either a PNG file or a JPG file, respectively. You can also click WEBP to download the file in web publishing format.


Comments
0 comment