
Cleaning and Sanding Your Resin
Use soap and warm water to clean your resin piece, if necessary. Dip a sponge in warm, soapy water and scrub your resin with it to clean it. Make sure you’ve removed any dirt, grime, or mold from the piece before you begin sanding it. If you’re working with a small piece of resin and it isn’t terribly dirty, you can also simply dip it in the soapy water to clean it.
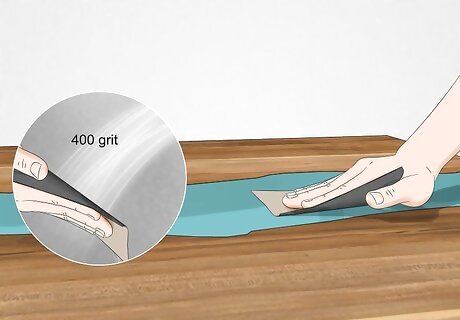
Wet sand the resin with 400 grit sandpaper to remove any scratches. Spray some water on your resin piece or dip it in water to get it wet before smoothing it out with the sandpaper. Sand the entire surface of the resin 2-3 times before moving on to the next step. Wet sanding your resin will give you a much smoother finish than dry sanding and will also minimize the amount of dust created by the sanding process. Wear a mask or respirator while you sand so you don’t inhale any airborne particles. Be sure to use wet or wet/dry sandpaper instead of ordinary sandpaper. Wet sandpaper is specifically designed to hold up when wet, whereas ordinary sandpaper or dry-only sandpaper won’t work as well when it’s wet.
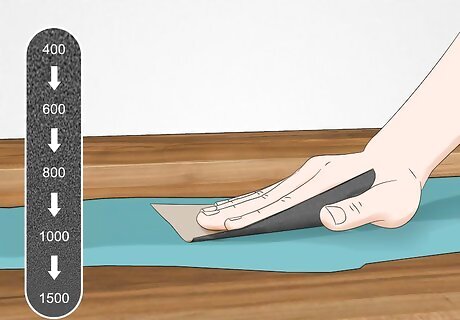
Repeat the sanding process with increasingly finer grit sandpaper. After you’ve sanded your resin with the 400 grit sandpaper, sand it again with 600 grit sandpaper, then with 800 grit sandpaper, 1000 grit sandpaper, and finally with 1500 grit sandpaper. This will better ensure that you remove any scratches that the coarser sandpaper couldn’t take care of and end up with a smooth finish. Make sure all of the surfaces and divots are sanded before moving onto the next highest grit. If you want to achieve an even smoother finish, you can also sand your resin with 2000 grit sandpaper. However, in most instances, you don’t need to go this far in order to get your resin smooth enough to polish.
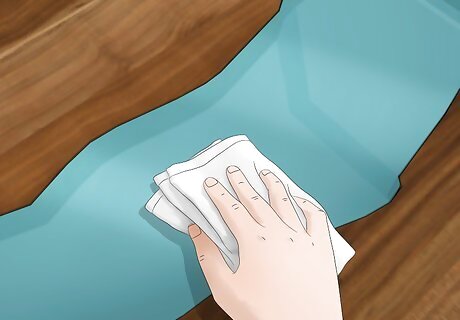
Dry off your resin piece with a towel to remove any grit or dust. Make sure any aggregate leftover from the sanding process is completely removed before you begin applying the polishing compound. This will also allow you to do a final check for any remaining scratches that still need to be sanded out. You can do a simple visual scan to check for any leftover scratches. If you see any, go back and continue sanding your resin until they’re gone. Wet the resin with water to make it easier to see any scratches you missed.
Applying the Polishing Compound
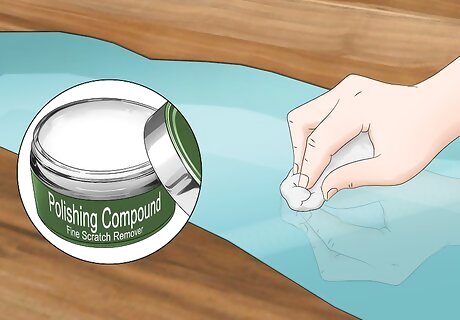
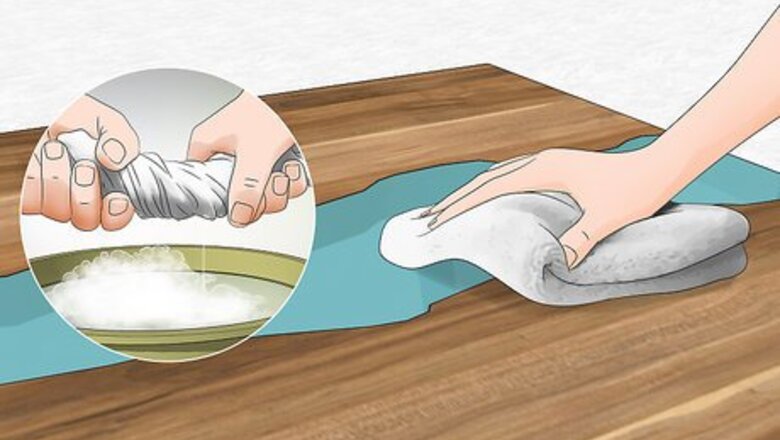
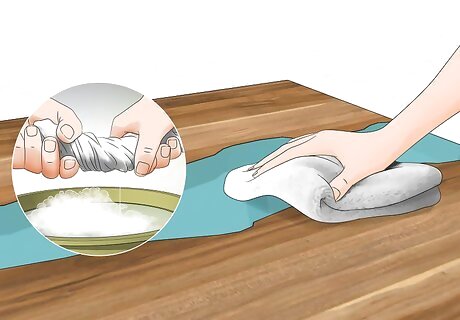
Apply the polishing compound across the surface of the resin. Apply the compound liberally so that it can be uniformly spread across the entire surface of the resin. For best results, use a polishing compound that is also labelled as a fine scratch remover. For example, products like Turtle Wax Polishing Compound are also labelled as being effective at removing scratches from resin. You can buy this type of product at most home improvement stores. You can also use an automobile polishing compound.
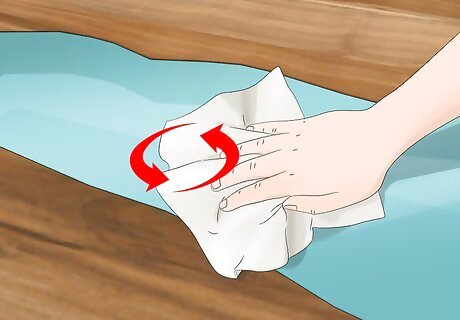
Use a microfiber cloth to rub the compound into a small piece of resin. Use firm pressure while moving the cloth in circular motions to polish the resin piece. Pay particular attention to any visible scratches and apply extra pressure to these areas.
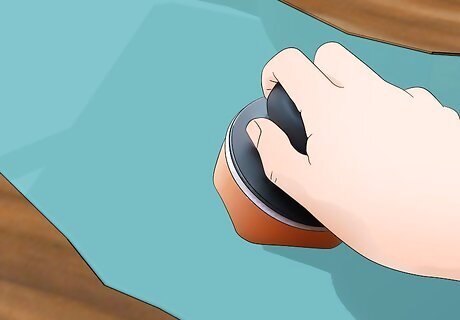
Use a buffing wheel or polishing tool to polish a larger piece of resin. Attach the buffing wheel or polishing tool to a power drill or motor, then move the wheel along the surface of the resin while it’s spinning to polish it. Always keep the wheel moving in a circular motion and spin it at around 1200rpm. You can buy a buffing wheel or polishing tool at most home improvement stores and automobile parts stores.

Continue polishing the resin until it is shiny and smooth. Keep rubbing the resin piece with your microfiber cloth until the surface has a glossy finish and is as smooth as you want it to be. The resin will get smoother and smoother as you continue to polish it, so stop polishing it whenever the finish is to your liking! If there’s any haze or compound left on your resin piece after you’ve finished polishing it, use a separate, clean microfiber cloth to wipe it off.


Comments
0 comment