
- Use upstrokes to write thinner thins, and downstrokes to create thicker lines. It can help to use paper with guidelines for reference.
- Grip your pen close to the marker portion of the pen, and use your entire arm to keep your writing steady.
- Once you've nailed the basics, move onto more advanced techniques like connecting letters, making new fonts, or creating a watercolor effect.
How to Write with a Brush Pen
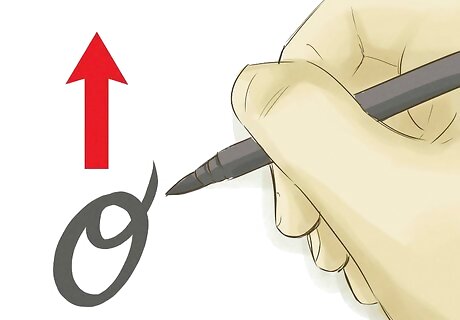
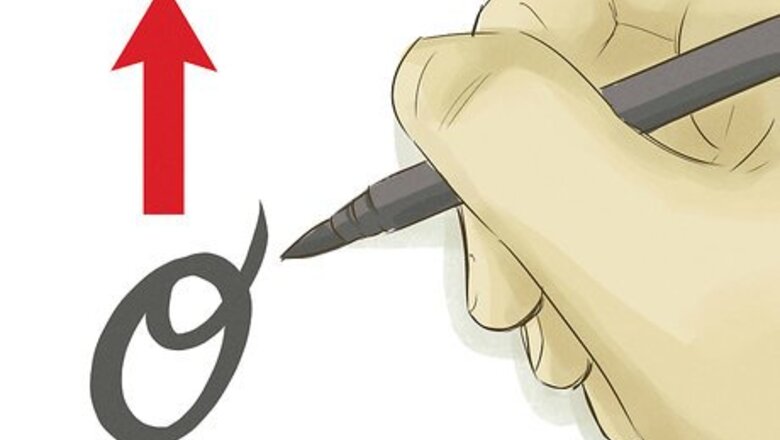
Use “upstrokes” to create thin lines. Prepare to make the upstroke by holding your pen at about a 90 degree angle to the paper. Applying light pressure, draw your brush pen upwards on the paper.
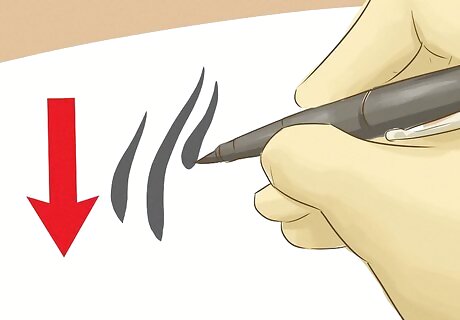
Use “downstrokes” to create thick lines. Prepare to make the downstroke by holding your pen at about a 45 degree angle to the paper. Applying heavy pressure, draw your brush pen downwards on the paper.
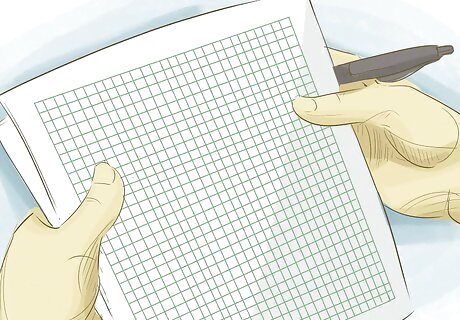
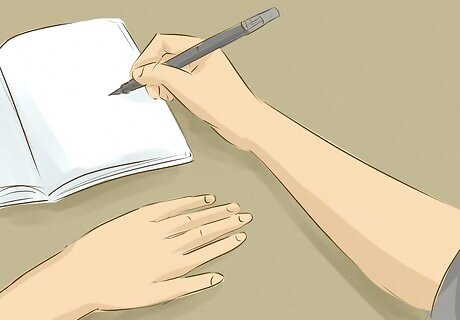
Use paper with guidelines to practice writing. As you start writing words and sentences, writing within a designated area will keep your script level across the word or page. You can use lined paper, graph paper, or you can draw your own straight lines across blank pages to make your own guideline paper. Think about how much space you need to create crisp strokes and smooth line transitions when buying or making your guideline paper. If you want to produce hand-lettering without guidelines but aren’t quite ready to do so, lightly pencil in your guidelines and then erase them after you’re done writing.
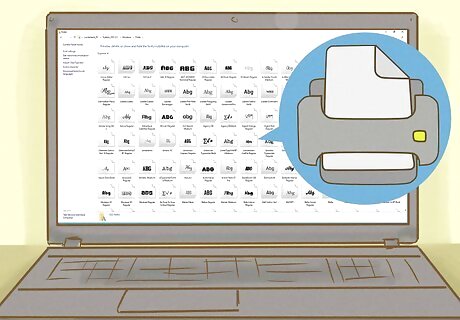
Use fonts as a reference for consistent style. As you practice writing with your brush pen, keep a printed font reference nearby. Try to mimic the font you choose to guide the style of your letters and words.
Proper Posture
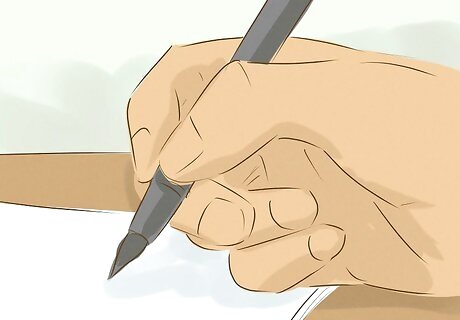
Hold your brush pen close to the nib. The “nib” of a brush pen is the marker part of the pen. Holding your brush pen right above the nib will give you the most control over your brush pen strokes. Experiment with holding your pen closer and farther from the nib, to see what feels most comfortable and produces the best results. Also, vary the pressure and angle of the brush tip. For instance, try lightly using the point and then going heavier on its side.
Use your entire arm to keep your script steady and even. Practice keeping your wrist straight and fingers stationary, allowing the motion of your arm to guide your brush pen. When you need to change your application of pressure, let that force come from the strength of your arm—rather than from a change of position or pressure in your fingers or wrist.
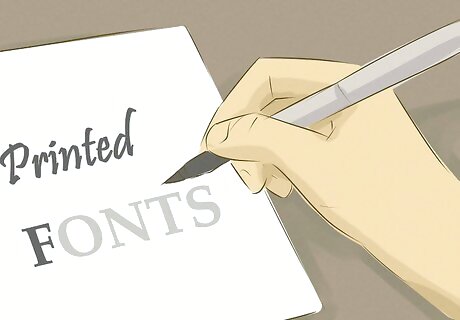
Trace individual letters of a printed font. Tracing the letters of brush or handwritten fonts printed from your computer will help you get comfortable with using your brush pen to create scripts. You will quickly learn that you must adjust the pressure on your brush pen and its angle to the paper to successfully trace the letters of a font. Practicing by tracing a font can also help you develop a consistent style of writing across individual letters, words, and sentences.
Advanced Brush Pen Skills
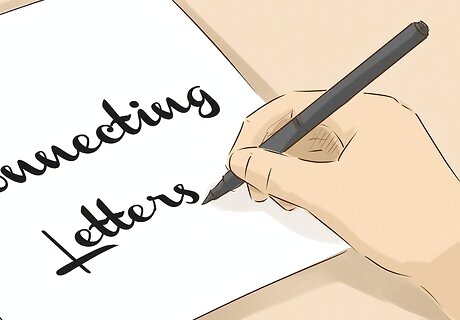
Master the art of connecting letters. Instead of picking your pen up in between letters, give the letters in your words a “tail” that trails out from the letter itself—kind of like connecting cursive letters. Your tail should be a thin brush stroke that you can easily draw up to connect to the next letter in the word you’re writing. If you’re having difficulty connecting letters in succession, try giving your letters tails and then going back later to gently make the final connecting stroke between the “tail” and the following letter.
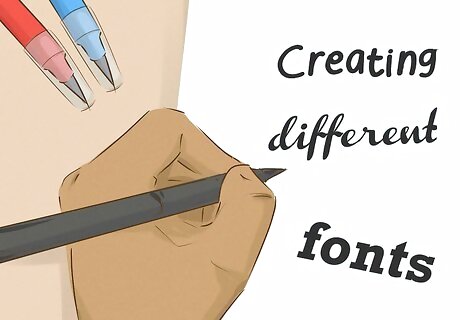
Experiment with creating different fonts. Mastery of brush pen lettering can be evidenced by how many different styles you can letter in. Once you can produce consistent brush pen lettering in one font, find other fonts you like and work on adding these new styles to your repertoire. You can revert to tracing printed fonts as a means of easing yourself into writing with your brush pen in new styles.
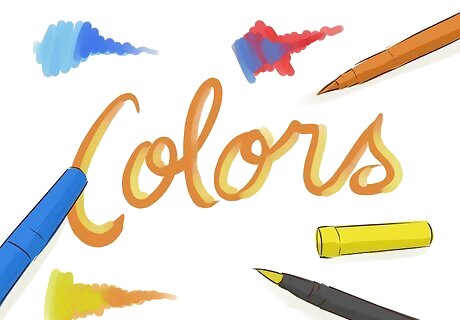
Learn to create a watercolor effect. You’ll need a plastic surface (a watercolor painting pallet works great) and a water brush in addition to your brush pens. Use your brush pen to deposit ink onto the pallet; then, wet your water brush and use it to pick up some color from the pallet. Finally, “paint” onto your paper with the color on your water brush. By adding water, the colors from your brush pens will blend together in the same way that watercolors blend.


Comments
0 comment