views
Preparing for the Demolition
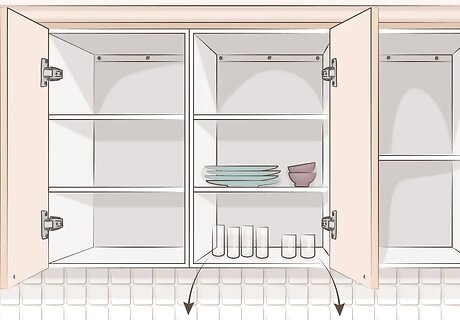
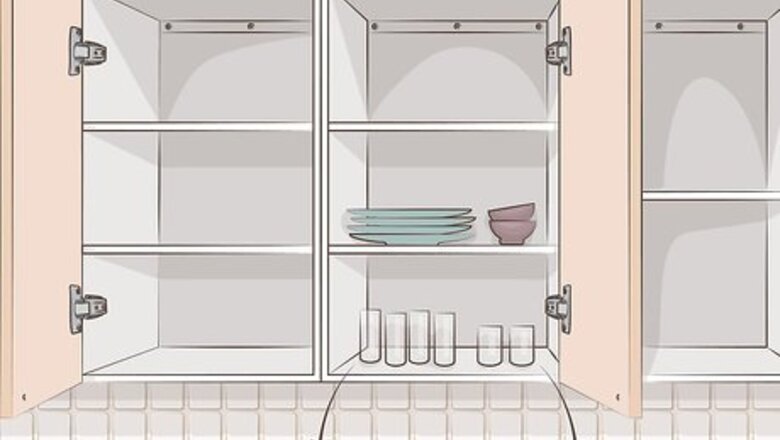
Empty all your cabinets. Plates, silverware, pots, pans, and anything else stored in your cabinets must go before you start the job. These could break during the removal process if they aren’t stored away safely. They will also add extra weight to the cabinets and make them much harder to remove. Don’t just put these items off to the side. Move them into a different room entirely so they won’t get in the way. Cover these items with a sheet if you’re doing a lot of construction in your home. This prevents dust and debris from getting on your belongings.
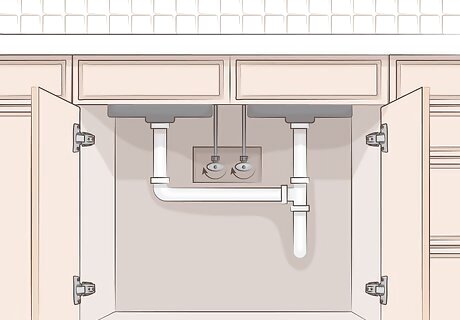
Turn off the water to the sink. Base cabinets are usually connected to the countertop, meaning you'll have to remove the counter. The first step in removing the countertop is pulling out the sink, so turn your sink's water supply off to prevent floods. Look under the sink for a shut-off valve. This is a metal knob on the side of the pipe leading to your sink. Turn this knob clockwise until it stops to turn off the water supply. Always double check that the water is off. Turn on your kitchen sink and make sure no water flows out. Turn the valve further if water still flows from the sink.
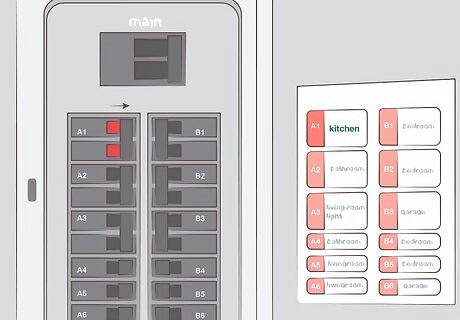
Cut off the electricity to the room. While removing the counters, you’ll be working around electrical outlets and may have to move some wires out of the way. Keep yourself safe by turning off the electricity to this area. Go to the breaker box in your home. Open it and find the circuit breaker that controls your kitchen electricity. If it was installed properly, the breakers should be labeled. Turn the fuse that powers your kitchen to the "Off" position. Breaker boxes are usually in the basement or laundry area. If the breaker for your kitchen isn't labeled and you don't need power in the rest of your house, turn off the main breaker to turn off the electricity for the whole home. This breaker is a double-wide switch on the top of the service panel. If your kitchen is old, you may discover hidden wires and outlets during this job. If you come across wires, cover them with rubber plugs. You can find these at a local hardware store.
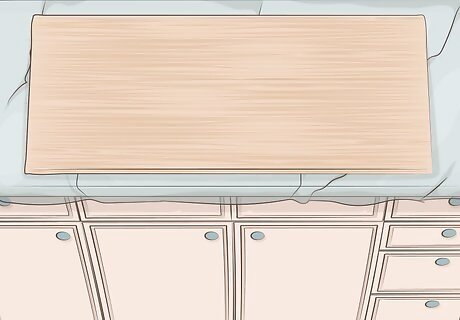
Cover the countertops if you’re keeping them. If you plan on keeping your countertop and reusing it with your new cabinets, make sure it’s protected. Put a thick sheet over it to keep dust and debris off it. Also, lay a flat piece of wood on top of the blanket to protect the counter from dents if you drop a tool. If you’re not reusing your countertop, then no need to protect it. Let it get dirty and damaged while you work.
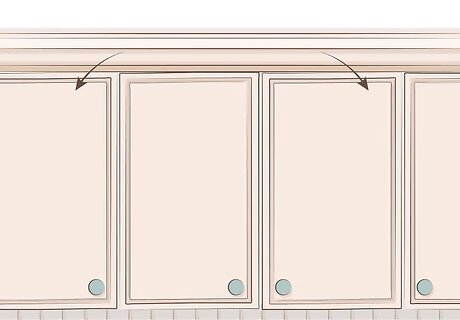
Remove any trim or molding on the cabinets. Decorative trim and molding is usually loosely-fastened with staples or small nails and should come off easily. Use either a crowbar or the claw of a hammer to remove these. Insert the blade in between the trim and cabinet. If the space is tight, give the crowbar a few taps with a hammer to drive in into the crack. Then pry until the trim comes off. Check the wall and base cabinets for trim. Sometimes this wraps around corners and can be difficult to spot. Trim and molding can’t be reused, so don’t worry about damaging these pieces. They sometimes crack while you pry them off. If you plan on reusing the cabinets, be careful when prying the trim off. You could dent or scratch the wood. Wear gloves when handling the trim to avoid splinters or staples.
Detaching the Wall Cabinets
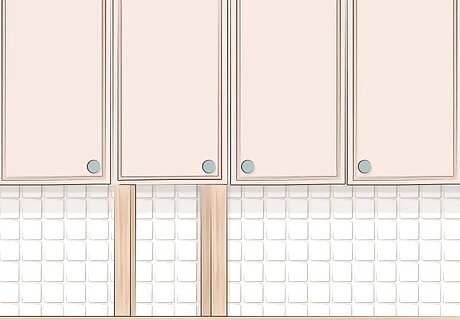
Place support blocks under the wall cabinet you're working on. These prevent the cabinet from crashing to the floor if your hand slips while you remove it. Measure the distance between the countertop and the bottom of the cabinet. Then cut 4 pieces of lumber to that length and place 1 under each corner of the cabinet you’re removing. For the lumber size, use something thick enough to support the weight of the cabinets. Blocks measuring 2 in × 4 in (5.1 cm × 10.2 cm) or 4 in × 4 in (10 cm × 10 cm) should do the trick. These supports are easily removable, so simply move them from cabinet to cabinet as you work. These supports are only meant to hold the cabinet momentarily while you regain your grip. They aren't stable enough for you to rest the entire weight of the cabinet on it.
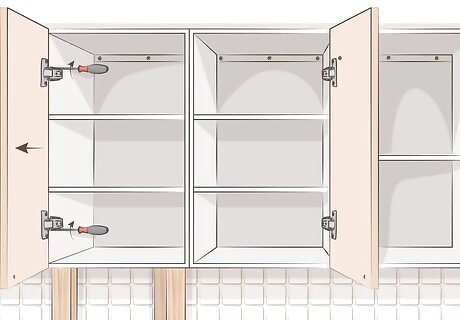
Remove the cabinet doors. The doors are connected to the cabinet with screws through their hinges. Open the door and find the hinges. Then use a screwdriver or drill to remove all the screws fastening the door to the cabinet. The door will then come off easily. Hold on to the door when you remove the last screw. If it falls, it could damage your countertop or land on your foot. If you don’t plan on reusing the cabinets, then there’s no need to be gentle. On most cabinets, if you open the doors too far and push, they’ll simply break off. Save time by using this method if you’re getting rid of the cabinets anyway. If you plan on reusing the cabinets, save the door hinges and screws you remove. Place them in a plastic bag or container to keep all the pieces together. Wear goggles and gloves if you use a power drill to avoid injuries.
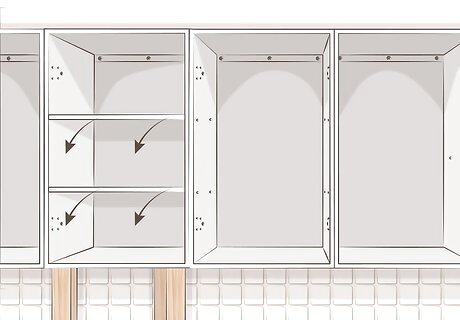
Take out the shelves. These shelves will get in the way when removing the cabinet, so take out all shelves before you start. Different cabinets have different mechanisms for securing their shelves. In most cases, the shelves rest on top of plugs in the cabinet wall. In this case, just lift the shelves off these supports and guide them out of the cabinet. If the shelves are screwed in place, then find all the support screws holding the shelf down. Use your screwdriver or drill and remove all the screws. Remember to hold on to the shelf when you remove the final screw so it doesn’t fall out. You'll need the plugs and screws you remove here if you want to reuse the cabinets. Keep track of all the pieces by storing them in a plastic bag or container.
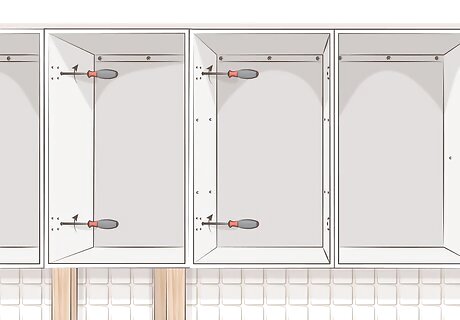
Remove the screws holding the cabinets together. Cabinets are sometimes screwed together after they’re installed. Look inside the cabinets and see if there are one or more screws in the sides. These hold the cabinets together. If you see these screws, remove them before detaching the cabinets from the wall. Screws attaching cabinets are usually placed around the door hinge, so look here first. However installers don't always follow directions, so there may be screws in different locations. Use a flashlight and feel around with your hand to locate any remaining screws.
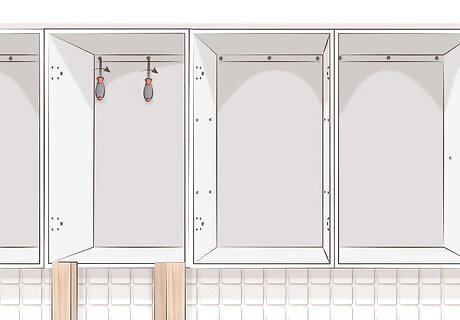
Unscrew the cabinet from the wall. The cabinet should be fastened to the wall with drywall screws through the back. Look for a row of screws inside the cabinet running across the top. This is the most common place where cabinets are attached. Use either your power drill running in reverse or your screwdriver and take out each screw. If using a screwdriver, remember to turn screws counterclockwise to remove them. Also look on the bottom of the cabinet, as extra screws are sometimes here as well. If you have a partner, have them hold onto the cabinet while you unscrew it to prevent the cabinet from falling to the ground.
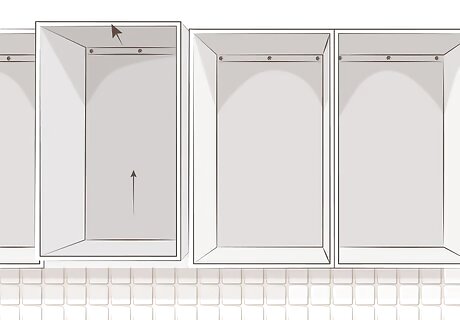
Lift the cabinet off the wall and move it out of the way. When all the screws are removed, the cabinets should simply slide off the wall. Hold onto the cabinet tightly and begin pulling it towards you. When you've gotten it out, move it somewhere out of the way. Be ready for a sudden drop when the cabinet comes off the wall because you’ll then be holding its full weight. Brace yourself so you don't get injured or drop the cabinet.
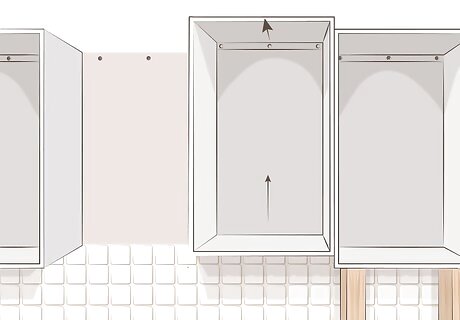
Repeat the same procedure for each wall cabinet. If you have several wall cabinets, follow the same steps carefully for each one. Remove each cabinet one by one and put it in a safe place where no one will trip on it. You may be tempted to start working faster or less carefully as you remove more cabinets. Resist this temptation, because a wrong move could result in an injury.
Removing the Base Cabinets
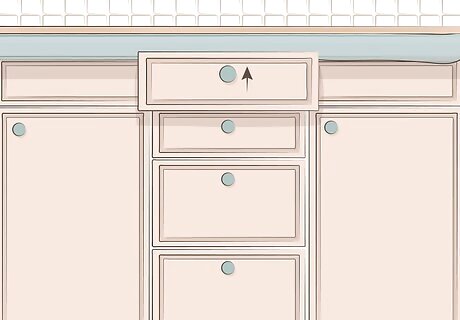
Pull out the cabinet drawers. Base cabinets usually have drawers instead of shelves. Empty the drawers before removing them. There are several types of drawers. Free-rolling drawers should come out easily. First pull the drawer all the way out until it stops, then lift up. This should pull the cabinet out of its socket, allowing you to slide the drawer completely out. Unfasten drawers that use a different mechanism by unscrewing the brackets or pressing a release tab on the side. Keep any brackets or support pieces you remove if you plan on reusing the cabinets and drawers. Place the old drawers out of the way so you don't trip on them while you work.
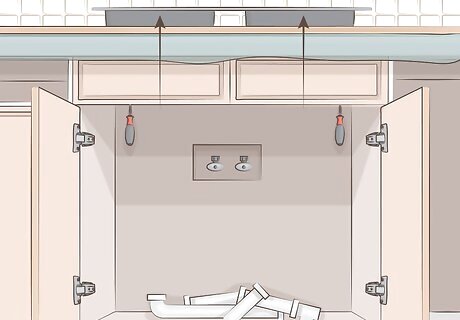
Remove the kitchen sink. Removing base cabinets requires more demolition than removing wall cabinets. The first step is removing the kitchen sink. Start by unhooking all the pipes leading to the sink. Then cut through the caulking and unscrew the sink from the countertop. Finally, lift it out and move it out of the way. Double check again that the water is turned off before doing any work on the sink. Any mistake can result in a flood if the water is on. Wear gloves to avoid getting cut if the sink has jagged edges. If you're getting a new sink, don't worry about damaging the sink. If you're reusing the sink, then be careful and avoid damage while you remove it.
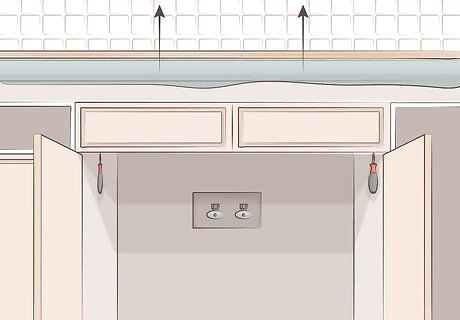
Lift off the countertop. Base cabinets are usually connected to the countertop, so remove this before moving on. Look inside the base cabinets and see if there are screws drilled through the top. These screws connect the cabinets to the counter. Take out each one to free the countertop. Test the countertop after to see if it lifts easily. If it feels stuck, you missed a screw. A kitchen counter may have a layer of caulk connecting it to the wall. If your counter has this, cut through the caulk with a razor blade to free it. Wear gloves to avoid cutting yourself. Be careful if you plan on reusing your countertop. Remove it gently and avoid knocking it into anything when you carry it out of the room.
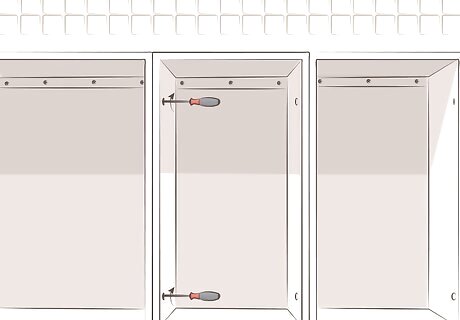
Unfasten any screws holding the cabinets together. It’s less common for base cabinets to be screwed together than wall cabinets, but it’s still possible. Look inside the cabinets along the sides and see if there are any screws connecting the cabinets. Remove them if you see them. If you try to pull the cabinets out later on and they seem stuck together, you may have missed a screw. Stop working and look again. If you pull the cabinets out while they're still attached, you'll rip a hole in the wood.
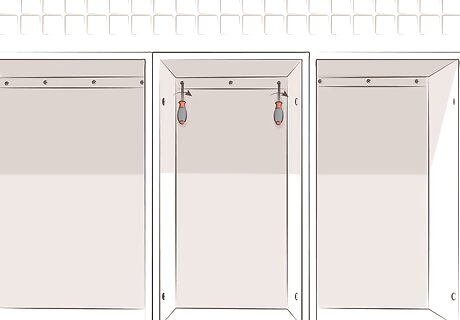
Remove the screws connecting the cabinet to the wall. Look in the back of the base cabinet and find the row of screws fastening it to the wall. Remove all of these screws. Screws can be difficult to spot in the back of your cabinets. Stick your head inside if you have to, and use a flashlight to locate them all. Even if you miss only one, you won't be able to remove the cabinets.
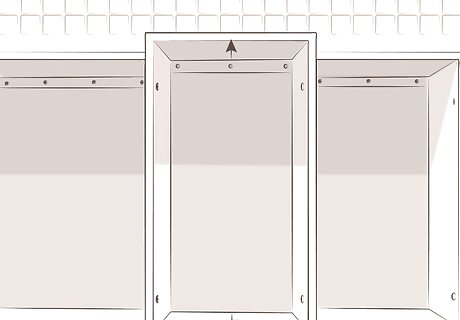
Slide the cabinet away from the wall. Now that the cabinet is free, work it out of position. There may still be caulking holding the cabinet in place, so pull hard to get the cabinet away from the wall. Drag the cabinet into a new location when it's free from the wall. You might have to lift the base cabinets out of position. Sometimes they sit in a compartment on the floor and have to be lifted out. If the cabinet won't budge, you may have missed a screw in the wall. Stop your work and check again, removing any screws you left behind.
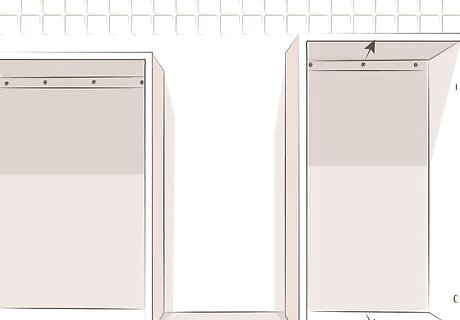
Repeat the same procedure for each base cabinet. You may have several base cabinets to remove. Follow these steps to safely remove each one, and remember to put the loose cabinets in a safe place where no one will trip on them. Continue working carefully as you proceed. Keep your gloves and goggles on, and hold the cabinets tightly so you don't drop them on your foot.




Comments
0 comment