views
Repairing Small Woodpecker Holes
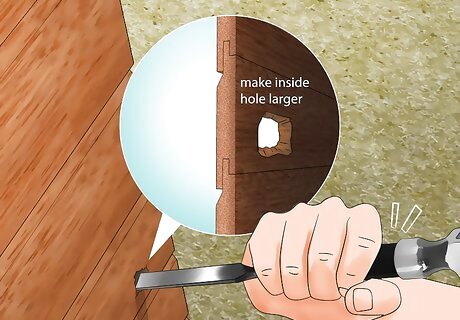
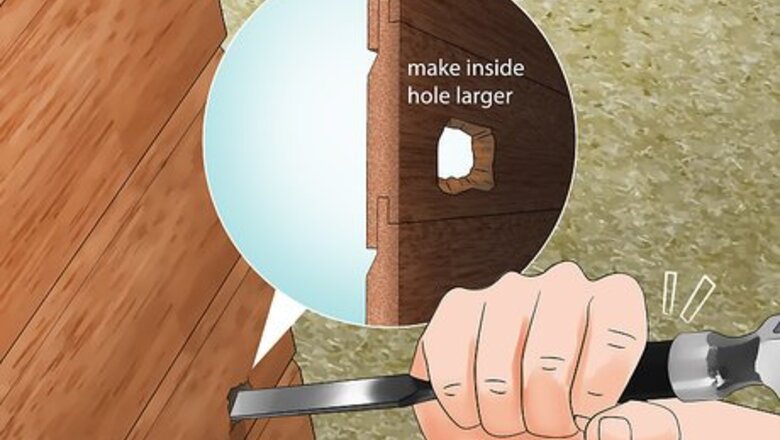
Chisel out the back interior of the holes. Use a small chisel to slightly enlarge the inside of the hole, so that the back side is larger than the hole opening. This will prevent your repairs from popping out of the siding. If there is anything behind the hole to hammer a nail into, you can also use a nail to achieve the same effect. Leave the head of the nail slightly exposed so that your epoxy putty will lock onto it when it expands.
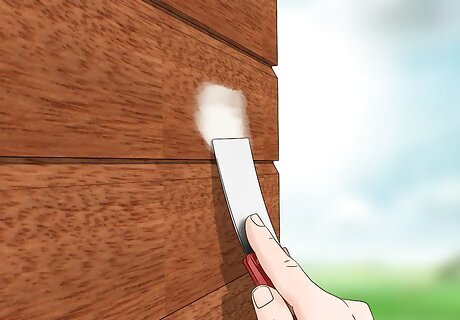
Fill the siding holes with wood filler. Use a putty knife to force the filler inside the hole, making sure to fill in the hole and to completely cover the opening. Scrape away any excess with the putty knife when you’re done and allow it to air dry. Epoxy putty is a commonly recommended wood filler for use in repairing woodpecker damage. Overfill the entire hole in your siding when applying the filler; it’s critical that you leave no void uncovered, and excess putty is easily removed. Make sure you fill the holes in your siding on a day with good weather, so the filler has enough time to air dry.
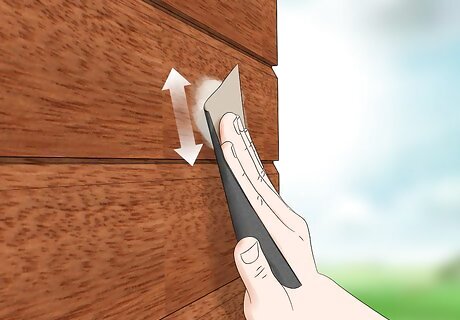
Sand the filler down to even level with the undamaged wood. Wait until the filler is completely dry, then use coarse sandpaper to sand it down to fit with the rest of your siding. You should be able to run your fingers over your original and damaged siding and feel only a slight difference between them.
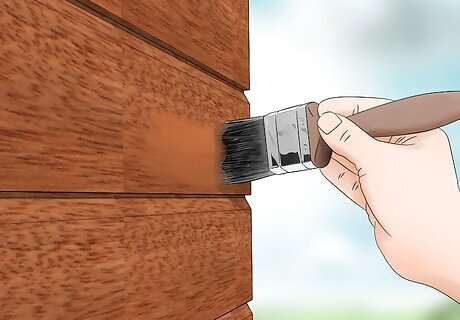
Paint over the filler to match the undamaged siding. Clear away any leftover sanding dust from the wall, then paint over the filled area in the same shade as the surrounding cedar. Make sure you do this on a day with sunny weather, so that the paint dries quickly after you finish.
Repairing Large Holes
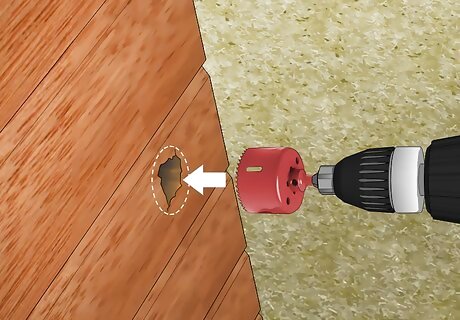
Use a hole saw to cut a circular hole over the damage. If the woodpecker hole is 2 inches (5.1 cm) or larger in diameter, it will require a bit more work. Cut a circular or square-shaped hole to make the repair work easier. Be sure to remove wood pieces and detritus from the hole you’ve just created before proceeding.
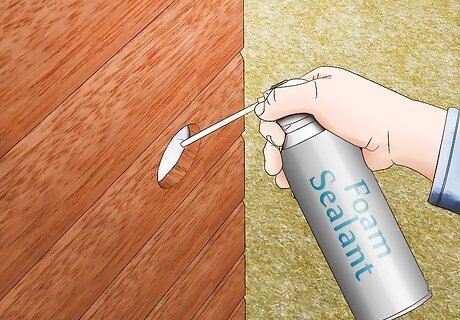
Fill the hole with foam sealant. With larger holes, you’ll need to make sure you add insulation in the back to create a nice weatherproof seal. For best results, use a sprayable foam with minimal expansion. Don’t fill the entire hole with foam; leave about an inch of depth that your patch will go over. It’s critical that you add sealant to the hole to avoid the patch you place over it from falling into it.
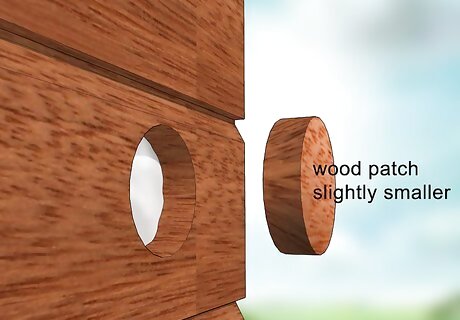
Cut a patch out of plywood slightly smaller than the hole. The patch will need to fit snugly into the hole, so cut it just slightly smaller in diameter. Be sure to cut a piece with the right depth to match the hole. Your patch can also be made out of ordinary lumber, though plywood is often recommended. If the diameter of the patch is too large at first, use sandpaper to sand it down to an appropriate size.
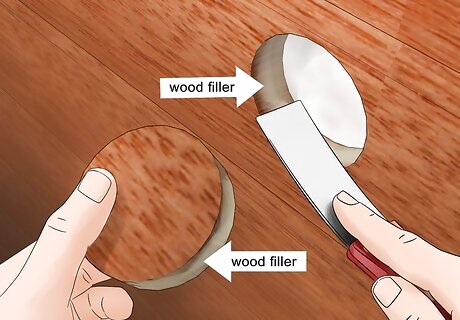
Use wood filler to place the patch inside the hole. Place wood filler around the edges of both the patch and the hole, and fit the patch into place. Scrape off any excess wood filler. This can be the same wood filler used to repair smaller holes. Don’t worry if the patch slightly juts out from the hole; this is easily repaired.
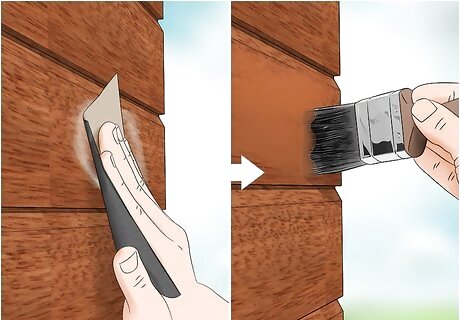
Sand over and paint over the patch to match the rest of the siding. Clear away any sanding dust from the wall, then paint over the filled area in the same shade as the surrounding cedar. Make sure you do this on a day with sunny weather, so that the paint dries quickly after you finish.
Preventing Future Woodpecker Damage
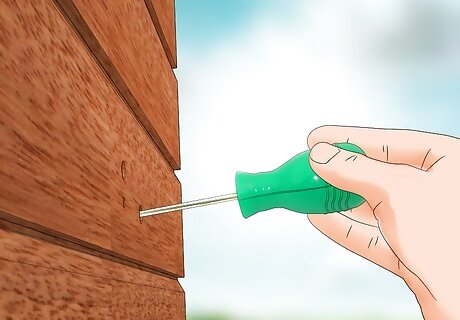
Eliminate any insect infestations in your wood. This is the most important step in woodpecker deterrence. Although woodpeckers drill holes in wood for a variety of reasons, they will be more likely to do so in your home if there is food readily available. To treat a carpenter ant infestation, locate the ant nest and fill the entrance with a dust insecticide to kill all the ants and the egg-laying queen. To get rid of carpenter bees, locate the small holes they’ve bored into your wood and hang traps directly over them. You can also use dust insecticide to fill the holes and kill any eggs that have been lain.
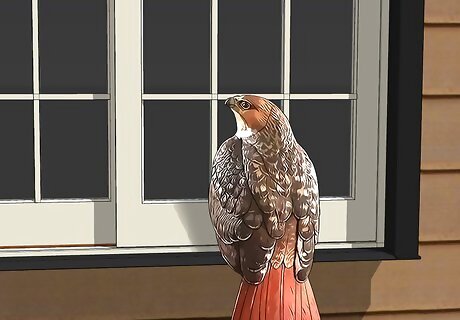
Hang ceramic predators and shiny objects on your structure. Visual deterrents can be an ever-present means of frightening woodpeckers away from your cedar siding. Hanging ceramic animals and reflective objects on your siding will make woodpeckers think a predator is nearby. Prowler owls and hawks with reflective eyes are particularly effective at warding off woodpeckers, as these are their natural predators. Hang aluminum foil or brightly colored strips of plastic along your siding for a low-cost visual deterrent.
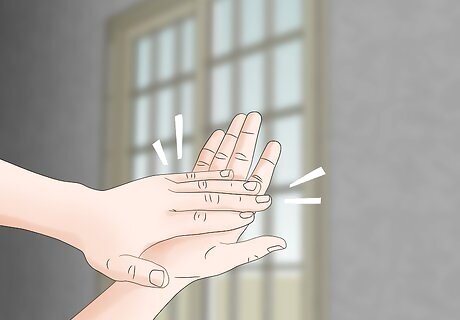
Fright woodpeckers away with loud noises. After being repeatedly greeted with loud, jarring noises, woodpeckers will eventually learn not to drill holes in your siding. Hand-clapping, firing toy pistols, and banging garbage can lids can all be used to frighten away woodpeckers. If your structure is in an area with neighbors living close by, consider getting their blessing first before using loud noises to deter woodpeckers, or rely solely on visual deterrents. Unless you’re physically available to make jarring noises nearly every time the woodpecker shows up, this method will probably not be as effective as using visually frightening objects.
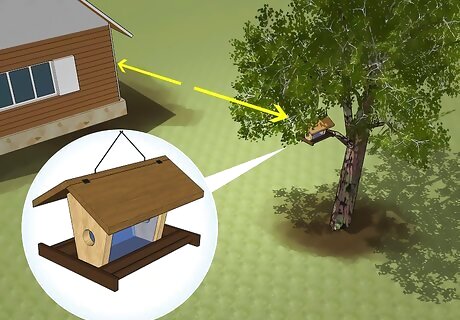
Use suet or bird feeders to lure woodpeckers away from your structure. You may be able to prevent woodpecker drilling in your cedar siding by offering a tempting alternative at a distance from your structure. Place bird feeders near trees or other wooden structures to encourage woodpeckers to take up residence elsewhere. Though you can use a normal bird feeder, you’ll probably have more success using suet, a high-calorie bird food. Every few days, place your feeder further and further away from your structure until the woodpeckers stop drilling in your siding. Check on your suet every so often and make sure squirrels are not eating from it as well.


Comments
0 comment