
Making the PNG file of an image without background

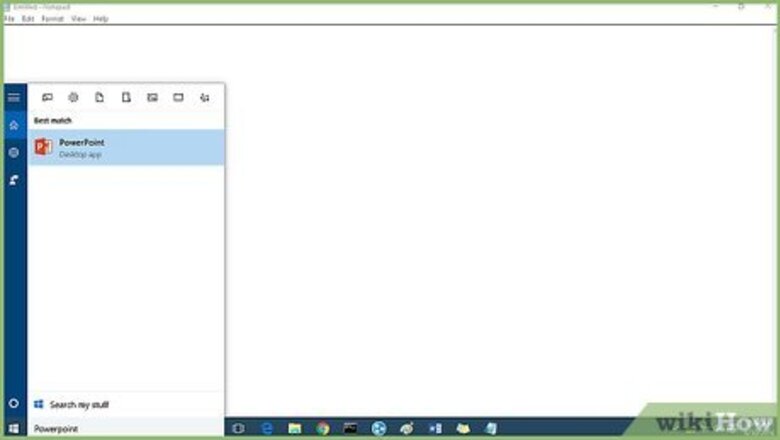
Start PowerPoint.
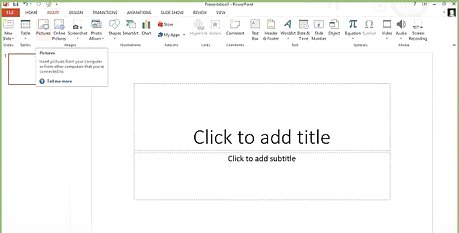
Click on Insert -> Picture -> The Picture You Want To Edit.
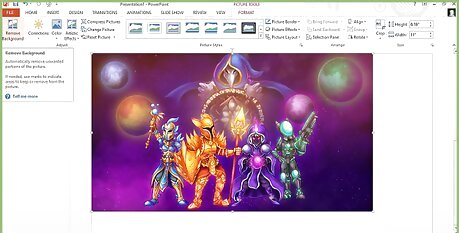
Click on Format -> Picture -> Remove Background.
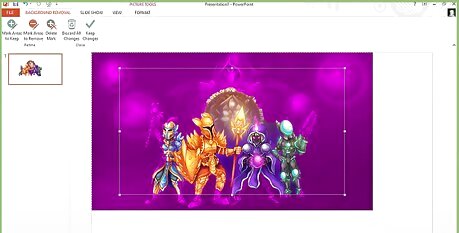
Adjust the frame around the picture for a tight crop around the areas you want to keep. Purple areas are to be removed. Other areas are to be kept.
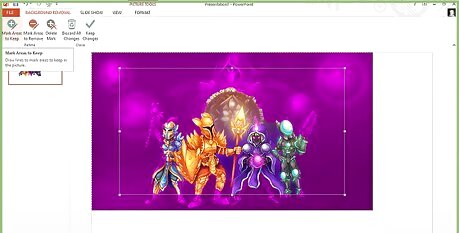
If the automation missed areas you want to keep, click on "Mark Areas To Keep." Drag the "pencil marker" to the first "missed area." Press down on the left "mouse click" and drag the "pencil marker" over the first area you wish to keep that was missed. PowerPoint will make adjustments to the photo. As a result of these adjustments, you may make additional edits. Repeat as needed for other areas.
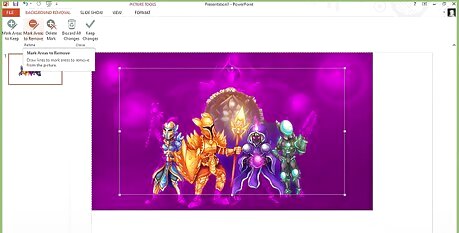
If there are areas you do not wish to keep, click on "Mark Areas To Remove." Drag the "pencil marker" to the first area to remove. Press down on the left "mouse click" and drag the "pencil marker" over the first area you wish to keep that was missed. PowerPoint will make adjustments to the photo. As a result of these adjustments, you may make additional edits. Repeat this step and the previous step as needed.

Enlarge the image to "fine tune" your photo.
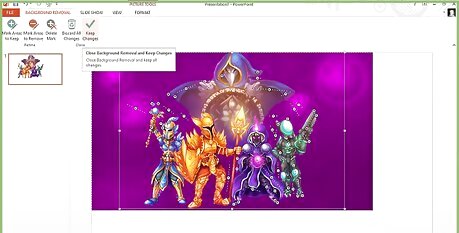
Click on Keep Changes.
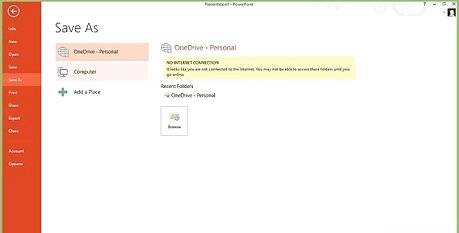
Save Your PowerPoint File.
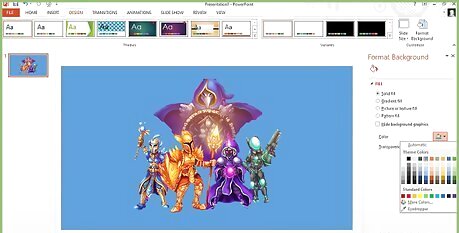
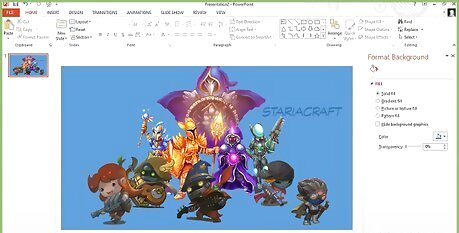
Change the background color of the PowerPoint page to blue and check your image against the blue background. You may see an additional change to make with the different background.
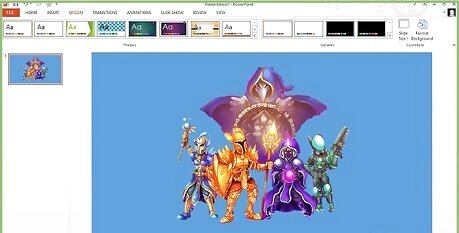
Save Your PowerPoint File.

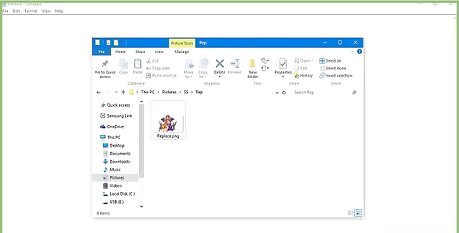
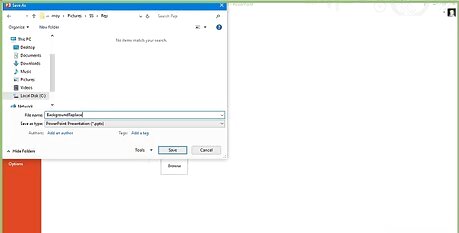
Click on the Image with your "right mouse key." Click on "Save As Picture." Supply file name and folder to place photo in. You will save a PNG Image with no background.
Exit PowerPoint and Reenter and open your file. Sometimes the save process does not work perfectly and you may need to re-edit parts of the image and save both the PowerPoint and the PNG file.

Done. You now have a PNG file of your image with no background.
Adding the image to projects
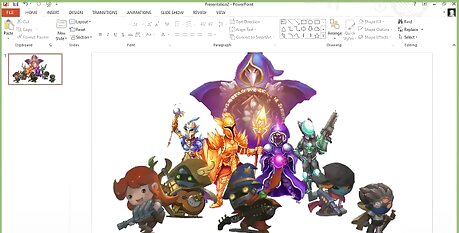
Make a collage. If you want to make a collage you may repeat the above steps as many times as desired with each image to include in your collage. Hint: Use a separate PowerPoint file for each image. It will be much easier to work with just one image per file.
Add captions, etc. Load all of your images into a new PowerPoint file with the background you desire along with your new background photo (or you may simply use a blue, green, black or other desired color as your background). You may also add WordArt to your photo for Captions, etc.
Save the new PowerPoint file.

Save the finished product. Once you have a photo you like, you may print it or save it as a .jpg photo. JPG photos may be uploaded to Facebook, emailed, printed at your local pharmacy, etc.


Comments
0 comment