views
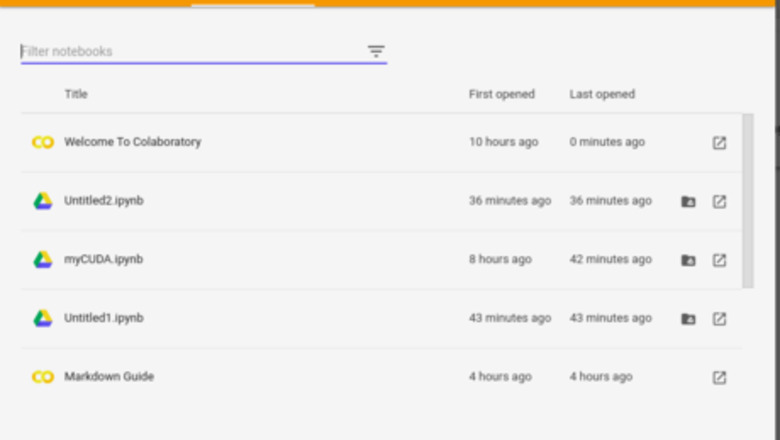
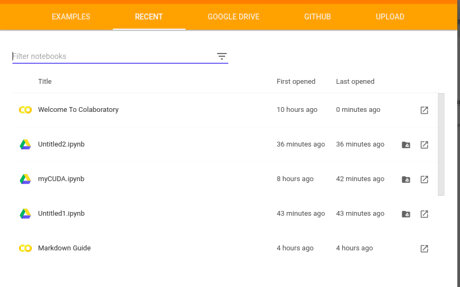
Create a new Notebook. Click: here.

Click on New Python 3 Notebook at the bottom right corner of the window.

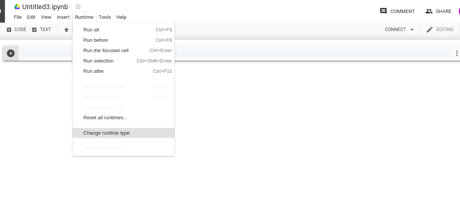
Click on Runtime > Change runtime type.

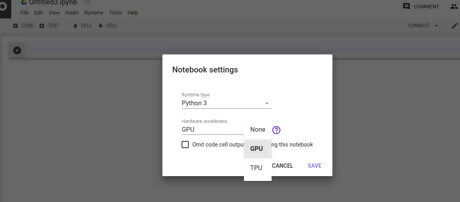
Select GPU from the drop down menu and click on Save.
Uninstall any previous versions of CUDA completely. (The '!' added at the beginning of a line allows it to be executed as a command line command.) !apt-get --purge remove cuda nvidia* libnvidia-* !dpkg -l | grep cuda- | awk '{print $2}' | xargs -n1 dpkg --purge !apt-get remove cuda-* !apt autoremove !apt-get update
Install CUDA Version 9. !wget https://developer.nvidia.com/compute/cuda/9.2/Prod/local_installers/cuda-repo-ubuntu1604-9-2-local_9.2.88-1_amd64 -O cuda-repo-ubuntu1604-9-2-local_9.2.88-1_amd64.deb !dpkg -i cuda-repo-ubuntu1604-9-2-local_9.2.88-1_amd64.deb !apt-key add /var/cuda-repo-9-2-local/7fa2af80.pub !apt-get update !apt-get install cuda-9.2
Check your version using this code: !nvcc --version This should print something like this: nvcc: NVIDIA (R) Cuda compiler driver Copyright (c) 2005-2018 NVIDIA Corporation Built on Wed_Apr_11_23:16:29_CDT_2018 Cuda compilation tools, release 9.2, V9.2.88
Execute the given command to install a small extension to run nvcc from Notebook cells. !pip install git+git://github.com/andreinechaev/nvcc4jupyter.git
Load the extension using this code: %load_ext nvcc_plugin
Execute the code below to check if CUDA is working. To run CUDA C/C++ code in your notebook, add the %%cu extension at the beginning of your code.
%%cu
#include


Comments
0 comment