
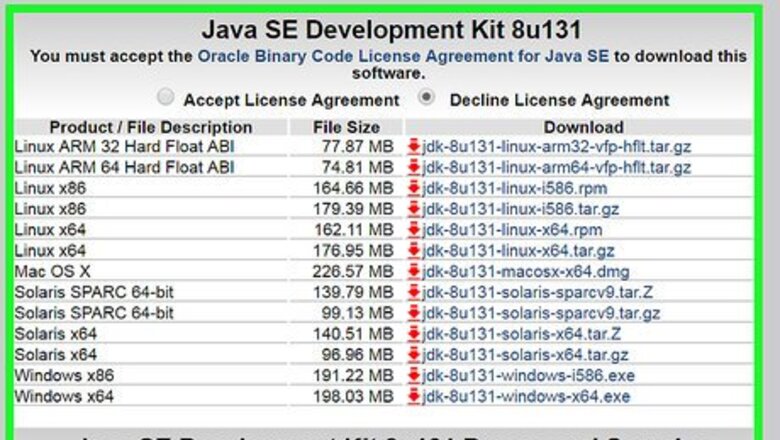
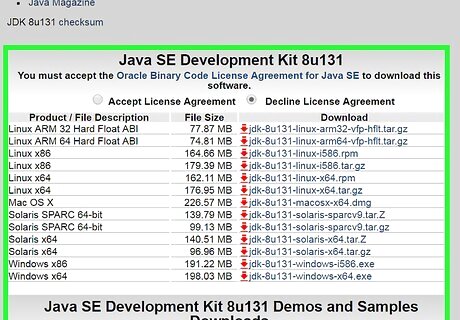
Download and install the Java Development Kit(JDK) from the Oracle website. Be sure that you aren't downloading the JRE downloads in place of the JDK download.
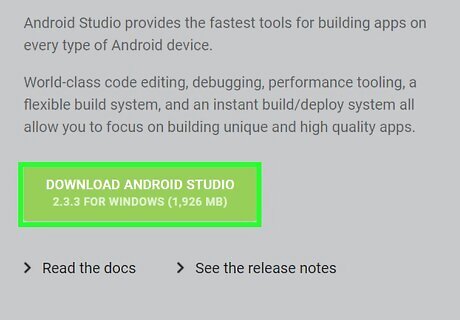
Download and extract (it's a ZIP file) the Developer's app (SDK) so the computer can detect your Android device. It can be found on the Android Developer portal. Note the folder path to which the program is being installed to, as this will contain the file to the program you'll need to take the screenshots with. If you didn't change the folder path, it'll have been sent to "C:\Program Files (x86)\Android\android-sdk ".
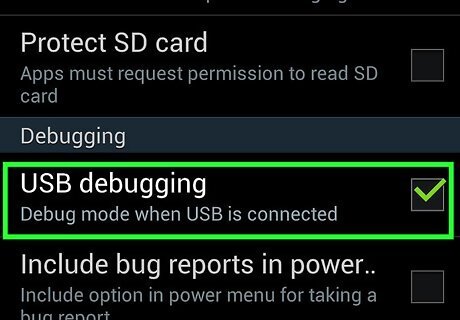
Enable USB debugging on your phone.
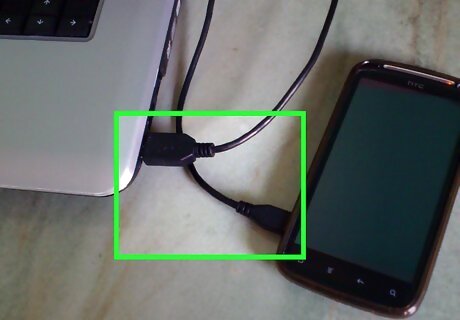
Plug in your phone with your USB cord. Remember to plug the cord into your phone, as well as plugging the other end into the computer.
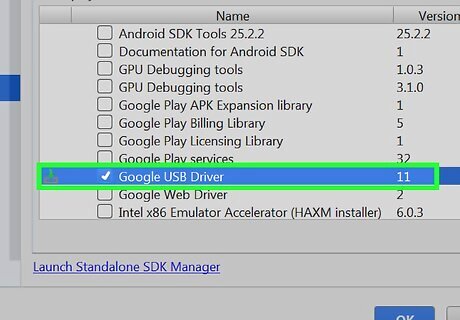
Install the drivers for your phone onto your computer. Drivers are files that tell your computer what is connected and how to make it work with your computer. If the drivers have been previously installed, you may skip down to the next step.
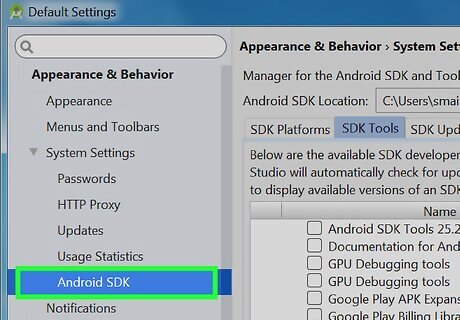
Open the Android SDK Manager program. Install the "Android SDK Platform-tools" item. This is the ADB file the computer will need to grab the images from the phone.
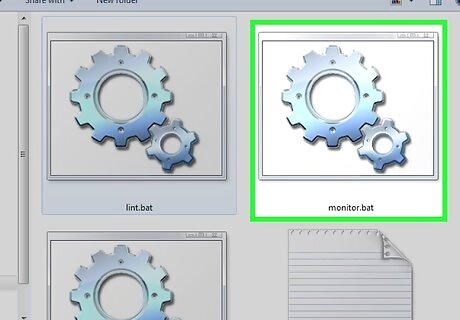
Open the Android Debug Monitor that is stored as the "monitor.bat" file in the folder for the SDK marked down earlier. This is the program that will help you take the screenshots of your screen. Browse through to find the folder marked "Tools". Find and double-click the file called "monitor". This file is a self-executable/runnable file. Ignore any errors the debugger encounters, temporarily.
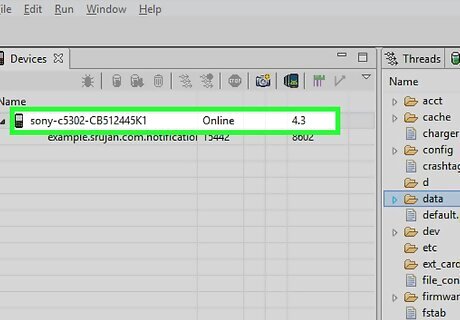
Single-click your device's name from the left hand column, when your device "Connects".
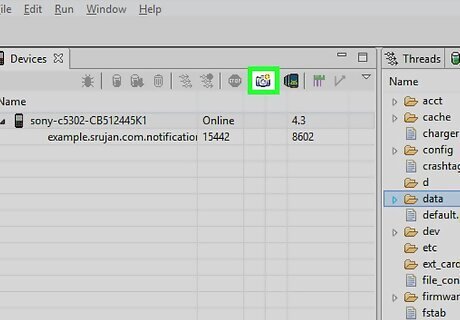
Click the "Screen Capture" box. There's also another quicker keyboard shortcut that will get you there a bit sooner. This shortcut is accessed when you press Ctrl+S together.
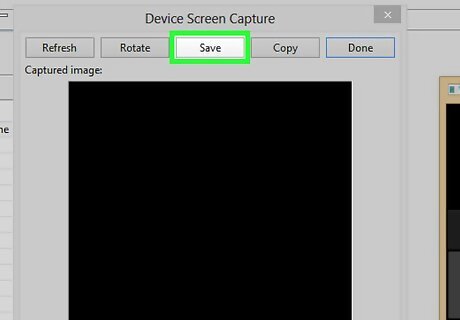
Save your file. Click the Save button, and follow the prompts when it asks you for a file name.


Comments
0 comment