views
Using the Door Switch
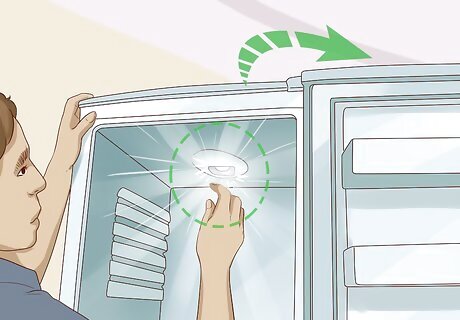
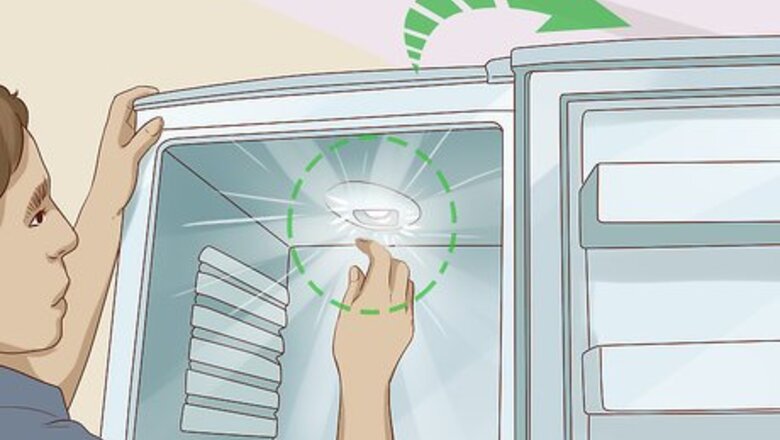
Open the freezer door and look for light. If your freezer is equipped with an internal light bulb, it should turn on when you open the door. If it doesn’t, the problem may be that the freezer isn’t getting power, rather than an issue with the evaporator fan motor. Make sure the freezer is plugged in tightly. If you don’t think power is reaching the freezer, check the breaker or fuse that powers that room of the house.
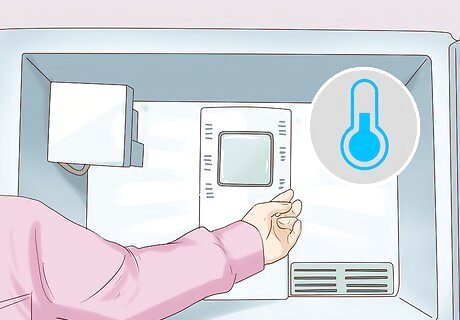
Feel for cold air in the freezer. If the evaporator fan motor stops working, your freezer will begin to defrost. Open the freezer door and feel for cool air with your hand. If the freezer isn’t working, you should be able to tell quickly. If the freezer is cold, there likely isn’t an issue with the evaporator fan motor. Most freezers don’t run the evaporator fan motor when the door is open, so if the fan does work, it will turn off when you open the door. Check the temperature setting on the freezer to be sure it’s on cold.
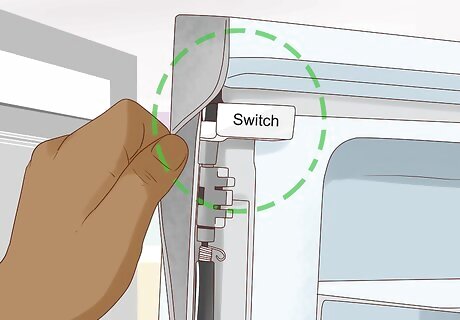
Find the freezer door switch. Your freezer will have a switch that is pressed by the door itself as it closes. As the door opens, the switch depresses, turning on the light and turning off the evaporator fan motor. Look around the door frame of the freezer to find the switch. The switch will likely be the same color as the interior of the freezer. You can usually find the switch low on the frame of the freezer door.
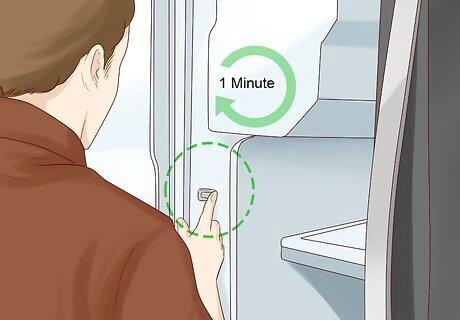
Press and hold the switch for a minute. The freezer light should turn off and the evaporator fan should kick on after a few seconds. If it turns on, you should be able to clearly hear the electric motor activate and then a low hum from the fan spinning. If the fan motor does not turn on while you hold the switch, the motor is probably bad. If you can hear the fan motor running but the freezer isn’t cold, the issue likely is not with the evaporator fan motor.
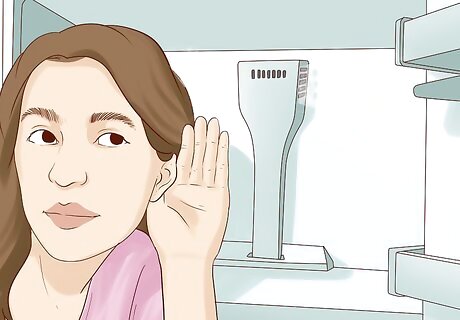
Listen for a squeal or chirp sound. If the evaporator fan motor is going bad, it may still run while making a high pitched sound that may come and go. If you hear that sort of sound, something may be caught in the fan blades or the motor may be dying. If you hear a high pitched sound, you will need to remove the rear panel to gain access to the fan motor. The condenser is usually not located at the back of the freezer, so the evaporator fan motor should be the only thing making noise behind the rear panel.
Accessing the Fan Motor
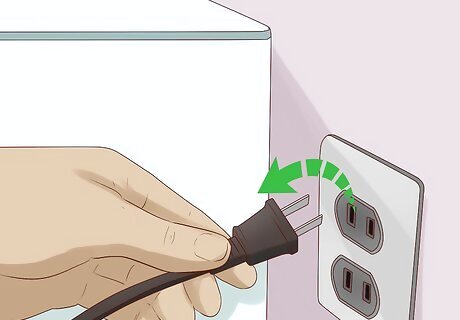
Unplug the refrigerator. The evaporator fan motor is an electronic component, so you’ll need to make sure there’s no power running to it before you do any kind of work on it. In order to unplug the freezer, you may need to slide it out away from the wall to gain access to the outlet behind it. If you can’t access the outlet, you can shut off power to that room using the breaker or fuse box for the house. Failing to shut off the power could result in serious shocks or burns.
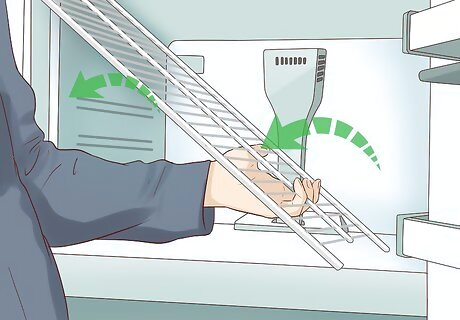
Pull all of the shelving from the freezer. Once you have the screws out of the rear panel, it will probably slide out in one piece, which means everything will have to be out of the freezer for you to be able to remove it. Removing the shelves will also give you more room to work. If any mounting hardware comes out with the shelves, make sure to set it aside somewhere safe to reuse when you put the shelves back in.
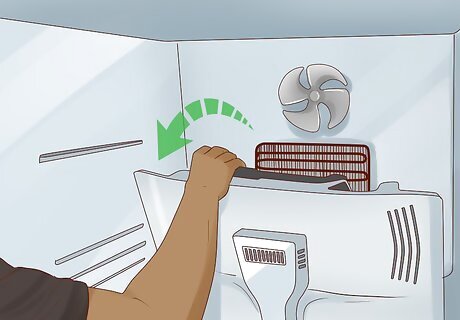
Remove any air ducts mounted on the rear panel. The evaporator fan motor is located behind the rear panel of the freezer, but before you can access that panel, you’ll need to unscrew the hardware holding any air ducts in place on the back of the freezer, and then slide them out. Set the ducts and mounting hardware aside someplace safe. In most freezers, you can remove the ducts using a Phillips head screwdriver.
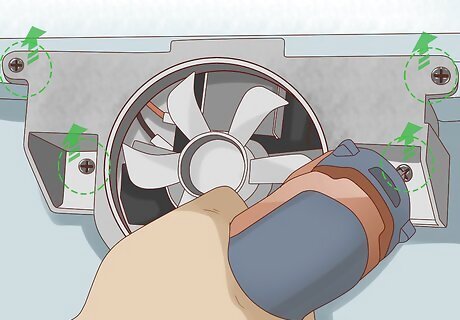
Take out the panel screws. With the ducts out of the way, you should be able to see the screws holding the rear panel in place. Use a screwdriver to pull out each screw, then set them aside someplace safe. Most freezers use a Phillips head screws to secure the rear panel, but in some you might need to use a socket wrench. There are usually at least four screws holding the panel in place, though they may be located in different parts of the panel in different freezers.
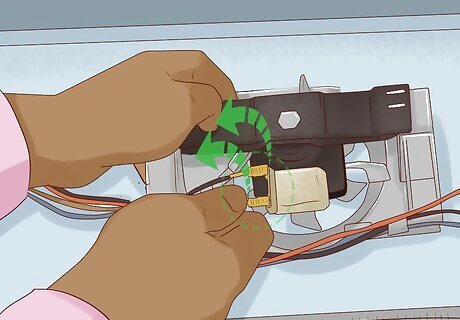
Disconnect the fan motor wiring. In freezers where the fan motor is attached to the panel rather than the back of the freezer, you’ll need to just lay the panel down inside the freezer so you can access the wiring that goes to the fan. If it’s not, you’ll be able to disconnect the wiring after you remove the rear panel entirely. There should be a few inches of slack in the wire to let you access it.
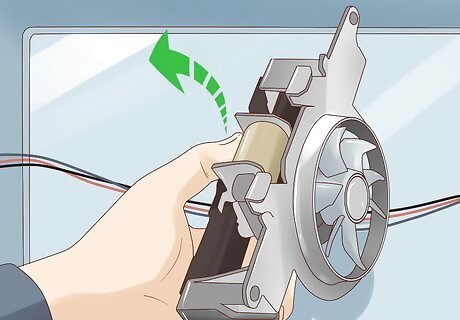
Slide the rear panel out of the freezer. The whole panel should come out as one piece, though it may seem a little stuck at first. If the panel doesn’t come off fairly easily, look around to see if you missed any screws that are still holding it in place. Set the panel aside somewhere safe until it’s time to reassemble your freezer. Don’t be forceful with the panel as you pull it out, as you may bend it.
Eliminating Possible Issues
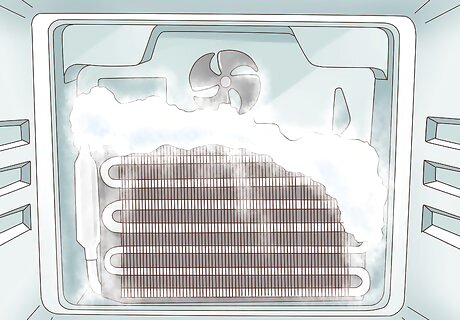
Look for frost on the coils. If you remove the rear panel of the freezer to gain access to the evaporator fan motor and find that the coils below the fan are completely frozen over, the fan motor may be fine and your issue may be something else. If you find frost over all the coils, leave the refrigerator unplugged for 24-48 hours to thaw and then plug it in again. If the freezer works again after it’s been thawed, the problem is not the evaporator fan motor. Other issues it could be include a stuck condenser fan or a bad relay. You may need a certified technician to address those problems.
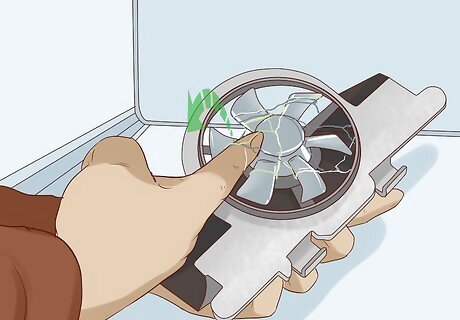
Clear everything away from the fan blades. If something gets stuck in the evaporator fan motor’s blades as it spins, it can stop the motor and potentially damage it. Look for any signs of string or plastic caught in the blades. If you find something wrapped around the fan blades, remove it, then turn the power on to the freezer again. Hold the freezer door switch down and see if the fan comes on. If it doesn’t, it will need to be replaced.
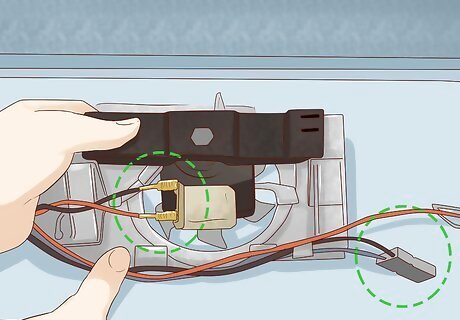
Locate the wires leading into the fan motor. While there may be a number of wires going into the rear panel of your freezer depending on its model, there will be only three wires going to the evaporator fan motor itself. Two of the wires will be together, while the third (the ground) will be separate. These wires may be going into the same plug harness. The color of these wires may vary from freezer to freezer.
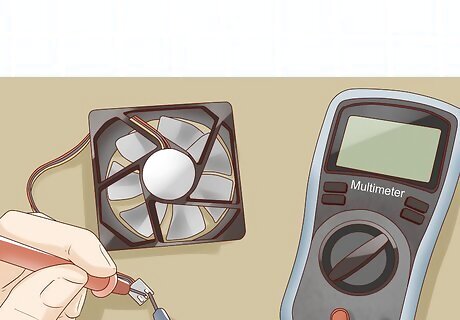
Use a multimeter to check the electrical resistance of the motor. Plug the probes from the multimeter into the two wires you identified coming out of the evaporator motor together, then turn the multimeter on and set it to resistance, or Ohms. Mark down the reading on the multimeter, then compare it to the resistance reading the evaporator motor should have. You can find the correct resistance specifications for the evaporator motor in the owner’s manual, an application specific repair manual, or on the manufacturer’s website. If the reading doesn’t match the manufacturer’s specifications, the evaporator motor needs to be replaced.


Comments
0 comment