views
- Brush over the entire device with a soft-bristled brush and soft cloth or tissue to get rid or dirt and wax on the surface.
- Use earwax picks and vent cleaners to remove wax from receiver ports and vents.
- Store hearing aids in dry, cool places to prevent moisture buildup.
- Clean hearing aids daily to prevent wax buildup and remove any moisture that can cause damage.
Cleaning ITE (In-The-Ear) Hearing Aids
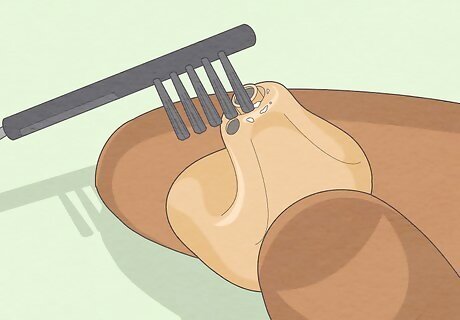
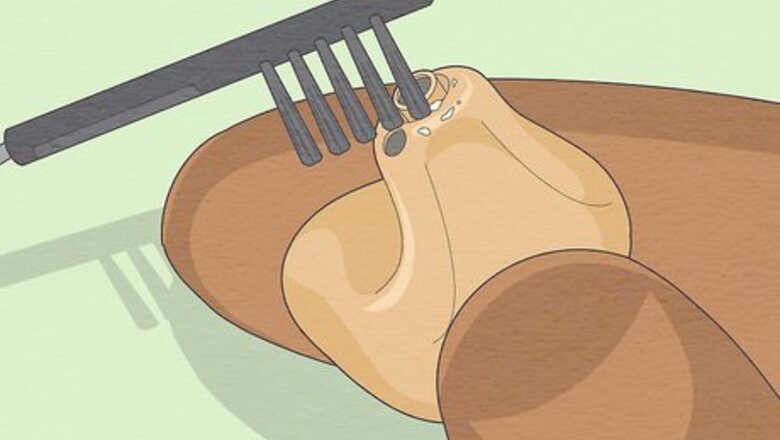
Brush over the surface of the hearing aid to remove dirt and wax. Using a wax removal brush, which is a soft-bristled brush used to remove surface wax and dirt, thoroughly brush over the receiver opening, the microphone opening, the battery compartment, and any volume adjustment dials or other buttons to remove built up wax and dirt. You can also use a soft-bristled toothbrush for this step. Never stick anything in the microphone opening, such as a piece of wire or a toothpick. This can cause serious damage to the microphone.
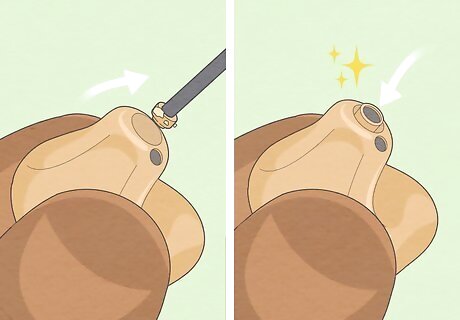
Change out the wax guard when it becomes clogged. If you notice your hearing aid’s performance going down, it may be because the wax guard, a miniature plastic screen that keeps wax out of the receiver, has become clogged by earwax. You can use a wax guard changer to replace the old wax guard. Insert the prong of the wax guard changer into the old wax guard to pull it out, then flip the tool over and stick in the side that has a clean wax guard attached to it. When you pull the tool out, the new wax guard should stay in place.
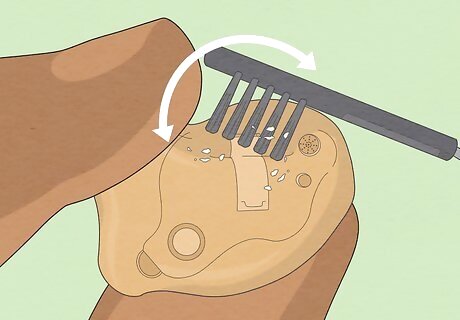
Scoop out earwax from the receiver using a wax pick. A wax pick, or wax loop, is a small tool used to remove wax from small openings in the hearing aid. In the case that your hearing aid does not come with something like a wax guard to keep earwax out of the receiver, use the wax pick to clean out any wax buildup. Insert the pick into the receiver until you meet resistance, then scoop back out. Repeat until the opening is totally clean of wax. Always be gentle when cleaning out the receiver. While it’s okay to stick in the wax pick to clean it, too much force will damage your receiver.
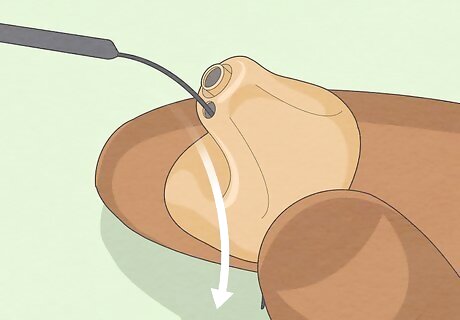
Thread a vent cleaner through the hearing aid vent to clean out wax. A vent cleaner is a long, thin wire that is threaded through the vent in the hearing aid to remove any wax buildup. If there is a vent in the hearing aid that goes from top to bottom, simply stick the vent cleaner in one end and pull it out through the other to punch out any wax or dirt that might have built up. Any piece of thin, flexible wire that you have can also work to clean out the vents.
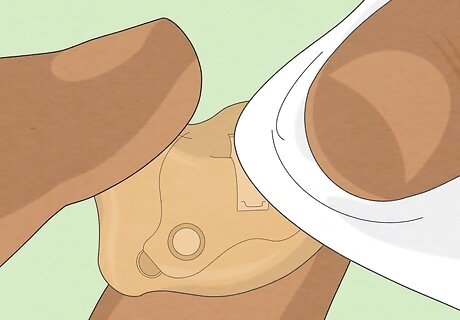
Wipe the outer surface of the hearing aid with a soft cloth or tissue. Go over the entire outer surface of the hearing aid one last time with a soft, dry cloth to remove any last stubborn bits of dirt, debris or excess moisture. Do not wipe the hearing aid with anything rough, like a washcloth or sponge. Something like a microfiber cloth, like the ones you use to clean glasses, is recommended.
Cleaning BTE (Behind-The-Ear) Hearing Aids
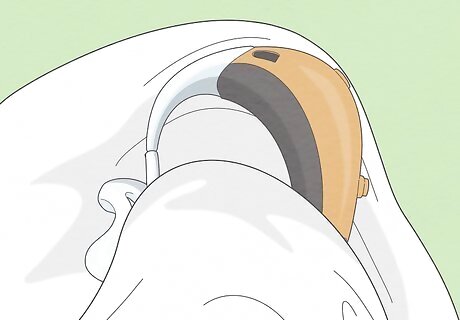
Wipe off the entire hearing aid with a soft, dry cloth. Start off the cleaning process by getting rid of any surface grime or wax with soft and dry cloth. Be gentle when handling the hearing aid, and never use a damp or wet cloth for this step. Using something like a soft tissue or a microfiber cloth is recommended for this step.
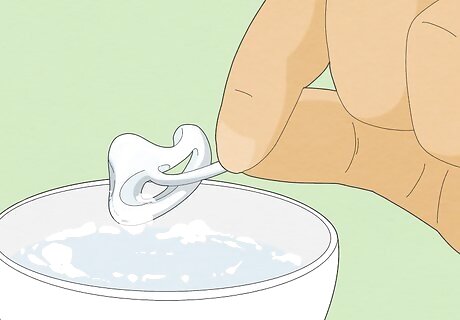
Remove the earmold and tubing and wash them in warm, soapy water. There are no electrical components in the ear mold, so it is safe to wash in water. Before washing, you can also go over this piece with a soft-bristled brush to remove any loose dirt or wax on the surface.
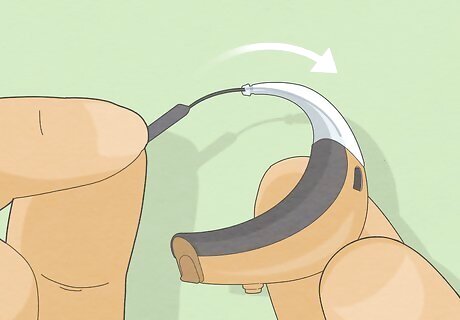
Clean out the vents and receiver. Insert a vent cleaner into one end of the opening and pull out through the other to punch out any built up earwax or dirt. Then use a wax pick, which is a tool used to scoop wax and dirt out of small openings in the hearing aid, to get out wax from the receiver port. A vent cleaner is a thin, flexible piece of wire. Any wire that you have that is similar in shape and flexibility can be used in place of an official vent cleaner. Never stick the wax pick or vent cleaner in the microphone port, since this can damage the microphone.
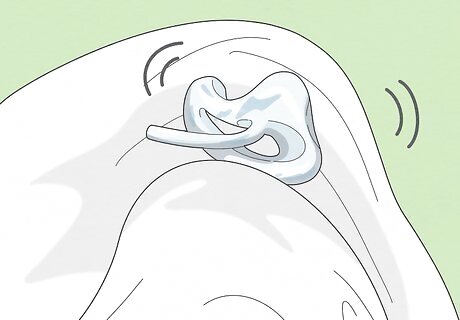
Thoroughly dry the earmold and tubing before reattaching to the hearing aid. Make sure there is absolutely no moisture left on these parts before you reattach them, since the water will damage the hearing aid. Carefully dry the earmold with a cloth and let it sit overnight to dry. Use a bulb blower to blow out any water droplets from the tubing.
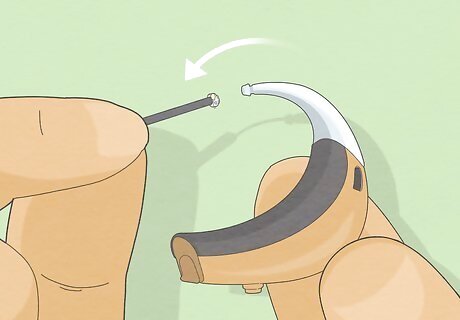
Replace the wax guard. The wax guard is a plastic film that keeps wax from building up in the device’s receiver ports, and must be replaced from time to time as wax builds up inside. Using a wax guard changer remove the old wax guard using the tool’s prongs and insert the new wax guard located on the other end of the tool. How often you do this simply depends on how quickly your wax guard becomes clogged, so this doesn’t need to be done every single time you clean your hearing aid.
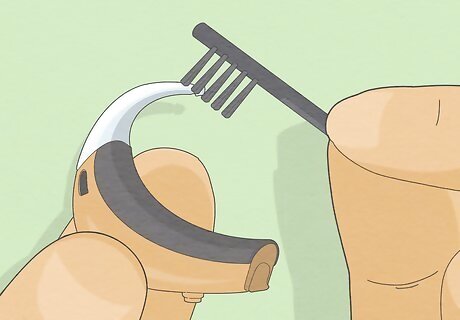
Brush the entire hearing aid to knock off dirt and wax. Using a wax removal brush, which is a soft-bristled brush, brush over the entire hearing aid. Make sure to go over the microphone ports, any volume buttons or other push buttons, and inside the battery compartment. Something like a soft-bristled toothbrush can also be used here.
Cleaning RIC (Receiver-In-Canal) Hearing Aids
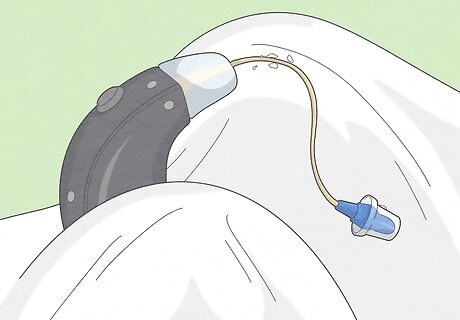
Wipe down the hearing aid with a soft cloth or tissue. Do an initial wipe-down of the entire device using something soft, like a tissue or microfiber cloth, to get rid of any initial dirt or wax build ups.
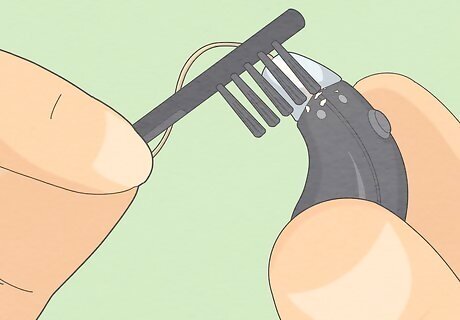
Brush over the entire device to remove surface dirt and wax. Using a wax removal brush or something like a soft-bristled toothbrush, gently sweep away any dirt or dried wax that has built up on the outside of the device. Make sure to brush over the microphone ports, inside the battery compartment, and around any push buttons or dials that may be on the device.
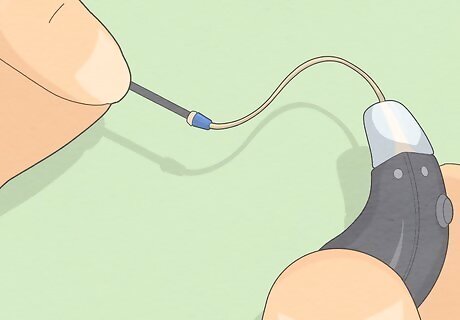
Replace the old wax guard for a new, clean one. The wax guard is a plastic film that keeps wax out of the hearing aid’s receiver and can become clogged with wax after a while. These can be replaced using a wax guard changer. Use the prongs on the end of a wax guard changer to pluck out the old wax guard. Flip the tool around and then insert the new wax guard. It should stay after you gently pull out the tool.
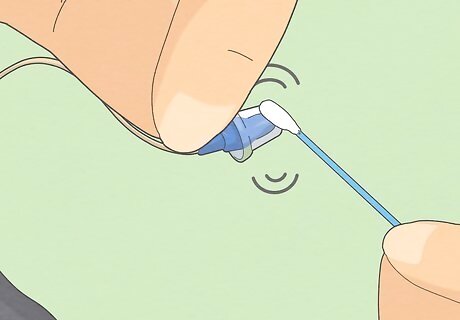
Remove wax from the dome. The dome is the silicon cover that goes over the portion of the hearing aid that actually goes in your ear canal. Detach this cover from the hearing aid and push a vent cleaner, or any thin piece of wire you have, through the tip to get out any wax. Go over the dome with a tissue or alcohol swab to wipe off any surface dirt and wax as well. You can just replace the dome with a new one if it becomes too worn or misshapen, or if there’s a buildup of wax that you just can’t get out.
General Cleaning Tips
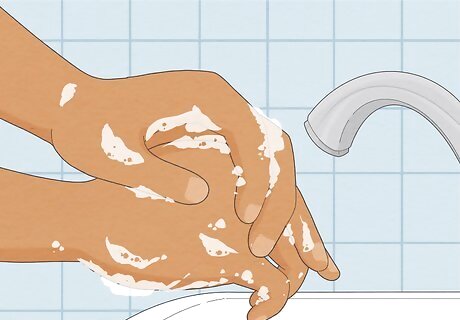
Wash your hands before handling your hearing aids. To prevent any more dirt and grime from getting on your hearing aids, make sure you always handle them with clean hands.
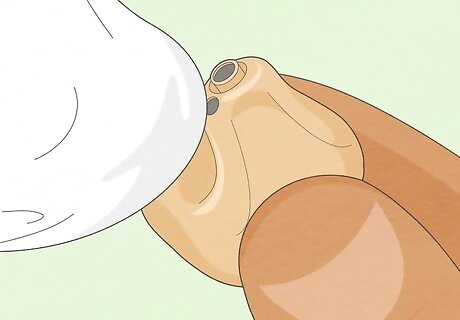
Wipe the hearing aid off every time it is removed from the ear. Using a soft tissue or a dry cloth, wipe across the outer surface of the hearing aid to get rid of any ear wax, dirt, or moisture that may have accumulated while wearing them.
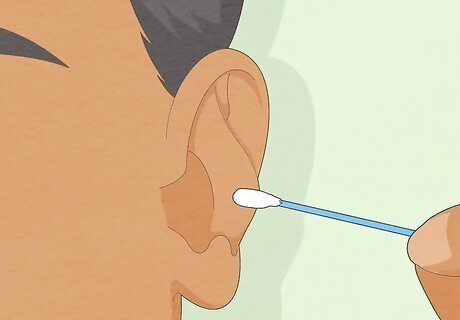
Regularly clean the ear canal to prevent wax buildup. You can prevent having to do a deep cleaning of your hearing aids by keeping your ear canals clean of earwax. This doesn’t mean you won’t need to clean your hearing aids at all, but it will certainly be helpful in preventing huge buildups of earwax on the device.
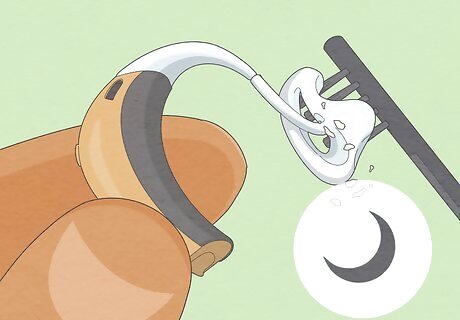
Clean wax out of hearing aids every night. Make a good habit of cleaning earwax out of your hearing aids every night even if there isn’t a huge buildup. Use a wax pick to clean out the receiver tube and hearing aid vents, which are small ports next to the larger receiver (loud speaker) port. Use a soft-bristled brush to get rid of any wax that is dry and flaky The wax will be softer at the end of the day when you’ve just taken your hearing aids out, and so will be a lot easier to remove with something like a wax pick or loop. When brushing off wax, hold the hearing aid upside down so the wax doesn’t fall back into the area you just cleaned.
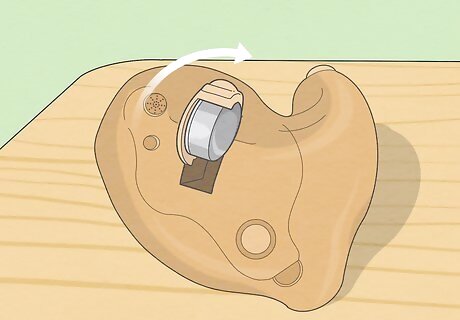
Leave hearing aids out in open air with battery doors open overnight. To prevent your hearing aids from being damaged by moisture, leave the devices sitting out in the open air so they can completely dry out. You can also use dry-packs when storing them in a container to keep the moisture away. You can also consider purchasing a special storage case that will dry and dehumidify your hearing aids.
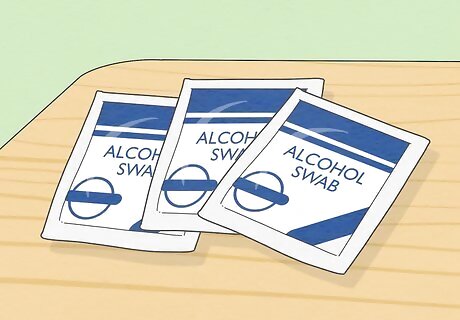
Use an alcohol swab to disinfect your hearing aids. To keep any nasty bacteria or germs from residing on your hearing aids, wipe over the device with a disinfecting alcohol swab. Do not use water or any other liquid for this step, since that will damage your hearing aid.



Comments
0 comment