views
Organizing a Money Clip
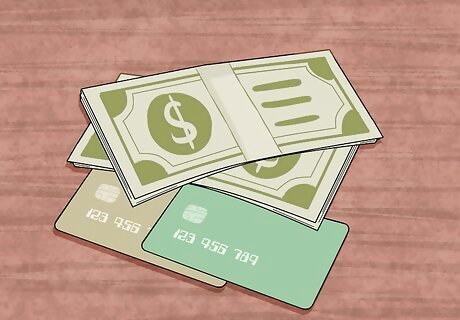
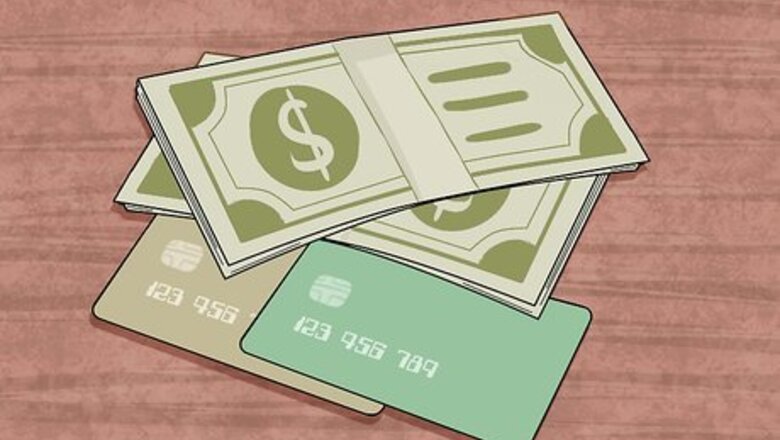
Learn the basics of using a money clip. Once you know how to use them, money clips offer an easy, convenient way to handle your money. If you've never used a money clip before, use the instructions below. In broad strokes, the process of using a money clip goes like this: Gather your paper bills and credit cards. Fold the bills in half. Push the bills (folded side first) into the clip. The prongs should hold them there. Slide the credit cards under the prong. Some money clips will also have a pocket or band to hold these. Put the money clip in your pocket. Some will let you attach the clip to the material of the pocket for easy access. When you want to use your money, you can either reach in and grab a bill or pull the whole clip out and go through it.
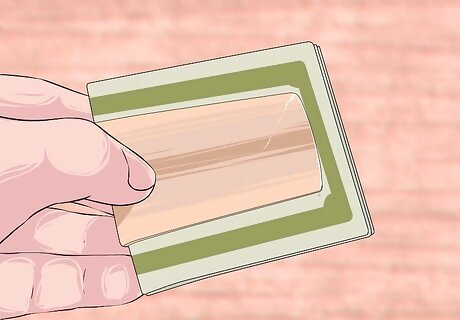
Stack your bills in order. In the rest of this section, you'll learn how to use your money clip like a pro. Start by grabbing your paper bills and making a small, neat stack from them. There are two schools of thought in terms of how to order them: For convenience, put the bigger bills on the bottom and the smaller bills on the top. This way, when you fold the bills over, it's easy to pull small bills out of the clip from the middle when you need to make everyday purchases. For security, put the smaller bills on the bottom of the stack. This way, you're advertising your smallest bills — a good idea for discouraging pickpockets.
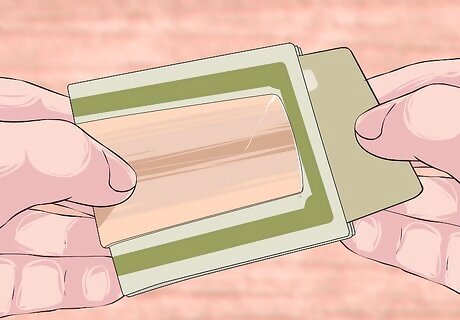
Slide your cash and cards into your money clip. Slide the folded stack of cash (fold first) into the clip. The pressure from the prongs should keep it in place. If you're using a plain money clip, slip your cards (ID, credit, and debit card) into the center of your folded cash first. Then, secure the clip around the entire mass (cash and cards). If you're using a money clip with an attached card holder, slip your cards (ID, credit, and debit card) into the card holder. Then, slide your cash into the money clip and fit it securely. If you're using a magnetic money clip, hold your credit cards somewhere else. The magnet can de-magnetize the cards' magnetic strips over time, ruining them.
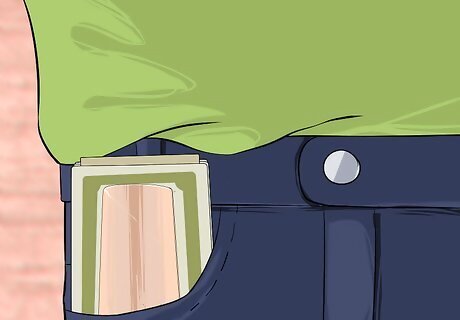
Slip the money clip into a pocket. Your money clip is ready to use. Now, you just need to decide where to carry it. You have a few options here: The front pocket of your pants provides easy access, but takes up space you might use for your phone, keys, and so on. The rear pocket of your pants can also be convenient, but it makes your clip a little more vulnerable to pick-pockets. Some people experience back pain from carrying things in their rear pockets (though this is worst with bulky wallets). The breast pocket of a coat or jacket provides a bit more security, as long as you can remember not to leave the jacket behind.
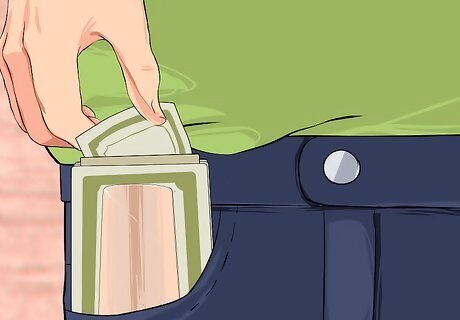
Pull money from the clip as needed. With a little practice, it shouldn't take long to learn how to slide individual bills from the clip. You can even do this without taking your clip out of your pocket if you remember the order you stacked your bills in. It's also fine to take out the clip, remove the folded wad of cash, and go through it to find the bills or cards you need.
Picking the Right Clip For You
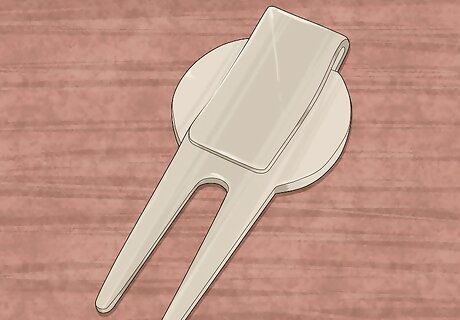
Try a basic two-prong model. Most money clips are based off this simple, functional design. These hold your money by squeezing it in between two metal or plastic prongs. They usually look a little like clothespins, big, fancy paper clips, or folded pieces of metal. These are the simplest but most elegant money clips. They don't offer as much storage space as other types, but their "classic" design can be quite attractive. High-end models may be made from precious metals or use materials like leather.
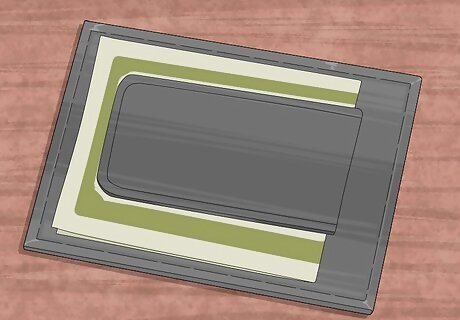
Try a money clip with a card holder. This is basically a small, square attached pocket where you can hold your credit cards. Storage size varies from model to model. These give you a little more storage than other clips, which is nice if you have more than one or two cards you need to carry around. However, these are also a little bulkier.
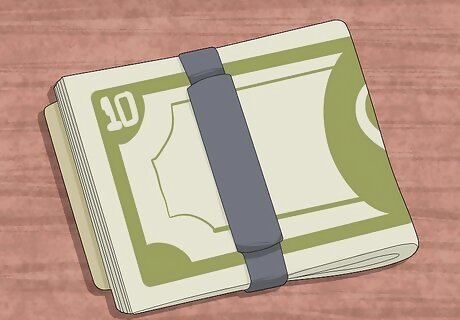
Try a money clip with a money band. This is a small band of elastic or fabric that wraps around extra money or cards. This feature is often (but not always) offered in addition to a card holder. These are great for holding odd-shaped items. Again, however, this feature makes the clip a little more bulky.
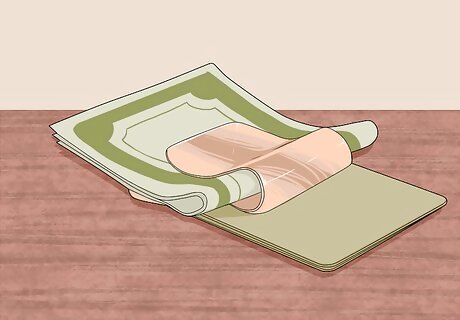
Try a double-sided money clip. Some money clips have an extra prong on the back side, giving you a second place to hold your money. The extra clip almost always works the same way as the first. These offer more storage space and only make the clip a little bulkier. However, carrying money or cards on both sides means you'll have to let the clip sit in your pocket unless you can slide your clothing fabric between the items and the prong.
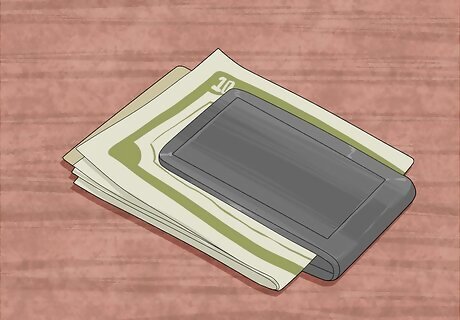
Try a magnetic money clip. These types of clips usually use two small magnets connected by a strap of leather or fabric. The magnets attract each other through the clip's contents to keep it shut. The main downside here is that these aren't good for credit cards. The magnets can damage the card's magnetic strip and render it unusable over time.
Switching from a Wallet to a Money Clip
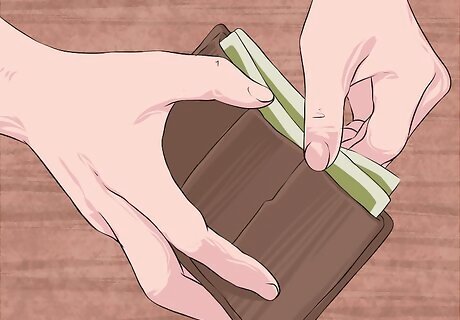
Narrow your wallet's contents down to the bare essentials. Money clips hold much less than a standard wallet, so you'll want to get rid of anything you don't need to have on you. As a general rule, you'll want to carry paper bills and a few important cards in your clip. You won't usually have room for much else. Be ruthless about what you carry over from your wallet. Throw away whatever you have no use for. Remember, the great thing about a money clip is that it's so slim. Stuffing it full of unnecessary things will negate this.
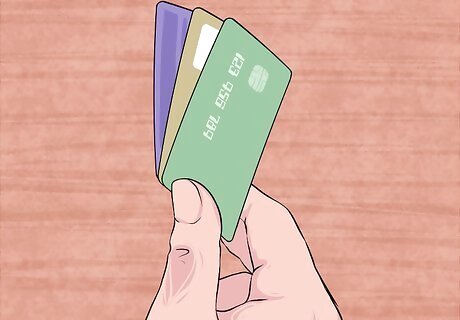
Choose which cards to carry in your money clip. Even money clips with card holders may have less space for cards than your old wallet did. A few essentials you may want to have with you include the following: Your ID card/driver's license. Your ID is necessary for many situations from traffic stops to alcohol purchases, and should always be on your person. A debit card. Though you may have more than one, choose the debit card you'll use most often. A credit card. As with debit cards, you may have more than one. Choose the one you use most often. You can always rotate out credit cards on a daily, weekly, or monthly basis.
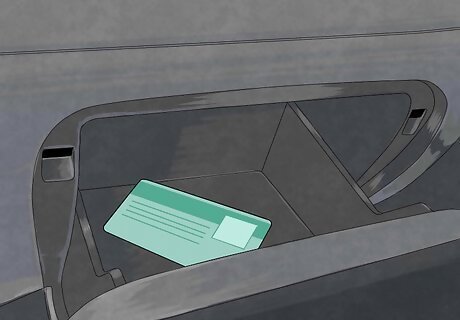
Find better locations for things that were once in your wallet. Seldom-used items that are still important to have (like your library card and items like pictures or mementos) should be kept somewhere besides your money clip. Find new homes for these things in sensible, convenient places. For example, your automobile club membership can stay in the glove compartment of your car. Your gym card can stay in your gym bag, and your work access card can stay in your briefcase or bag. Don't forget where you're storing these items! You may want to carry a single folded-up note to yourself in your money clip until you get the hang of your new arrangement.
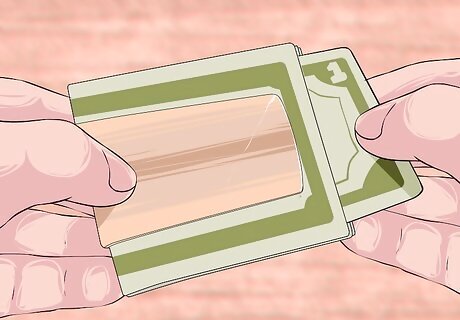
Transfer a variety of bills to your clip. The exact amount you decide to carry is up to you, but you should carry a good mixture of bills. By carrying a few bills of each denomination, you can pay for most purchases without adding too much change to your clip. For example, the following combination will let you cover any expense up to $89 without getting more than $1 in change: Four $1 bills One $5 bill One $10 bill One $20 bill One $50 bill Feel free to increase the number of $10, $20, and $50 bills as needed. You probably won't want to increase the number of $1 or $5 bills — you'll receive change in these denominations all the time.











Comments
0 comment