views
Sterilizing Your Tools
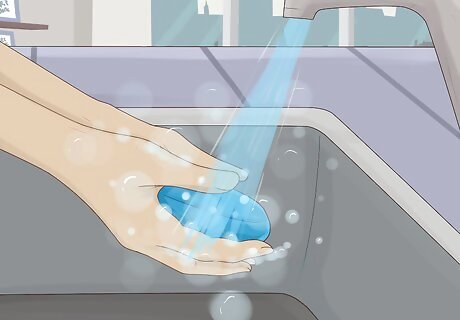
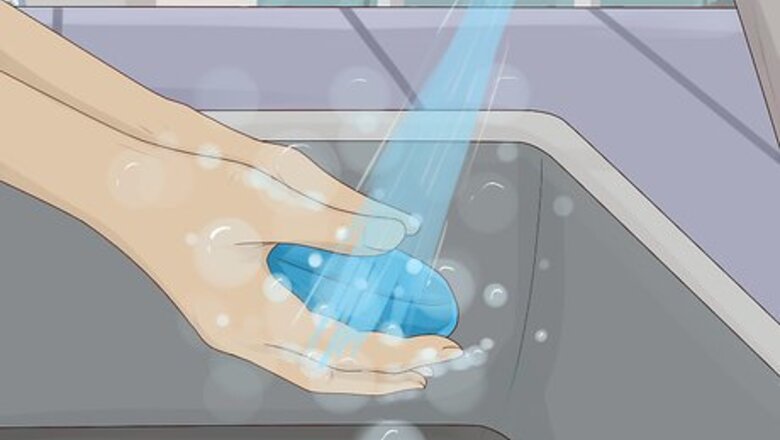
Wash your hands thoroughly before touching the equipment. The most common place to find major germs and viruses is on your hands. Wash vigorously with anti-bacterial soap and cover everything from your elbows to the tips of your fingers. Scrub your hands for at least 20 seconds to ensure cleanliness.
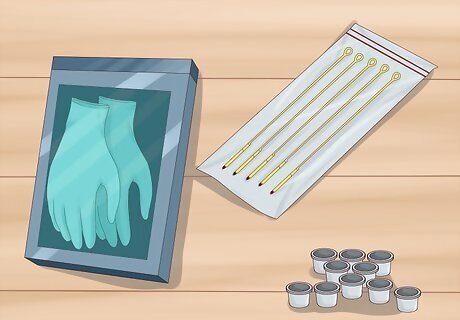
Use brand new supplies. Many tattoo parlors will use new needles, gloves and ink caps, among other things, for each customer. Nearly everything is discarded after use. All equipment is single service, meaning each set of needles and tubes is packaged individually. This way, the work space stays hygienic and no one is sharing needles.
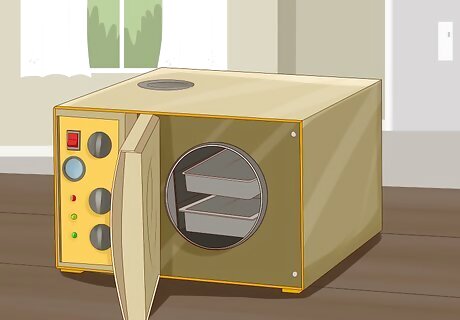
Clean your instruments with an autoclave sterilizer. Autoclaves use a combination of steam, heat and pressure to eliminate pathogens. Autoclaves take about twenty minutes to clean the equipment. Once the process is finished, the door opens to allow the contents to cool and dry. Autoclaves can cost thousands of dollars, but they are considered the most dependable system for sterilizing equipment.
Assembling Your Equipment for the Tattooing Process
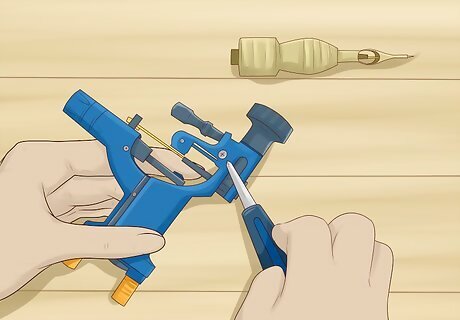
Arrange the pieces of the tattoo gun. Find the contact screw and the front spring underneath it on the machine itself. The distance between these two points controls the line you are tattooing. Then, put the needle in the tube and insert the tube into the tube slot. The wingnut, which connects the tube with the machine, should be tightened once the tube is in the slot. As you put everything together, inspect the equipment for damages or flaws. If you come across any equipment that looks like it’s in bad shape, throw it away and replace it. Bent or dull needles can cause bleeding and scarring.
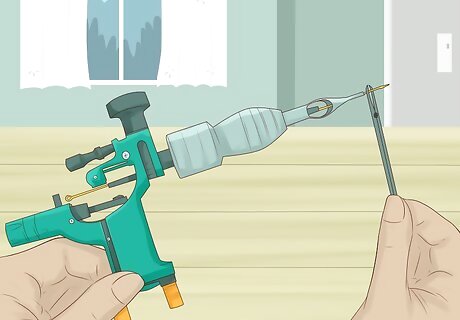
Set the length of the needle. The correct length is the distance from the tip of the tube to the needle. Tighten the two screws to put the needle in place. Be sure that the eye loop of the needle is turned to the left when you put the armature bar in. This ensures the needle is inserted correctly. If it is not correct, it could lead to a painful skin piercing with no ink.
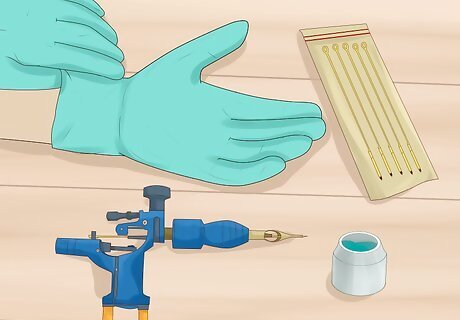
Gather all necessary equipment and set it out on your desk. Keep your supplies in an easy-to-reach place. Wear rubber gloves and always have rubbing alcohol and cotton balls handy. Having these tools at your disposal allows you to prevent any problems that might arise. It is always better to have more than you need, so keep extra gloves and a large supply of cotton balls handy in case you need to replace what you are using.
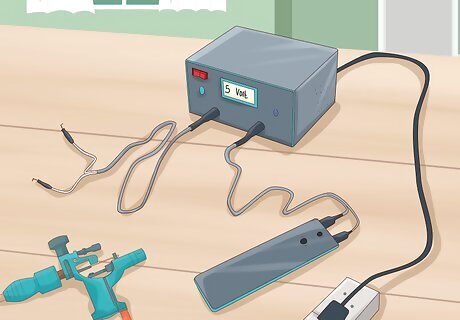
Plug in the power source. Get a power supply with a digital or analog display. Be sure to use the right voltage, which is usually between 1.5 and 18 volts. You should also have a footswitch and clip cord. The footswitch allows you to control the speed of the needle, while the cord connects the power supply to the machine. These items are sold separate from a tattoo machine kit, but they are not expensive.
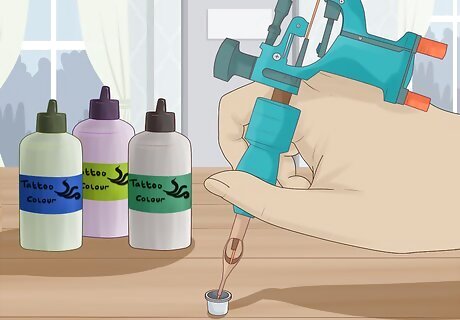
Pour the ink into your sterilized tattoo gun. Focus on doing a clean pour and put less ink than you might need. Keep in mind that you never want your tattoo machine to have too much ink. Try to add only enough ink to get the ball rolling smoothly and swiftly.
Creating the Finished Product
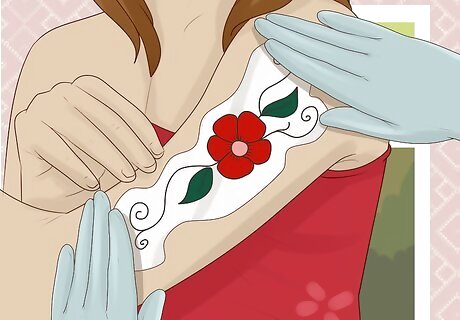
Add the design onto the person’s skin. Make sure the design sticks to the skin by using specialized paper and stencil liquid. The reason for using a stencil liquid is that it spreads the liquid over the area that’s about to be tattooed. Remember, the outline is there for a reason. Staying as close to the lines as possible will help you produce the best-looking tattoo you can.
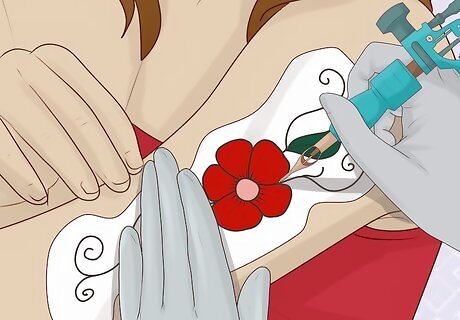
Push the needle into the person’s skin. There is no need to push the needle too hard. If you see blood, scale back on how deep the needle goes through the skin the rest of the way. If the person’s skin does not resist at all, you must pull the needle out. For risk-free practice, work on a melon, as this can help determine if you’re using the needle correctly. If the fruit is damaged, you are pushing the needle too deep.
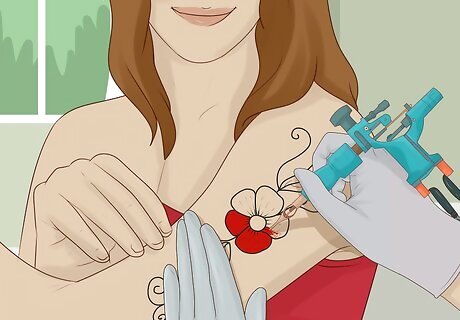
Outline the tattoo design. Once the needle is in a comfortable position, start moving it down the previously-drawn stencil line. Remember to move the needle slowly to avoid any injuries or mishaps. Keep a firm grip on the needle tube and make sure the machine is above your hand, not below. Tattoo guns can vibrate quite a bit, so it is vital to maintain a strong grip. Picture the needle tube as a thick pencil and hold it similar to how you would a pencil.
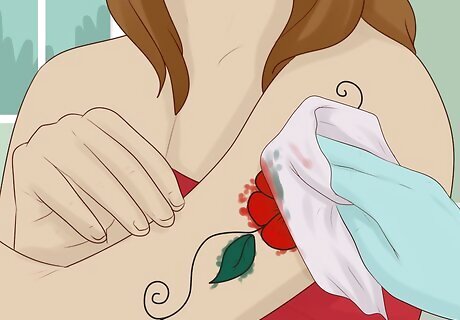
Remove excess ink from the person’s skin. Right after the tattoo process is done, there will be a lot of extra ink. Clean it as fast as you can, but do not put any lotion on the tattoo. This can clog skin pores. Cleaning the ink is the only thing you should focus on when the tattoo is done. Let the tattoo sit for some time so the inflammation can calm on its own. Once the ink has settled, apply a small amount of ointment and cover the tattoo with a bandage to protect it during the healing process.




Comments
0 comment