views
Disconnecting the Power
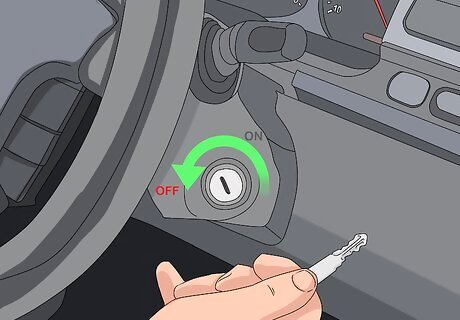
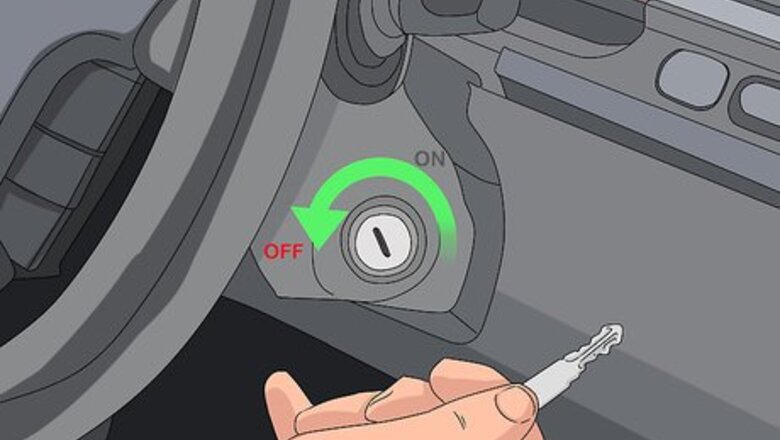
Shut off the engine and remove the keys. The engine cannot be running as you install the ignition spark tester. In order to be sure the engine is off and won’t be started again while you work, remove the keys from the ignition and set them aside. Be careful. If the engine has been running recently, the engine bay will be very hot. You can do this test on a hot engine without burning yourself, but it is safer to wait for the engine to cool down if you’re able.
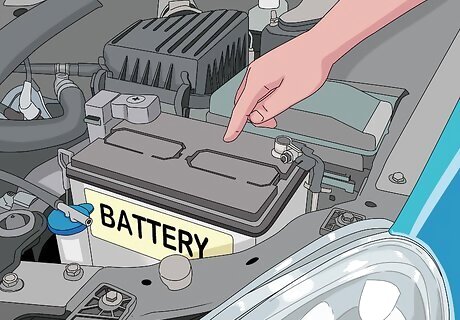
Locate the battery in the engine bay or trunk. On most vehicles, you can find the battery inside the engine bay, often near the very front of the vehicle on either side. It will look like a black rectangular box with a positive (+) and a negative (-) terminal sticking out of it. The battery in some vehicles can be found in the trunk, rather than the engine bay. If you have trouble finding the battery, refer to the vehicle’s owner’s manual or manufacturer’s website.
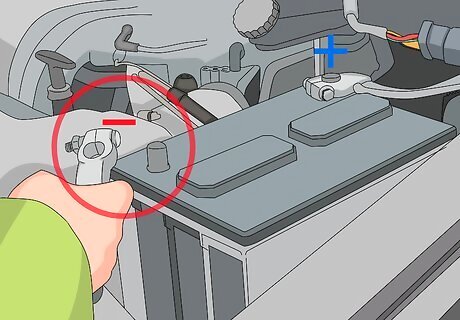
Disconnect the negative terminal from the battery. Use the appropriate sized open ended wrench or socket and ratchet to loosen the bolt holding the ground cable in place on the battery’s negative (-) terminal. It will be clearly marked with a minus sign (-) and may have a black plastic cover over it. You can remove this by pressing the cover release with your index finger and lifting it out of the way. Leave the positive terminal alone. It will be marked with a plus sign (+) and usually has a red plastic cover over it. Tuck the negative cable to the side of the battery to ensure it can’t accidentally come into contact with the terminal while you work.
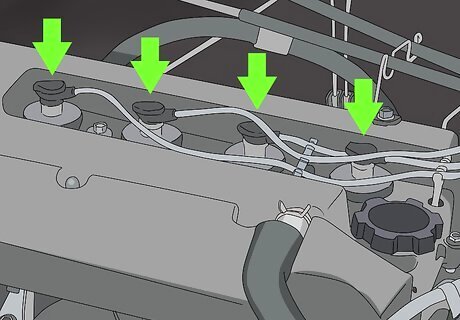
Follow the spark plug wires to find the spark plugs. With the hood open, look at the top of the engine. You’ll see a group of thick wires traveling into the cylinder head (or the top portion of the engine itself). These are ignition wires. Follow them to where they enter into the engine’s cylinder head to find where the spark plugs are housed. Each spark plug will be inside a hole in the cylinder head and located near where 1 of the pipes from the exhaust manifold connects to the head itself. Most cars come with black ignition or spark plug wires, but many vehicles have aftermarket wires installed that are bright colors like red or yellow.
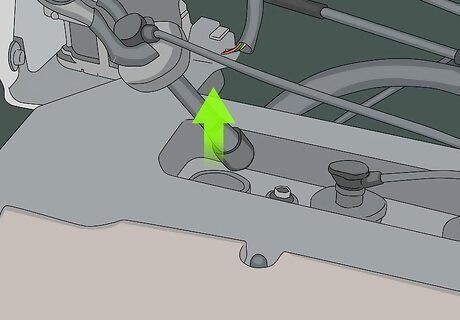
Unplug the spark plug wire from the first spark plug. Once you’ve identified where the spark plugs are housed inside the engine, choose 1 plug to start with. Grip the spark plug wire going into the plug as low toward the plug as you can with your thumb and index finger. Pinch the boot of the plug as you pull it backward toward you and off of the spark plug itself. The boot is the thicker part of the wire found at its base, where it connects to the plug. If you have trouble removing the spark plug wire, you can purchase a special tool that helps grip the wires by the boot at your local auto parts store. Do not pull on the wire from anywhere but the boot itself, otherwise you may damage it. It does not matter what order you test the cylinders in, but you may want to start with the one closest to you, then move to the next and so forth to avoid confusion.
Installing the Spark Tester
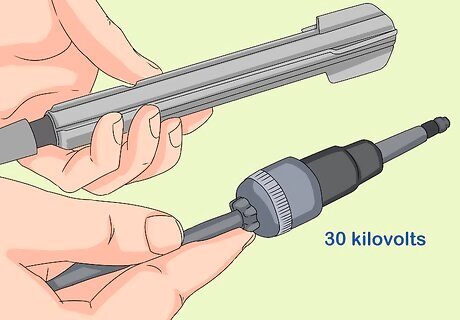
Set your spark tester to 30 kilovolts if it is adjustable. Some ignition spark testers come with an adjustable setting that lets you test for different levels of voltage. As a rule of thumb, most vehicles need the spark plugs to release 30 kilovolts of electricity to detonate the air/fuel mixture inside the cylinder. If your tester is adjustable, set it to that rating, as any rating below it isn’t strong enough to power the engine anyway. If your ignition spark tester is not adjustable, you can skip this step. Refer to the instructions on your specific ignition spark tester for help in adjusting the reading, but it’s usually just a matter of turning a screw clockwise or counterclockwise to make the adjustment.
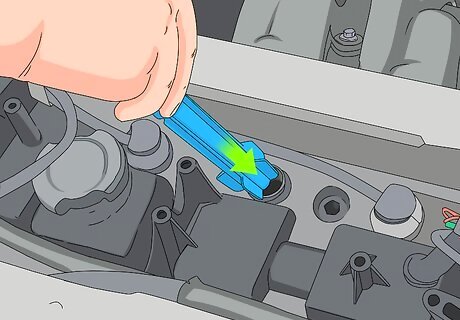
Press the spark tester boot onto the spark plug until you hear a click. The tester boot looks like a rubber or plastic cylinder with a hole on either side for you to plug 1 end into the spark plug in the car, and the other into the tester itself. Insert the spark tester boot into the hole the spark plug is housed within. Press it down firmly onto the plug until you hear the click that indicates that the plug itself is now seated firmly inside the boot. The boot extends to connecting from the spark plug so you can connect the tester to it. You may have to press the boot pretty hard to get it to connect the spark plug.
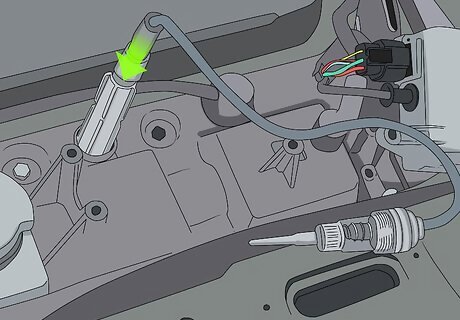
Connect the spark tester to the boot. The spark ignition tester connects to the boot the same way the boot connects to the spark plug itself. It will usually look like a clear cylinder with a wire coil and a light bulb inside. Press it into the boot firmly until you hear a click that indicates a strong connection. If you don’t hear the click, chances are good that it’s not connected well enough to provide an accurate reading.
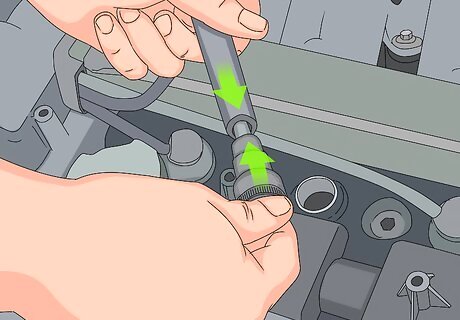
Plug the spark plug wire into the other end of the spark tester. One end of the ignition spark tester is designed to connect to the plug wire coming from the ignition coil, while the other end will connect to the boot. In effect, the spark plug wire is now connected to the spark plug through the tester and the tester boot. The tester is now in-line with the vehicle’s ignition system and will be able to read electrical current passing through it on the way to the spark plug.
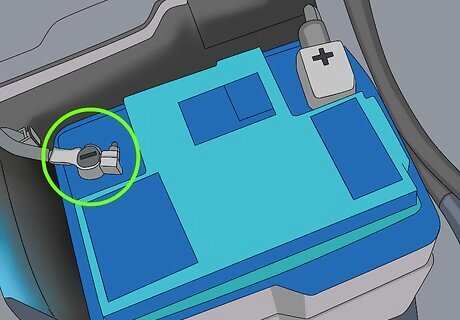
Reconnect the negative terminal on the battery. With the tester in place, reconnect the cable you removed from the negative terminal of the battery so the vehicle is once again operable. Use the same wrench or socket to tighten the bolt that holds the cable on the terminal, but you can leave it fairly loose. You’ll be disconnecting the battery between testing each cylinder, so the cable only needs to be tight enough to stay in place during the test. Be careful as you attach the cable to the terminal as it may release a spark.
Checking for Spark

Have a friend turn the key in the ignition to attempt to start the vehicle. If you are trying to diagnose an issue with the vehicle starting, it’s important to pay close attention to the tester as your friend turns the key in the ignition. Stand close enough to see the light indicator in the body of the spark ignition tester, but be careful to keep your hands and clothing away from any moving parts in the engine bay.
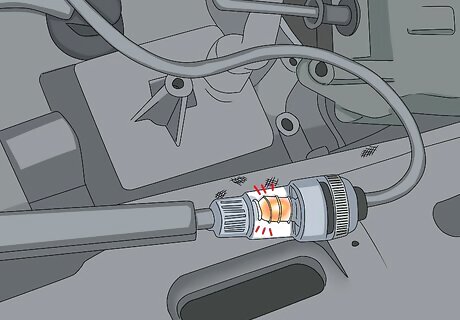
Look for a flashing light on the spark tester. The light will begin flashing immediately if there is no issue with that cylinder during engine startup. If it does not start flashing, it means that cylinder is not receiving an electrical charge to detonate the air and fuel mixture. The light will flash very rapidly if the cylinder is firing properly. Reasons for no charge reaching the spark plug (and no light flashing on the tester) could vary but may include a bad spark plug or ignition wire or a faulty ignition coil.
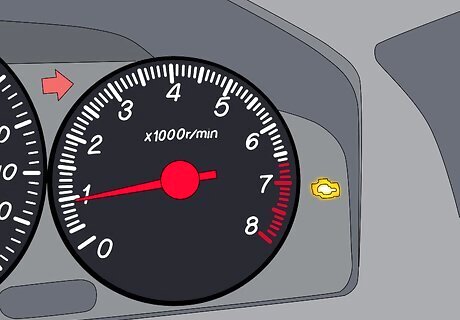
Observe the light with the engine running to look for signs of a misfire. If you are trying to assess if a cylinder has a misfire, continue to watch it as the engine idles for a few minutes. Intermittent misfires aren’t always consistent, so it may take a minute for it to happen. If the ignition spark tester light stops flashing or the rate it is flashing changes, that may be the cause of a misfire. This issue may also be caused by a faulty ignition wire or coil. Make a note of any issues you see with that first cylinder, but you’ll need to test the rest before making further determinations about what may be wrong with the vehicle. Replacing the spark plug will not solve this issue.
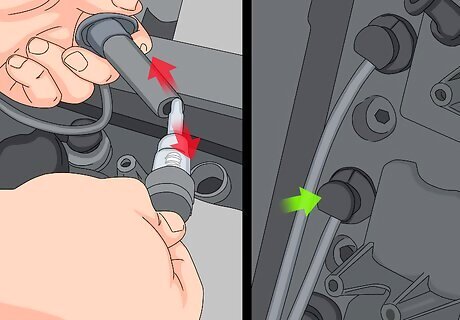
Disconnect the spark tester and reconnect the plug wire to the spark plug. Once you’re satisfied with the first test, disconnect the tester and the boot from the spark plug and the spark plug wire. Insert the wire back into the hole for the spark plug and press on it firmly until you hear a click indicating a strong connection. If the light flashed consistently throughout the test, that cylinder’s electrical system is fine. If there were issues with that spark plug, you should still check the rest to see if there are any other problems.
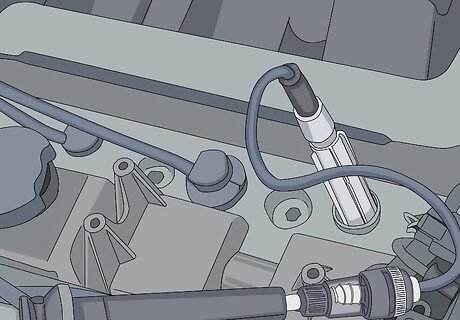
Repeat the process for each of the engine’s cylinders. Test 1 spark plug at a time until you’ve repeated the process for each of them. Most modern vehicles have 4, 6, or 8 cylinders to test, though 3, 5 and 10 cylinder engines are not unheard of in common cars or trucks. If you’re not sure how many cylinders your vehicle has, follow the plug wires to each 1, or refer to the owner’s manual to check. If all of the cylinders don’t show any signs of an issue, your vehicle’s ignition system is functioning properly. If 1 plug isn’t receiving adequate current, try replacing the spark plug ignition wire, followed by the coil itself. Be sure to disconnect the battery between each subsequent test.


Comments
0 comment