views
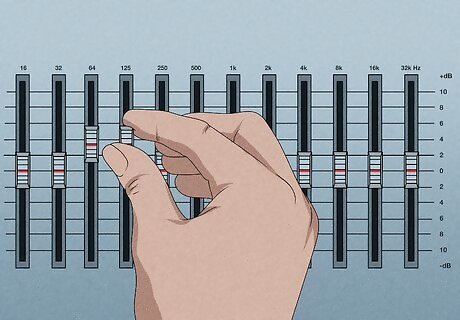
Set the low-end bass frequencies to roll off. Lots of static and background noise, like the mic rumbling or the A/C running, exists in these lower frequencies. Make sure it's not set to a low shelf or a high pass filter, as these are not going to sound as good or smooth as a roll off (which is basically a smooth curve). Set this to roll off around 90 Hz.
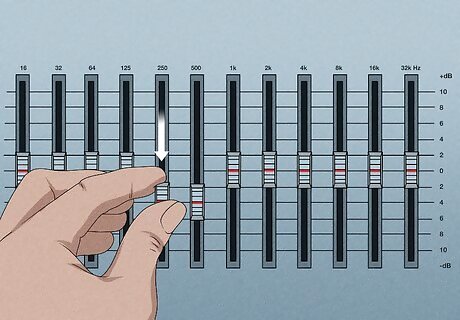
Reduce muddiness and boominess. If you're recording inside a small room, you're going to have a little muddiness in your recording (or sloppy echoes that bounce off the walls, floor, and ceiling), which you can hear with a few tracks added in. It builds up in the 200 Hz - 500 Hz frequency range, so you'll need to reduce that range slightly. If you can, make sure you're using a wide Q in your equalizer so it's a smooth transition. You shouldn't reduce the levels more than -3 dB to 5 dB.
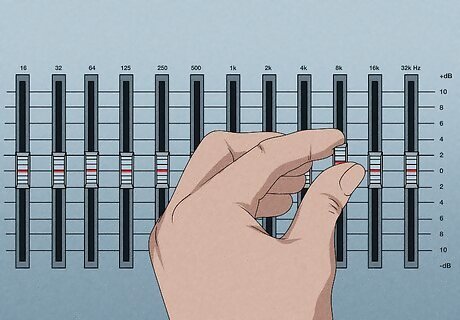
Improve the higher frequencies. Try starting at 8 kHz for a high shelf and only boost 1 dB to 1.5 dB. For the high roll off, 18 kHz is a good frequency to try at 24 dB of reduction per octave with a 0.07Q width. If that doesn't sound right to you, or sounds piercing, try moving the high shelf to 9 kHz and everything else accordingly.
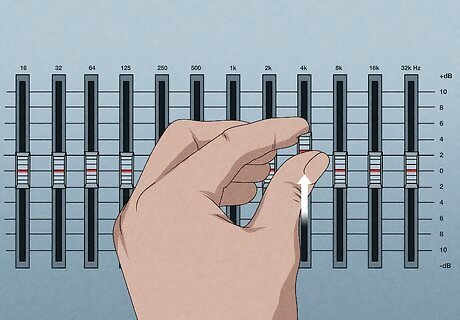
Solidify the vocals. Make sure that at 5 kHz (or around there) with a 2.80 Q width, boost 2.5 dB. 4-5 kHz is a harmonic frequency and it's very easy to understand vocals within this range.
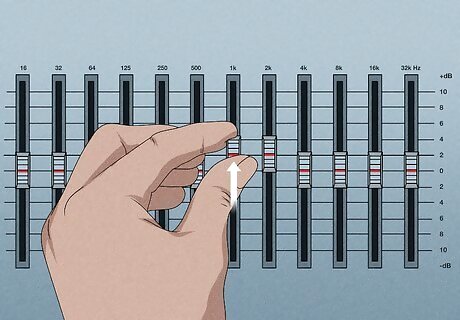
Boost the core vocal frequencies. Using a wider Q width of 1.20 should get you smooth results between 1 kHz and 2 kHz with a boost of up to 2 dB. You may not even need this step, depending on your recording equipment and atmosphere. If it sounds ok to you, you can skip this step.
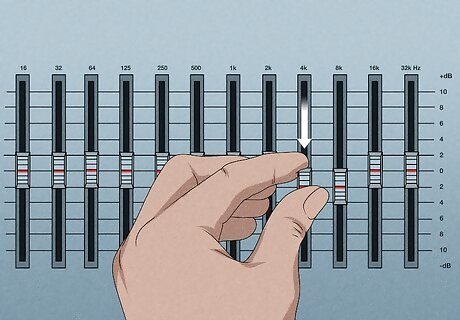
Reduce sibilance. Use a De-esser, which is not actually a part of the graphic equalizer, but usually comes with it to reduce the frequencies that are too loud. You can hear these too-loud noises when the speaker says "S" or "T;" they create little puffs of air that the mic could record and play back too harshly. These noises are usually in the 5 kHz to 8 kHz range.


Comments
0 comment