views
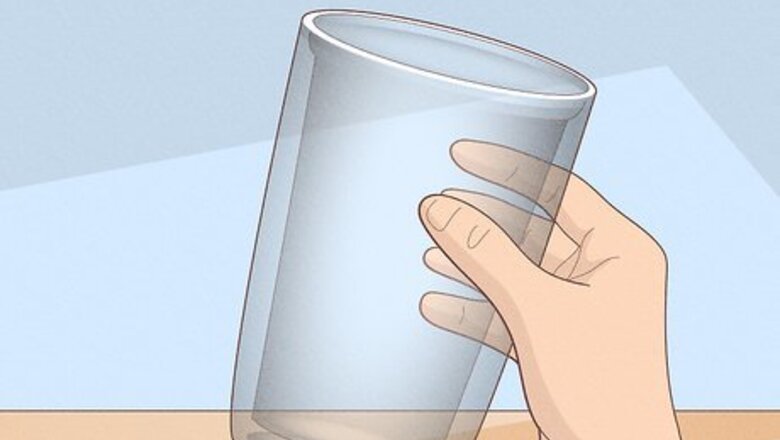
- Drill a small hole through the bottom layer of a double walled, clear plastic tumbler.
- Pour glitter onto the bottom of the tumbler. Tap it into the hole until you have about 1-2 inches (2-5 cm) of glitter inside the tumbler.
- Use a syringe to insert a clear glue and water mixture into the tumbler, stopping when the mixture reaches the top of the hole. Let the tumbler sit overnight.
- Pour UV resin into the hole and cure it with a UV light. Then, pour and cure UV resin over the entire bottom of the tumbler.
Drilling the Tumbler
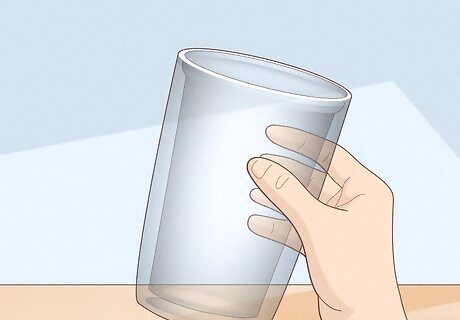
Choose a double walled, clear plastic tumbler. When you select your tumbler, look at the bottom for a sizeable gap between the external and internal plastic layers. A larger gap can make it easier for you to drill into the tumbler and fill it up with glitter. Choosing a tumbler made with thicker glass, such as Starbucks tumblers, can help prevent any potential cracking or chipping when drilling. Select a size and shape that works best for you! A traditional tumbler shape or a mason jar in a 16, 24, or 32 oz size works great for this craft.
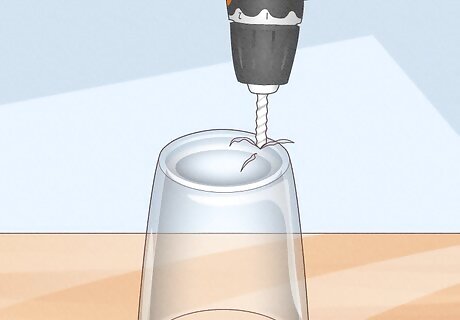
Drill a hole through the bottom, outside layer of your tumbler. Position your drill at the bottom edge of the tumbler. Using a 5/16 drill bit, slowly drill a hole through the outer layer of plastic, stopping once you’ve entered the gap between layers. You might hear a slight popping sound once you drill through the bottom. If you don’t want to drill, use a hot-fix tool to make the hole. Use a 7 mm, concave attachment and gently press the heated tool into the bottom of your tumbler. Hold your tumbler to the side to see when the hot tool enters the gap.
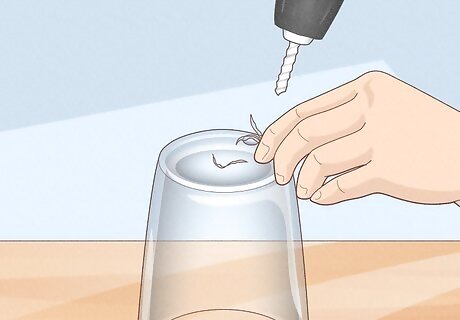
Reverse the drill out of the tumbler and remove any plastic pieces. Slowly reverse the drill to prevent any cracking or damage to your tumbler. It’s likely that some plastic pieces entered the hole and gap as you drilled, so just shake the tumbler upside down to remove them. Remove any stubborn pieces with a pair of tweezers. When using a hot-fix tool, the plastic hole might not come off all in one piece. If that’s the case with you, simply reheat the hole with the tool and pull out the plastic with a pair of tweezers.
Filling the Tumbler
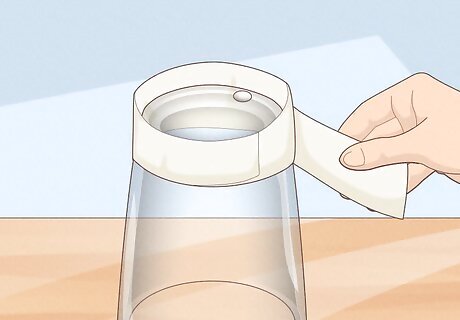
Create a barrier around the hole with tape. Apply a strip of masking tape around the edge of your tumbler where the hole is. This creates a barrier that helps prevent glitter from spilling over the edge of the tumbler when you pour it into the hole.
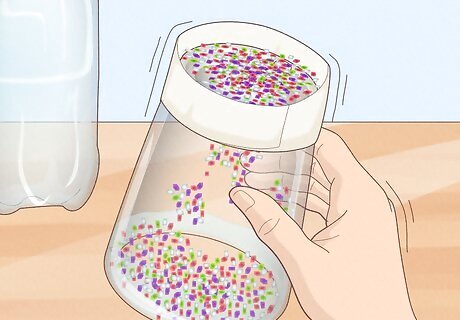
Pour water and your chunky glitter into the hole. Add a splash of water into the hole. Then, place a handful of glitter into the bottom of your tumbler. Gently tap and twist your tumbler to get the glitter to fall inside the hole. Repeat until you have a 1 to 2 inch (2-5 cm) layer of glitter in your tumbler. Plug the hole with your finger and flip over the tumbler to see how much glitter you’ve added. It’s best to have an even dispersion of glitter in your tumbler. While chunky glitter is recommended, experiment with other glitter sizes! A fine, medium, and chunky glitter mix will give you a lot of dimension and sparkle.
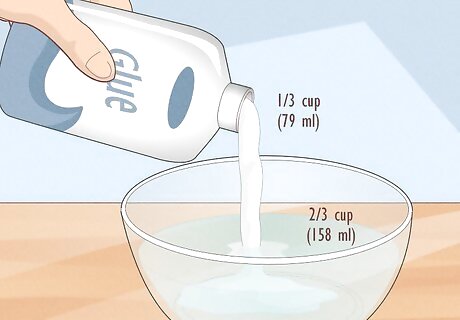
Mix together ⅓ cup (79 mL) of clear glue and ⅔ cup (158 mL) of water. In a small mixing bowl, add ⅓ cup (79 mL) of clear glue and ⅔ cup (158 mL) of water. Simply mix the ingredients together with a spoon to create your glitter suspension solution. Different amounts of glue and water will give you a different look, so play around your ratios! Add more glue for your glitter to fall more slowly, or more water for more glitter movement. Vegetable glycerin is a less thick substitute for glue that gives you more movement in your tumbler.
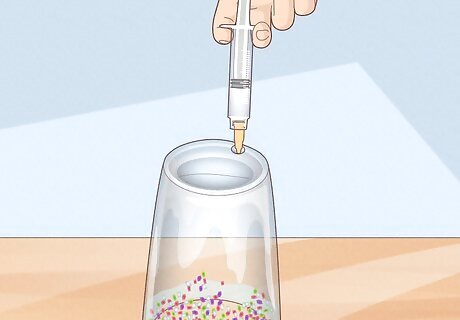
Add the glue mixture into the hole with a syringe or pipette. Pump a syringe full of your glue and water mixture and dispense it into the hole. Then, tap at the bottom of the tumbler to loosen and mix the glitter with the glue solution. Continue adding the solution and mixing the glitter until you reach the top of the hole. Along with tapping the tumbler, plug up the hole with your finger and shake your tumbler to mix the glitter and glue mixture together.
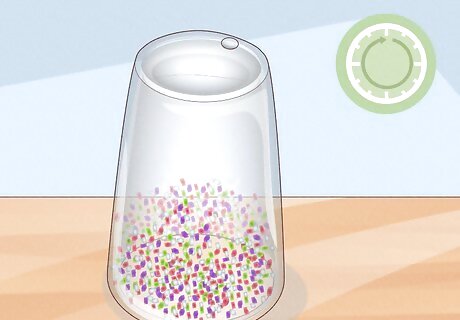
Let your tumbler sit overnight to remove any air bubbles. It’s normal for air bubbles to form as you add the glitter and glue mixture into the tumbler, but you want to remove as many as possible. Just set your tumbler in a location where it won’t get disturbed overnight. Any air bubbles that formed will rise to the hole and disappear.
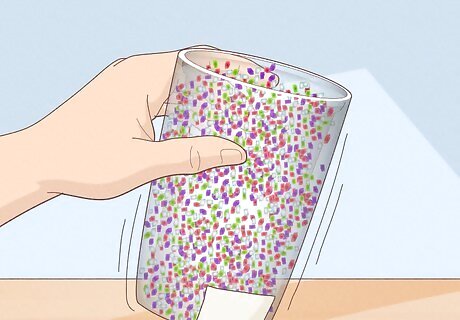
Shake your tumbler to see if there’s enough glitter and glue inside. Before you seal your tumbler up, see how your tumbler looks. Plug the hole up with your finger or a paper towel and shake the tumbler. If any air bubbles rose to the top of your tumbler as it rested, you might need to add more glue mixture to fill the tumbler back up to the hole. If the glitter isn’t evenly dispersed around the tumbler, add another handful.
Sealing the Tumbler
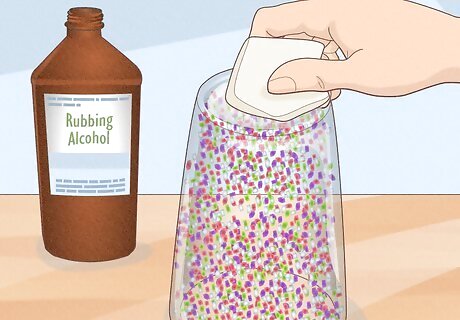
Clean the bottom of your tumbler with rubbing alcohol. To properly seal your tumbler, it needs to have a nice, clean base. Simply add some rubbing alcohol to a paper towel or cotton ball and swipe it over the bottom of the tumbler.
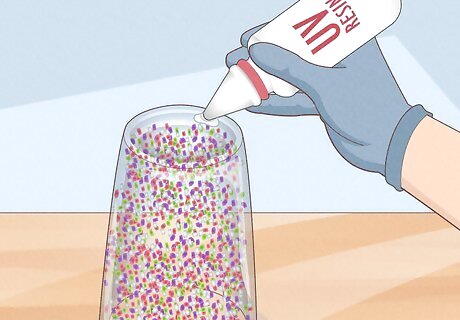
Pour UV resin into the hole. Move to a shaded, well-ventilated area and put on a respirator mask and gloves. Squeeze the resin around the hole then slowly fill it in to prevent any bubbles from forming. Alternatively, use a fast acting, 5 minute epoxy in place of UV resin. Just mix together the epoxy separately, if required, then pour it into the hole. Then let it cure for 5 minutes.
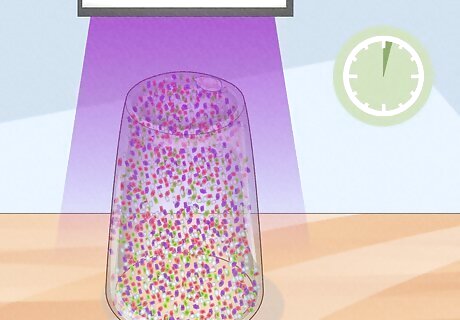
Cure the resin with a UV light for 2 minutes and check for leaks. Place a UV light over the bottom of the tumbler and keep it on for 2 minutes. Then, flip the cup over to see if any of the solution leaks out of the hole. If you find a leak, fill it with resin and cure for 2 minutes.
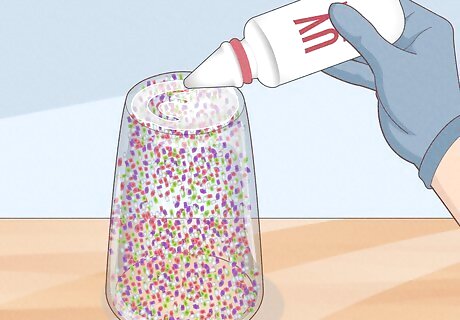
Apply UV resin to the entire bottom of the tumbler. Use a silicone brush or a gloved finger and smear a thin, even layer of resin over the bottom of your tumbler. Then, cure the resin for 2 minutes. Once cured, your tumbler is finished! For an extra sparkly touch, add some of your glitter to the resin! Just make sure to even out the glitter so no pieces are poking through the resin. After curing, add another layer of resin and cure it to make sure the bottom is super smooth.




Comments
0 comment