
- If your Mac has an Intel processor, you can install Windows with Boot Camp.
- In the Windows partition, install Valorant.
- Optimize your Valorant gameplay on Mac by changing all the graphics settings to low.
Requirements
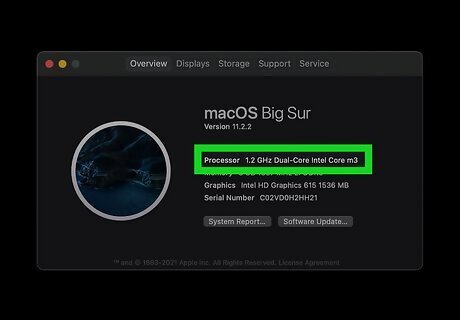
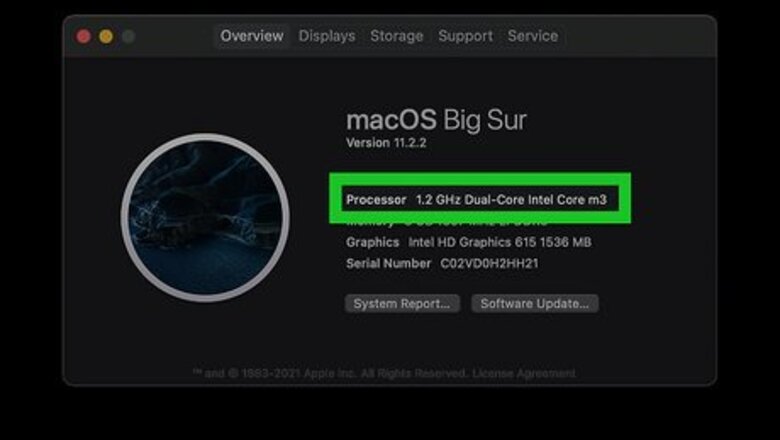
Your Mac needs an Intel processor. Here's a list of all the Macs with Intel processors: MacBook 2015 - 2019 MacBook Air/Pro 2012 - 2019 Mac mini 2012 - 2019 iMac 2012 - 2020 Mac Pro 2013 - 2022 Not sure which chip your Mac has? Click the Apple Menu and select About This Mac. Look next to "Chip" to see if yours is Apple (not compatible with BootCamp) or Intel (compatible with BootCamp).
Have a version of Windows 10. Windows 11 is the latest version available, but Valorant crashes a lot running Windows 11, so that's why you should use Windows 10. To purchase a Windows Product Key, all you need to do is log into the Microsoft Store and follow the links to buy Windows 10.
Installing Windows on Mac
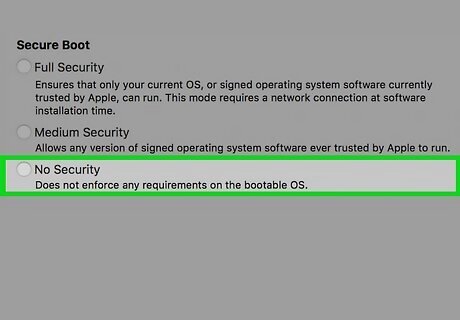
Check your Secure Boot setting. By default, this is set to Full Security, but if you changed it, you should set it back to Full Security before installing Windows. You can change it back after you've installed Windows. Installing without Full Security can cause errors that prevent Windows from downloading.
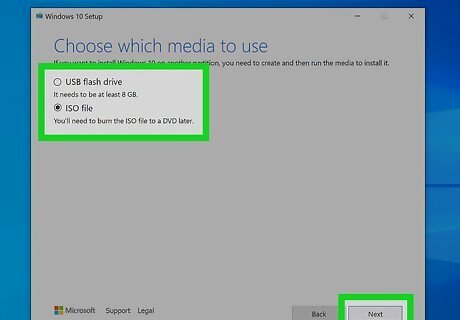
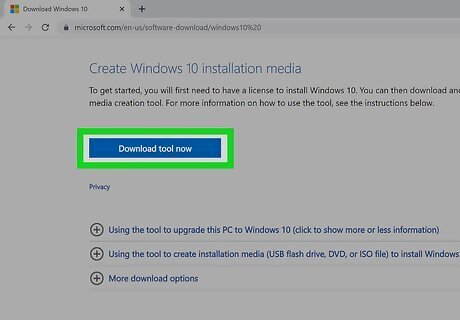
Download the Windows 10 ISO image. There's a download link available after you purchase a key. Download Windows 10 from this link. Depending on your Mac, you may need to download Windows 10 to a flash drive.
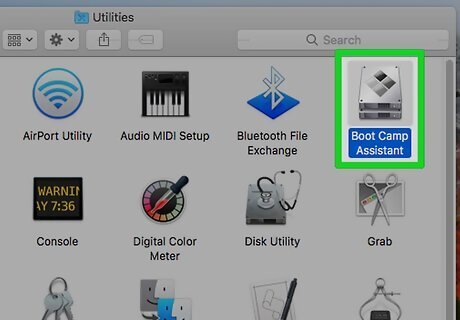
Open Boot Camp Assistant and click Continue. It's in the Utilities folder in Finder.
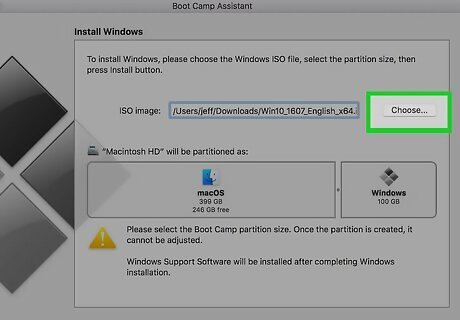
Use the drop-down to select the ISO image. If you can't find it in the drop-down menu, try downloading the ISO on your desktop.
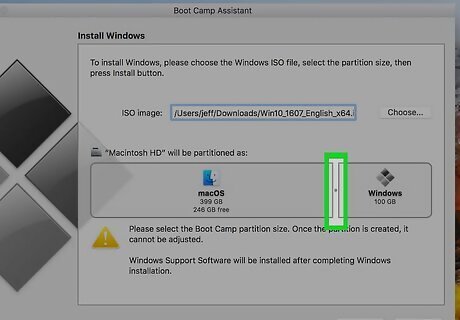
Choose the size of the Windows partition. Drag the dot to make the Windows partition larger or smaller. Windows 10 has a storage requirement, so ensure that the partition is at least 64GB. For better performance, make the partition have at least 128GB.

Click Install. If prompted, enter your Mac's password and wait for the partition to completely install. Your Mac will restart and begin installing Windows. If you're prompted for an install location for Windows, select the Boot Camp partition and select Format. Normally, this is an automatic process, but it appears on older Macs.

Follow the on-screen prompts in Windows. Once your Mac is finished, you'll be in the Windows partition and need to follow a few on-screen instructions to finalize the creation of the partition. This includes downloading drivers and support software. You need to restart your Mac again once you're done installing other software. Note that if you have an external monitor connected to your Mac via a Thunderbolt 3 port, the display will be blank (black, grey, or blue) for a few minutes during installation. To switch between Mac and Windows, restart the computer/laptop and press the Opt or Alt key.
Installing Valorant
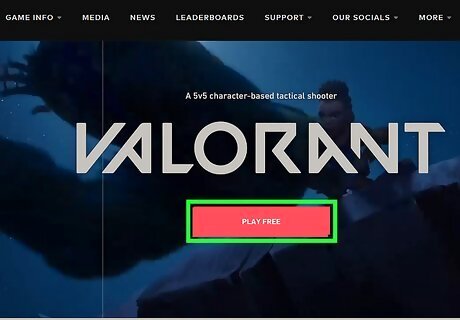
Go to https://playvalorant.com/en-us/ and click Play Free. You need to be in the Windows partition of your Mac in order to install and play Valorant.
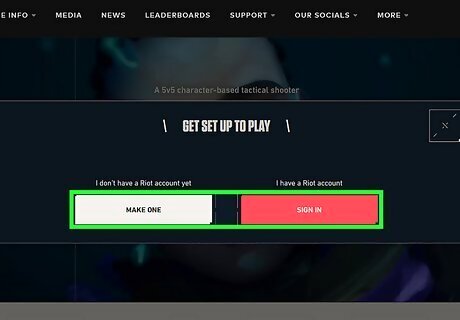
Sign in or create a free Riot account. Click either option to continue with your browser. Creating an account is free and is a simple process! After you create an account or log in, you may need to click Play Free again to prompt the download.

Click Download. File Explorer will open so you can save the file where you'd like, then run it to start installing Valorant.

Launch Valorant and play! When it's done installing, you can immediately open it and start playing.
Optimizing Valorant for Mac
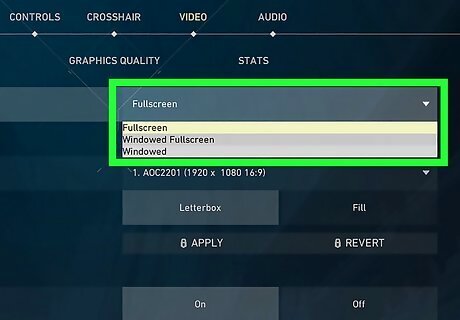
Have full-screen enabled. You'll find this option in Settings > Video. Go into Settings so you can optimize Valorant for your Mac. Since the game wasn't created with Macs in mind, it won't run as amazingly on your Mac as it does for someone using a Windows laptop or computer. However, you can tweak your settings to get the game to look somewhat decent on your display.
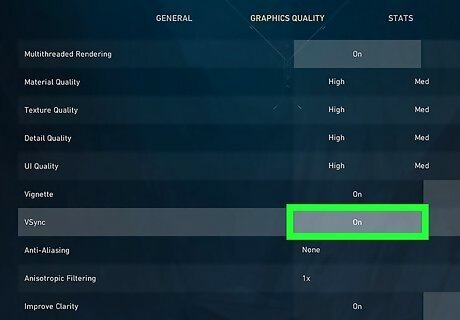
Turn Vsync on. This will make sure the FPS doesn't go over 60 and makes your frames more stable while reducing screen tearing. You'll find this setting in the game's video settings.
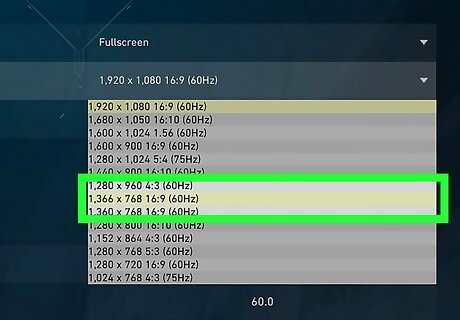
Set the resolution to half. For example, if you have a 2560 x 1600 display, set it to 1440 x 900. You'll find this setting in the game's video settings.
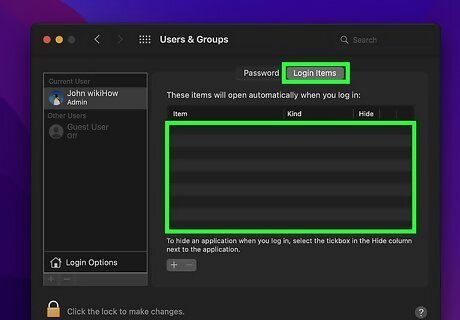
Turn off OS X features. Notification and dashboard can get in the way of your gameplay, so turn them off before you play. You also want to prevent apps from opening as your Mac restarts. You can do this by going to Mac Apple Apple menu > System Settings > General > Login Items and remove any items that are set to start up at login.
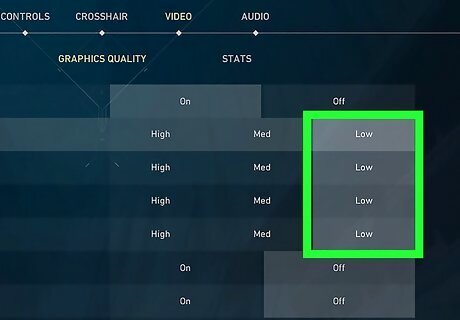
Change graphics from "High" to "Low." Since your Mac wasn't taken into consideration when Riot came out with Valorant, the graphics won't display the same for you. Find all these settings in Settings > Video > Graphics Quality. You can try using settings at "High" and only lower that setting if you run into a graphics issue, like stuttering or invisible objects.


Comments
0 comment