
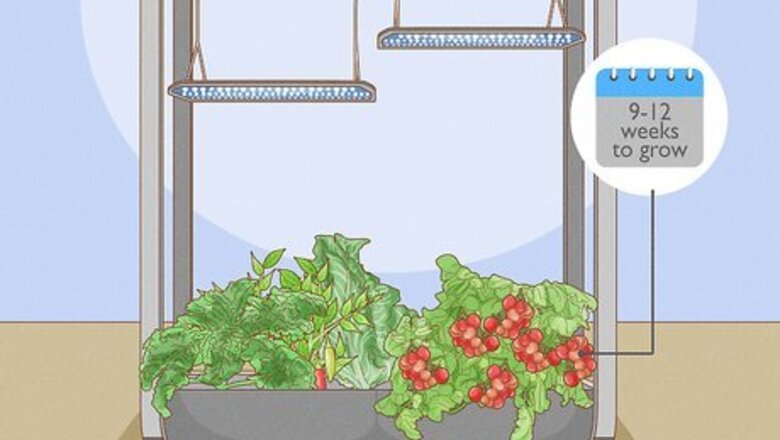
What is an AeroGarden?
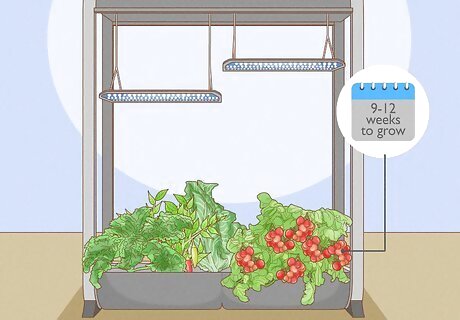
An AeroGarden is an indoor hydroponics garden. It’s ideal for apartment-dwellers or anyone who doesn’t have an outdoor space for a traditional soil garden. Growing tomatoes in an AeroGarden usually takes 9 to 12 weeks. There are a few different models to choose from based on the size of your harvest: a Sprout, which can grow 3 tomato plants, a Harvest Family, which can grow 6 tomato plants, a Bounty Family, which can grow up to 9 tomato plants, and a Farm Family, which can grow 12 to 24 tomato plants. AeroGarden is also ideal for people who don’t have a ton of natural light in their home, because the AeroGarden has grow lights attached to it. Most AeroGarden systems are small enough to fit on a countertop or a table. The Farm Family model is the largest model, so it may do better on the floor.
What kind of tomatoes can you grow in the AeroGarden?

Cherry tomatoes grow best in an AeroGarden because they’re so small. You can choose from Heirloom Cherry Tomatoes (6 pods or 9 pods), Mini Cherry Tomatoes (3 pods, 6 pods, or 9 pods), Golden Harvest Cherry Tomatoes (6 pods or 9 pods), or Mega Cherry Tomatoes (for Tall AeroGarden models). Want to grow a variety of veggies at the same time? Go for a Salsa Garden Kit for a mixture of peppers and tomatoes.
Planting Tomato Seeds in the AeroGarden
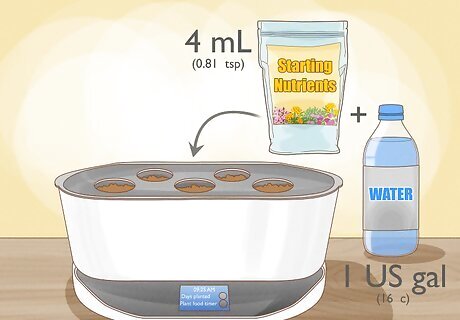
Fill the tank and add 4 mL (0.81 tsp) of nutrients for every 1 US gal (16 c) of water. Use room temperature tap, bottled, or purified water to fill your tank up to the “Fill here” line. Add the recommended amount of Starting Nutrients into the water, and wait until the nutrients dissolve. Your AeroGarden system will automatically check the water level in your tank for you. If your system needs more water, the “Water Low” light on the control panel will flash.
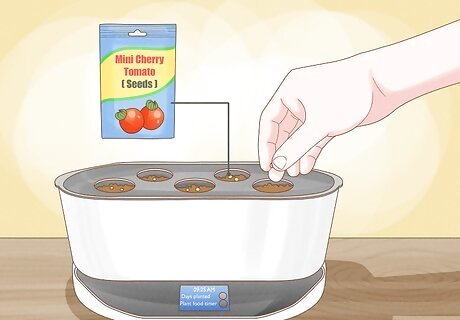
Plant a seed pod in each opening of the AeroGarden. Depending on your model, you might have 3 pods, 6 pods, or 9 pods to use. If you have any extra spaces in your AeroGarden, use a Plant Spacer to fill the gaps. Plant Spacers cover up any openings, which will prevent your water from getting dirty.
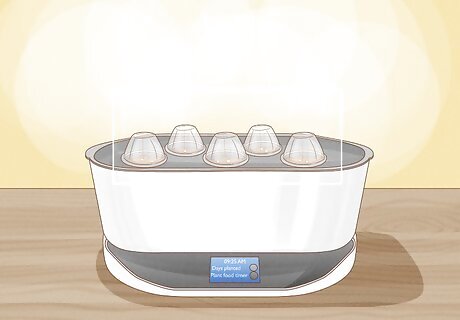
Place a Grow Dome over each seed pod. Grow Domes help keep your tomato sprouts warm as they grow. Since tomatoes thrive in a greenhouse environment, these Grow Domes will help your tomatoes grow faster and healthier.
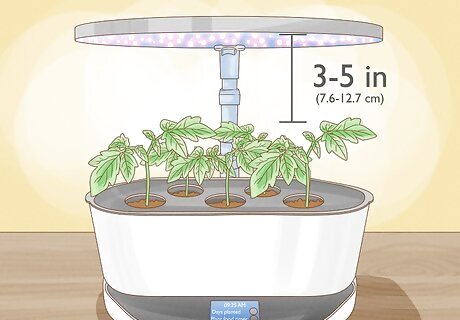
Place the grow lights about 3 in (7.6 cm) over the system. If your grow lights are too close to your seed pods, your tomatoes won’t have any room to grow! Adjust your grow lights by gently pulling them down toward the tomatoes so they’re 3 to 5 in (7.6 to 12.7 cm) above the Grow Domes.
Select “tomato” on the AeroGarden system. The great thing about the AeroGarden system is that it will automatically set a timer on your lights for you. On your control panel, press the “Select” button and click on “Cherry Tomatoes.” Your lights will be programmed to turn on for 16 hours per day and shut off for 8 hours at night.
Pruning, Pollinating, and Harvesting Tomatoes
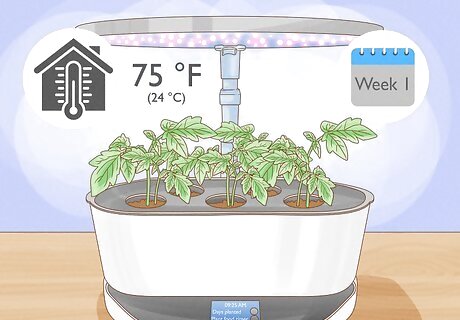
Week 1: Keep your tomatoes at room temperature. For the first week after planting, you don’t have to do much. Keep the Grow Domes on top of your seed pods and make sure your room is right around 75 °F (24 °C). You’ll notice small sprouts starting to emerge after about 7 days.
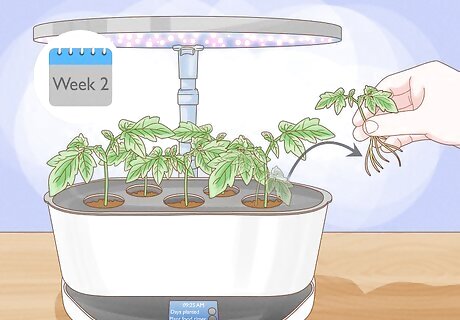
Week 2: Prune the smallest sprouts. Once you see a young stem with a few leaves on it, remove the Grow Domes and set them aside. You’ll probably see a few different sprouts coming out of each seed pod. Near the end of week 2, grab some pruners and carefully cut the smaller, weaker stem out of each seed pod so that there’s only one stem in each pod. Cutting away the weaker stem lets the stronger one grow faster and produce more fruit.
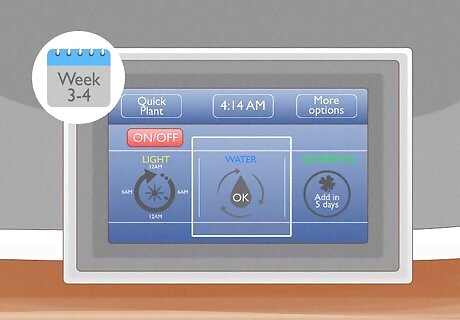
Weeks 3 and 4: Monitor the water level and nutrient indicator. These 2 weeks are easy—you don’t have to do much of anything! Add water if the level gets too low, and add nutrients if the control panel tells you to. While the water level indicator is a helpful tool, it can sometimes malfunction. Be sure you’re actually checking the water level yourself instead of relying on the water level indicator to tell you when your AeroGarden needs more water.
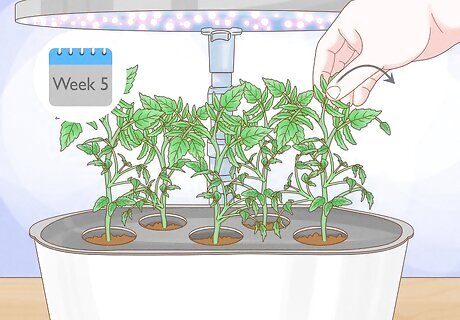
Week 5: Clip the main stem above the 5th branch. This is called “topping” the plant, and it encourages more growth so that you have a larger harvest. Find the main stem of each tomato plant, and use your pruners to clip it just above the 5th branch. Try to avoid clipping the first 2 leaves on the tomato plant. Cutting those leaves off could shock your tomato plant and lead to fewer tomatoes.
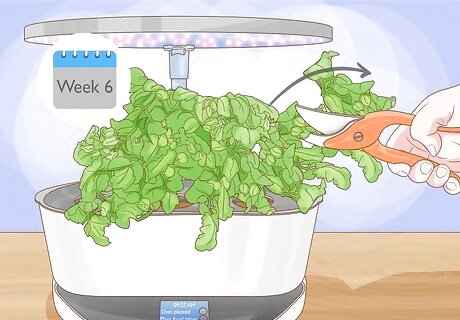
Week 6: Prune any branches that grow outside of the light hood. If you notice that there are any leaves or branches that are starting to grow outside the scope of the light hood, grab your pruners and gently clip them off. You can also prune off any tall leaves or branches to encourage fruit growth.
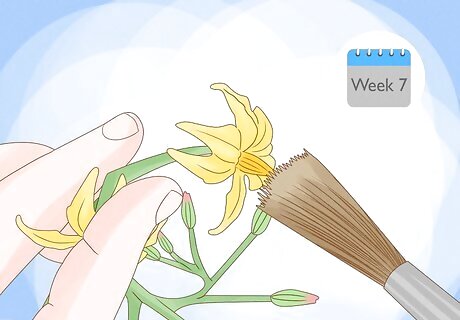
Week 7: Pollinate your tomato plants. In a normal garden, bees and insects would come by and pollinate your tomato plants for you. Since your garden is indoors, you’ll have to do this process yourself. Fortunately, it’s fairly easy—once you notice bright yellow flowers appearing on your tomato plants, gently shake the flowers or vibrate them with an electric toothbrush once a day. The vibrations will transfer the pollen from the petals of the flowers to the inner part of the flower (the pistil). Since tomato flowers have all of the necessary parts for pollination (meaning there are no “male” or “female” flowers), there’s no need to transfer pollen between flowers. To pollinate by hand, gently grab one flower at a time and shake it gently for about 30 seconds. Do this to every flower on every plant to pollinate each flower. To pollinate with an electric toothbrush, turn on the toothbrush and gently place the head onto the petals of one flower. Hold it there for about 30 seconds, then move onto the rest of the flowers on every plant. You can also direct a fan at your garden to gently blow pollen out of the flowers.
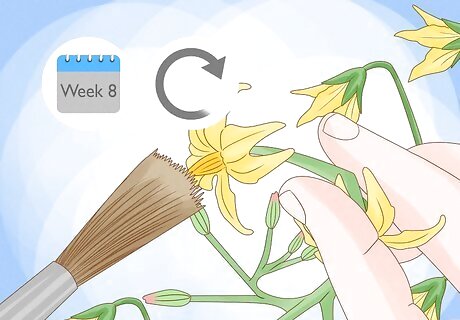
Week 8: Pollinate any plants that don’t have fruit yet. By week 8, you should notice most (if not all) of your flowers closing up and turning into tomatoes. If there are any flowers that haven’t done that yet, gently shake or vibrate them to pollinate them and get them growing.
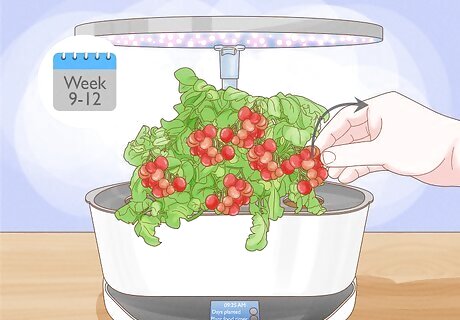
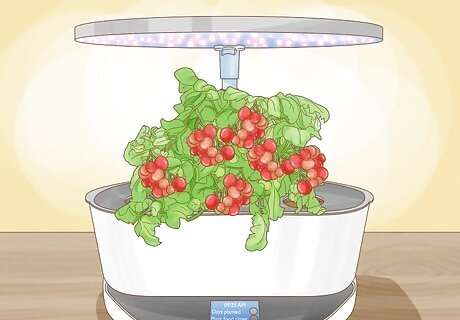
Weeks 9 - 12: Harvest the ripe tomatoes. Congratulations! You’ve just grown your very own AeroGarden tomatoes. Once your tomatoes turn bright red and feel slightly squishy with a little give to them, you can gently pull them off the branches. Your AeroGarden will keep producing tomatoes for about 4 weeks.


Comments
0 comment