views
- Adjust the ratio of your gas and temperature. In general, copper under 2 mm needs argon gas and up to 160 A applied.
- Preheat your copper in a furnace until it reaches your desired temperature. Then, hold your arc at 70° to create a puddle of copper.
- Add a copper or copper alloy filler to the arc to weld the metals together. Then, let the copper cool.
Taking the Proper Safety Precautions
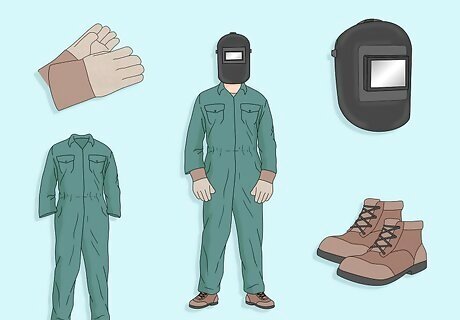
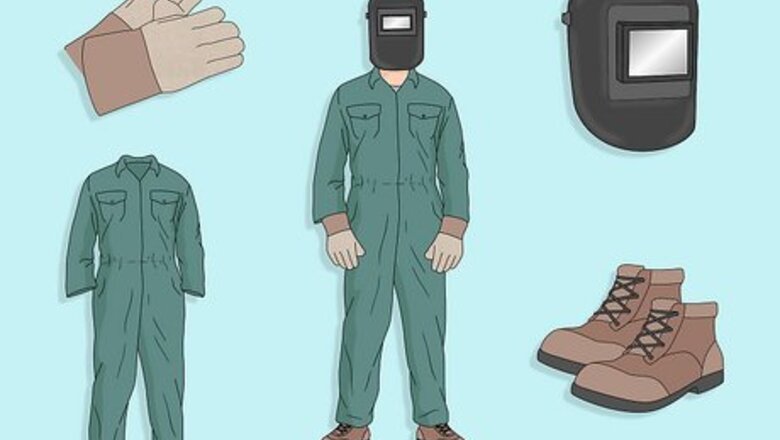
Wear the proper protective gear. Whenever welding takes place, you must don the proper protective gear. Safety glasses, even within a helmet, must be worn. The welding helmet is possibly the most important piece of safety equipment because it provides protection from any sparks for both your eyes and skin. It also protects from ultraviolet rays that can damage your vision. A welding jacket will protect you from flash fire and electric arc. Heavy, flame-resistant gloves should also be worn to protect arms and hands from burns and scratches. Choosing material such as leather will also help protect against electric shock. Don’t forget to protect your feet with heavy, leather boots. Having metatarsal guards over the laces can protect your ankles and upper foot from falling objects.
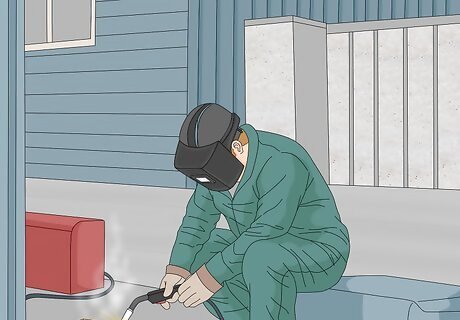
Work in a well ventilated area. Welding can give off dangerous fumes. Always be sure that adequate ventilation is available, especially in confined areas. Keep exhaust near the arc while changing the filter frequently to keep fumes to a minimum. If possible, use a smoke extractor welding gun. If you’re using a semi-automatic welder gun, extra equipment may be used to exhaust the fumes towards the arc. An approved respirator should always be used within confined areas to protect your lungs from fumes.
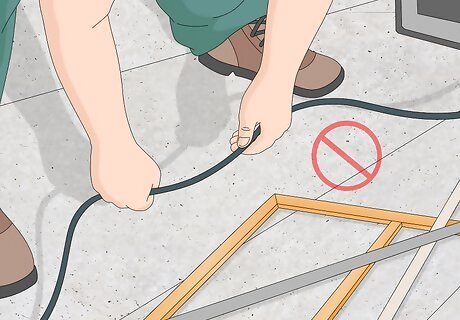
Avoid touching live electrical parts. Electric shock kills individuals every year. Be sure to wear insulated boots and never wear gloves with holes. Welding machinery should always be properly grounded, and equipment should be turned off when not in use. To help protect yourself further, always replace repaired parts in a timely manner and only weld in dry conditions. This includes wearing dry clothing.
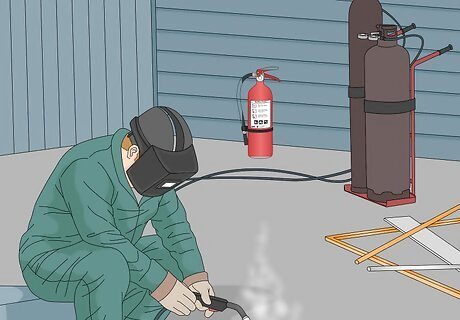
Take extra precaution. In order to take extra precaution, consider the location of your compressed gas cylinders. They should be away from arcs and excessive heat, as well as fastened to a sturdy surface to prevent falling. The cylinders must also not be grounded to prevent electrocution. Remember: Nobody regrets having fire fighting equipment. Having a fire extinguisher could save you or your family from death.
Choosing the Copper
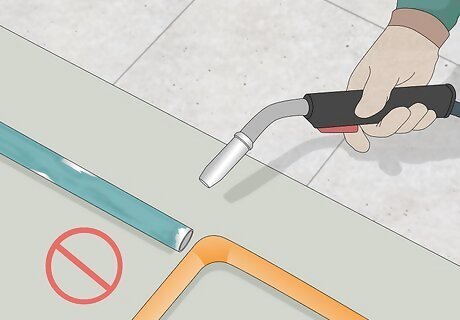
Avoid dirty, painter, or previously painted metal. When welding, only clean metal should be used. Do not weld materials that have been painted or previously plated.These metals can release excess fumes. If you know a metal has been in contact with a hazardous material, do not weld unless they have been properly cleaned. Hazardous materials can be life threatening and release excess fumes. If you must weld a painted or plated copper, take care with ventilation. Use your respirator and weld in an open area.
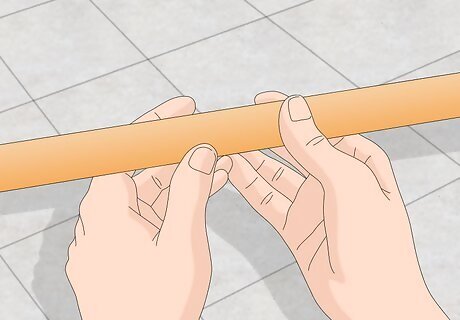
Pick the right copper. When welding copper, try to use oxygen-free or P-deoxidized. Oxygen-free copper will allow copper to retain the original bronze color after welding, by preventing oxidation. This alloy generally has less than 0.02% oxygen. P-deoxidized copper contains low amounts of oxygen but tends to have up to 0.05% phosphorus and 0.05% arsenic, which can release fumes. Oxygen-free copper is the most commonly available and readily weldable copper.
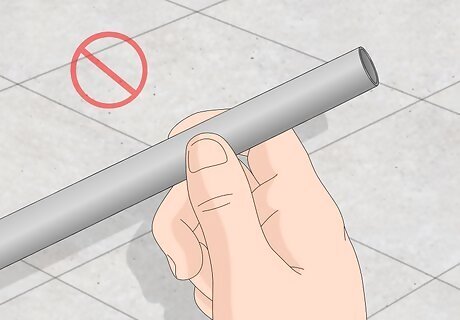
Avoid alloys. While copper alloys can be welded, each alloy will weld differently from another. An impurity can cause different relativities of thermal expansion, thermal conductivity, or electrical conductivity. Copper alloys should only be used by a more experienced welder. For example, look at copper-zinc alloys. Zinc reduces the weldability in copper. It also contains a low boiling temperature resulting in toxic vapors that can be produced upon welding.
Welding the Copper
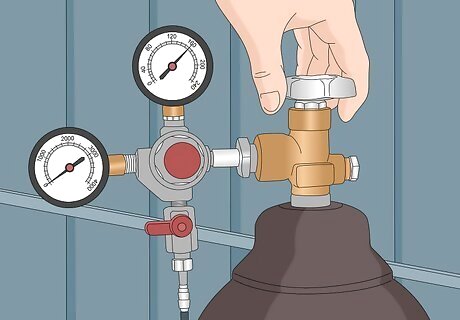
Use the proper gas ratio. Depending on if you are using TIG (tungsten inert gas) or MIG (metal inert gas), and the thickness of your copper, you will need to adjust the ratio of your gas and temperature. As a general rule of thumb, copper under 2 mm should have argon gas and up to 160 A applied. If the copper is thicker, you will need to adjust the gas and amp by applying helium and upping the amp. Look online or welder’s handbook to determine the best ratio for your copper. If the welding isn’t going smoothly, try using 100% helium gas. It has a higher power compared to Argon, which allows for more heat to be applied to your copper.
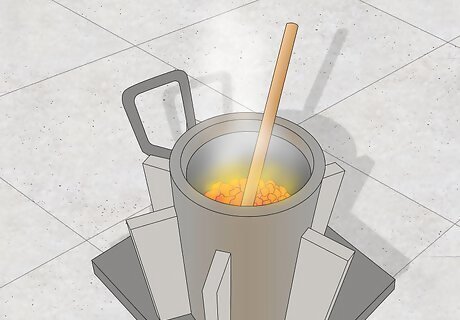
Preheat the copper. Since copper has a high thermal conductivity, high heat and preheating is necessary at thicknesses of over 0.01” (2 mm). Preheating is always measured in degrees and can be anywhere from 50 degrees Fahrenheit to 752 degrees Fahrenheit (10 degrees Celsius-400 Celsius ). To preheat, simply insert your copper into a furnace until the desired temperature increase has been found. Preheating allows the metal to cool slower after welding which works to produce a finer weld. This also reduces the risk of cracking.
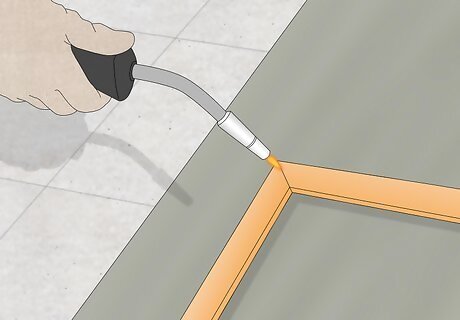
Initiate an arc to get the puddle. Once your safety gear is on and you’re ready to go, initiate the arc. Hold the arc steady for 2-3 seconds until the puddle appears. When welding with copper, the arc should be at approximately 70 degrees to the copper. An arc is a shooting line of electricity created between the electrode and the material you’re welding, copper.
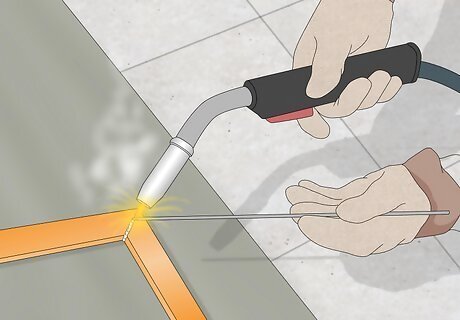
Add filler into the puddle. As soon as the puddle has appeared, gently apply a small amount of filler through the arc to weld the metals together. Apply the filler by gently probing it into the pudding as the arc welds the copper together. The filler will liquify and mix in with the two copper, helping the metals weld together. Your choice of filler rod will be dependent upon the type of welding you are doing, however, it should always be a copper or copper alloy rod.
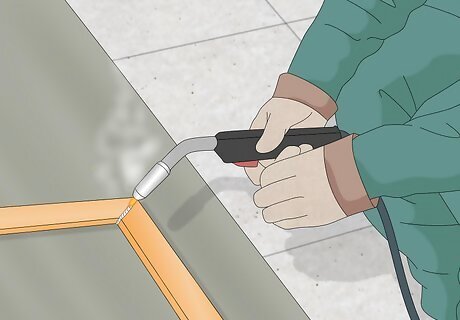
Move fast. The longer your puddle is present, the more time the copper has to oxidize. This can prevent a clean weld, so move quickly to get the welding completed.
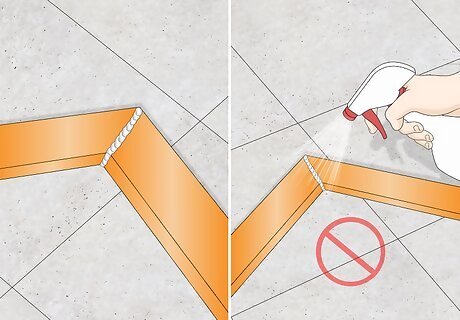
Allow the copper to cool. Cooling too fast can mean your weld will break or crack. Slowed cooling is assisted by the preheating of copper. Allowing the copper to come to a heightened temperature before welding will keep the fresh weld warm. If welding indoors, it is acceptable to let the weld air-cool if it has been preheated. When welding in cold temperatures, you may to insulate your freshly welded copper to prevent it from cracking. The simplest way to slow cooling is covering the copper with a fibreglass blanket. Another method is stacking sandbags around the copper to help prevent heat loss. Never splash water or ice on a weld. If you don’t have time to patiently wait for the heat to dissipate slowly, don’t weld at all.




Comments
0 comment